My 240g upgrade
by
, 08-08-2010 at 10:11 PM (1799 Views)
Well after a few years in the hobby I feel its time for an upgrade. What better time to look for a larger tank than when the wife is out of town.
So I started searching for a larger tank, luck lead me to a nice 240g along with 2 ice cap ballast's, rubbermaid holding tank, reef flo pump, and a whole lot of plumbing.
Step 1. Call wife and tell her I'm buying a tank-check
Step 2. Find a place to put it-Check
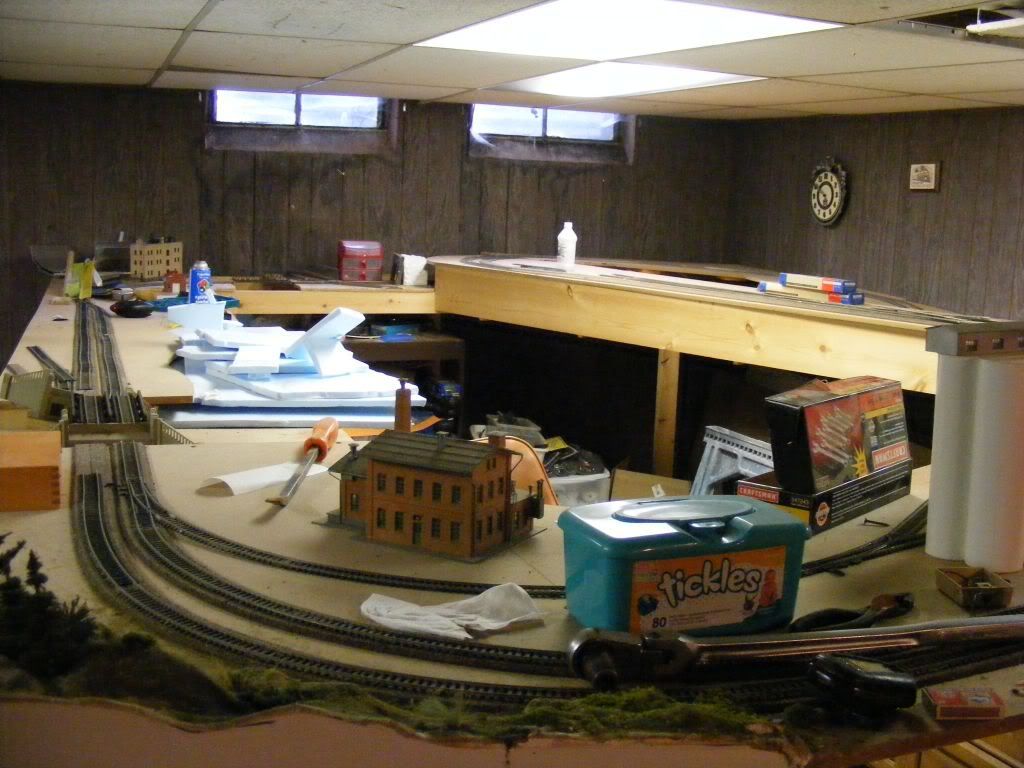
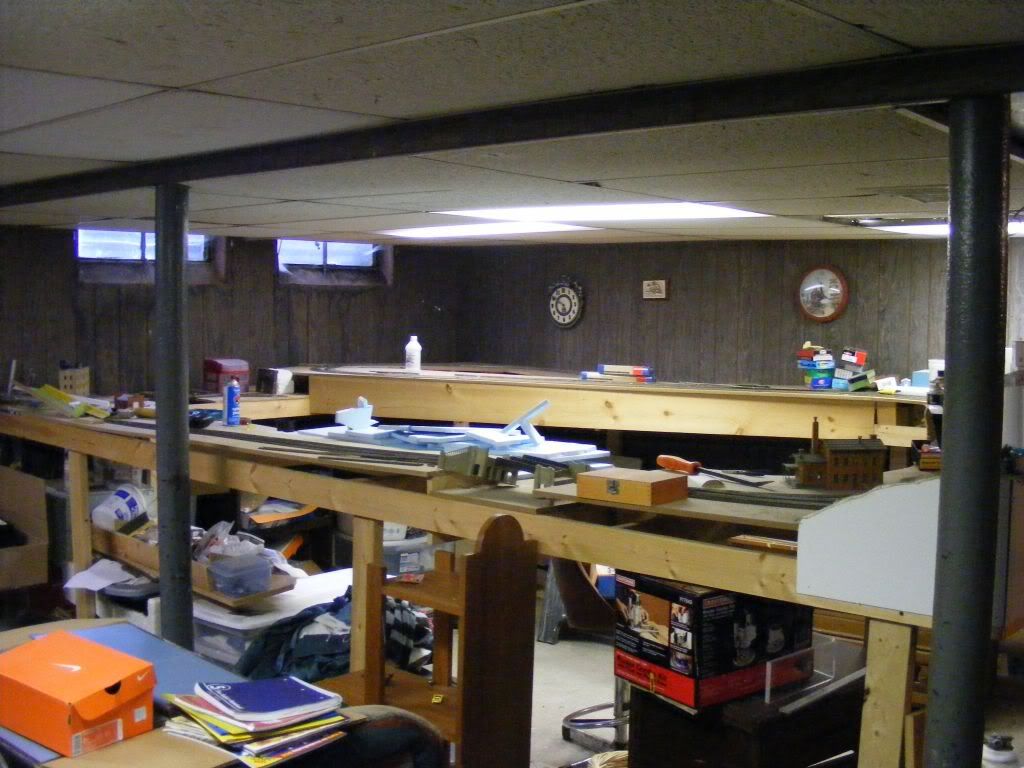
Step 3. Clean out spot-ummm ya heres what I started with.
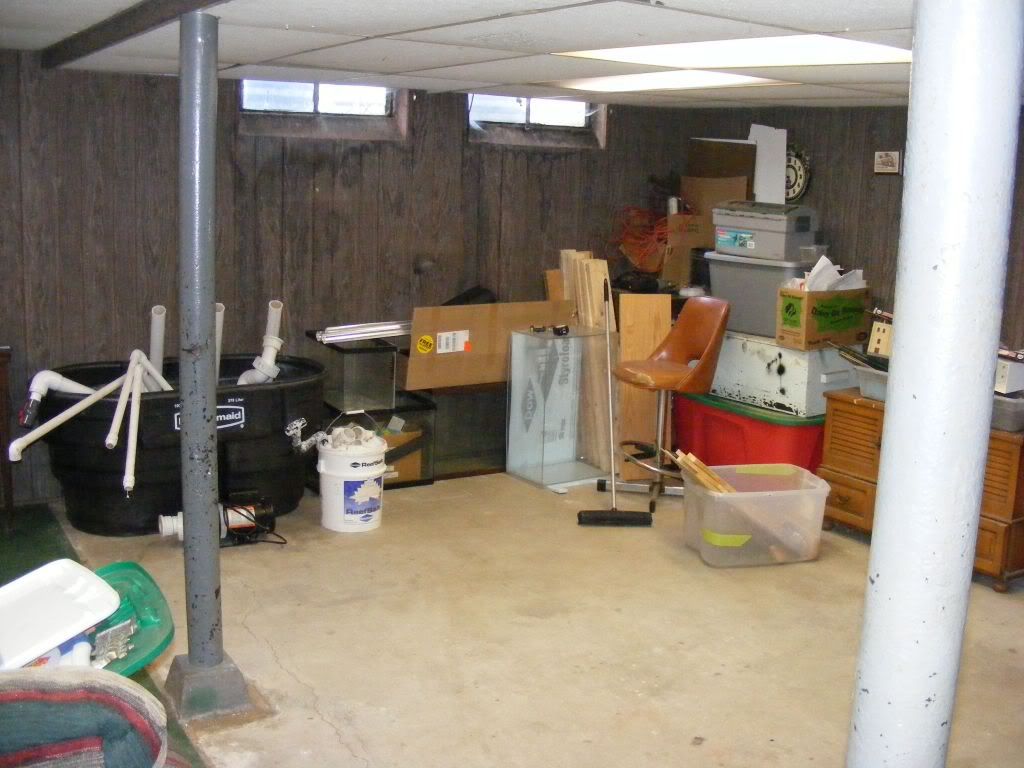
Thats a lot of train stuff, way to much for one person so I called a buddy and we went to work. A few hours later....
Step 4. Drive 687 miles, 12 hrs, 150 in gas-Check (yesterday)
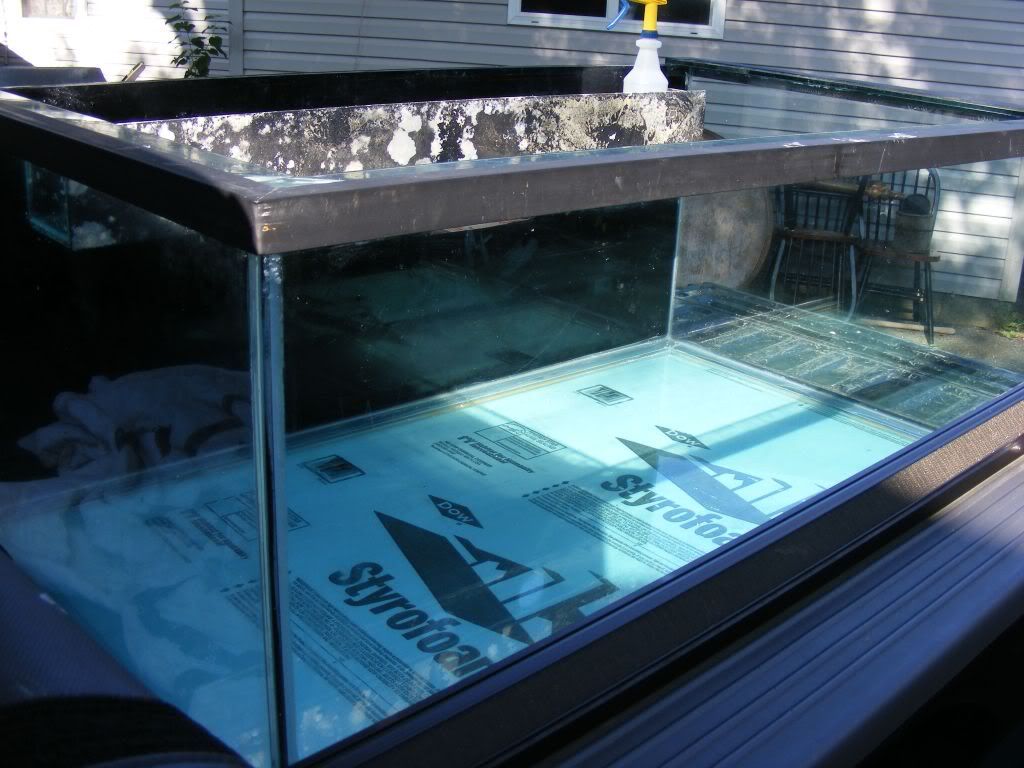
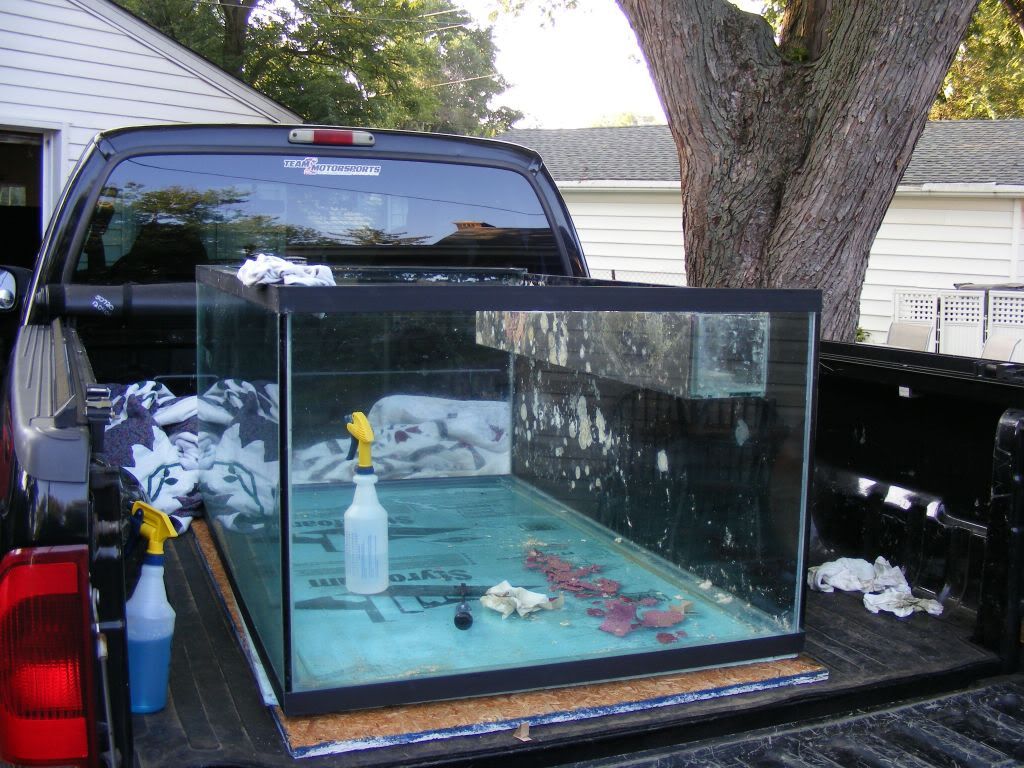
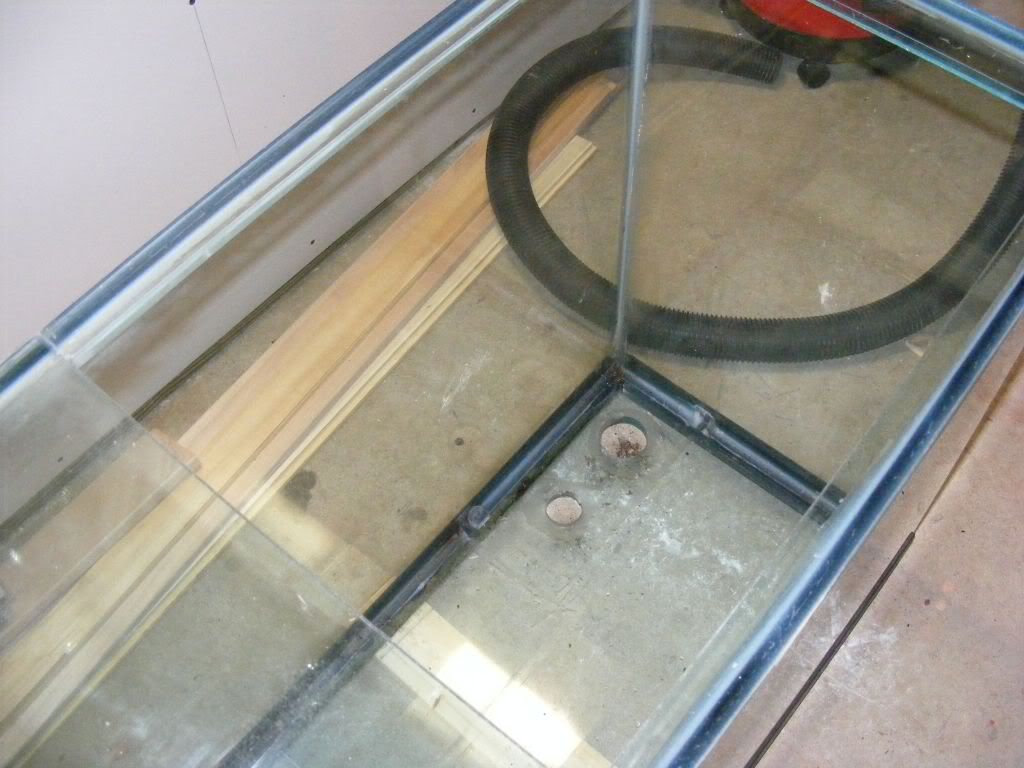
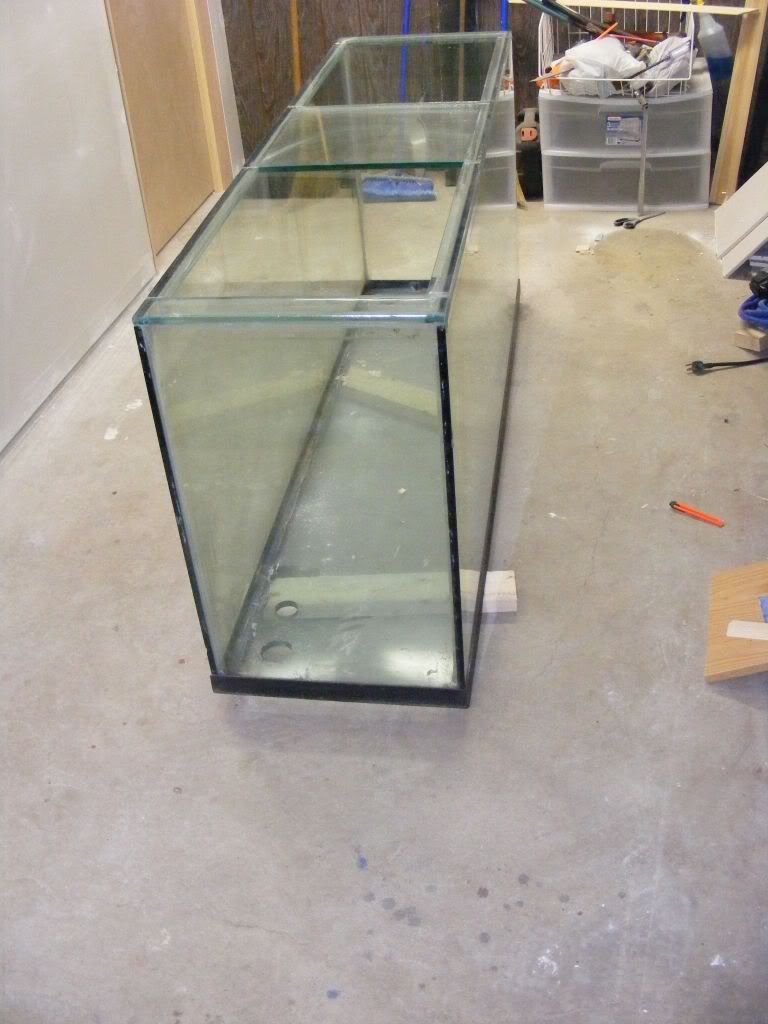
Step 5. Clean tank- Check
Before
After
Still have more cleaning to do but the major work was done outside in the truck while waiting on friends to help unload.
Ok lets see if I got the hang of this. Instead of having a ton of entries I should be able to do just one.
So after a couple of hours my friends arrive, we have to get this....
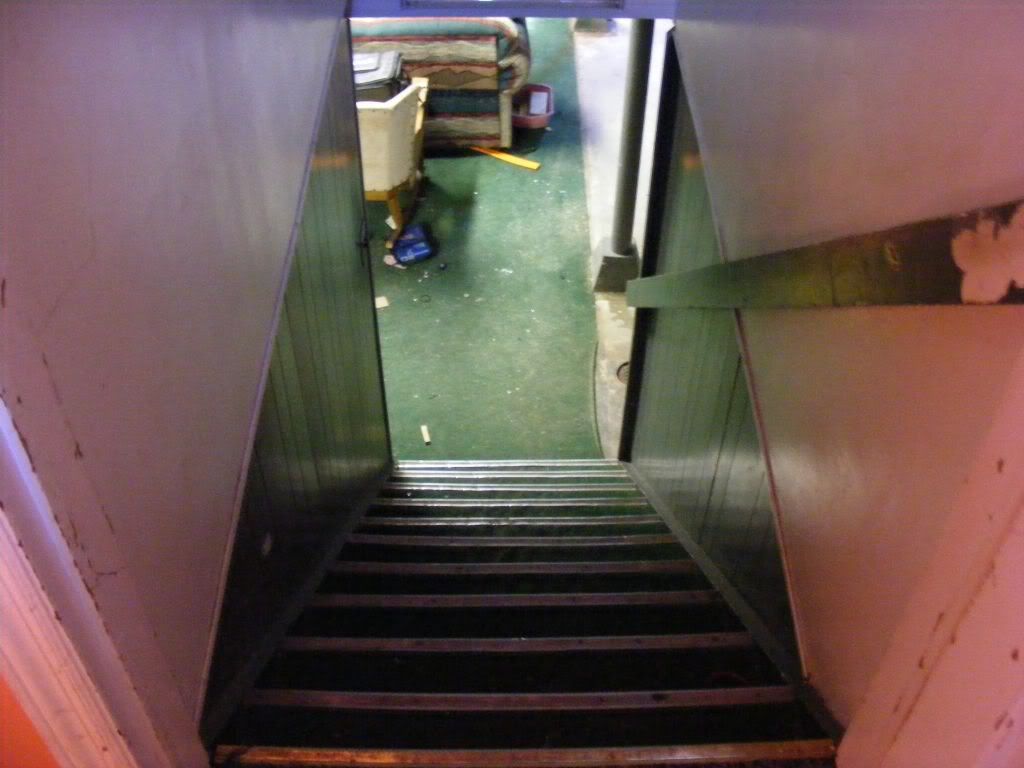
down here....
After a lot of lifting the tank made it to the basement.
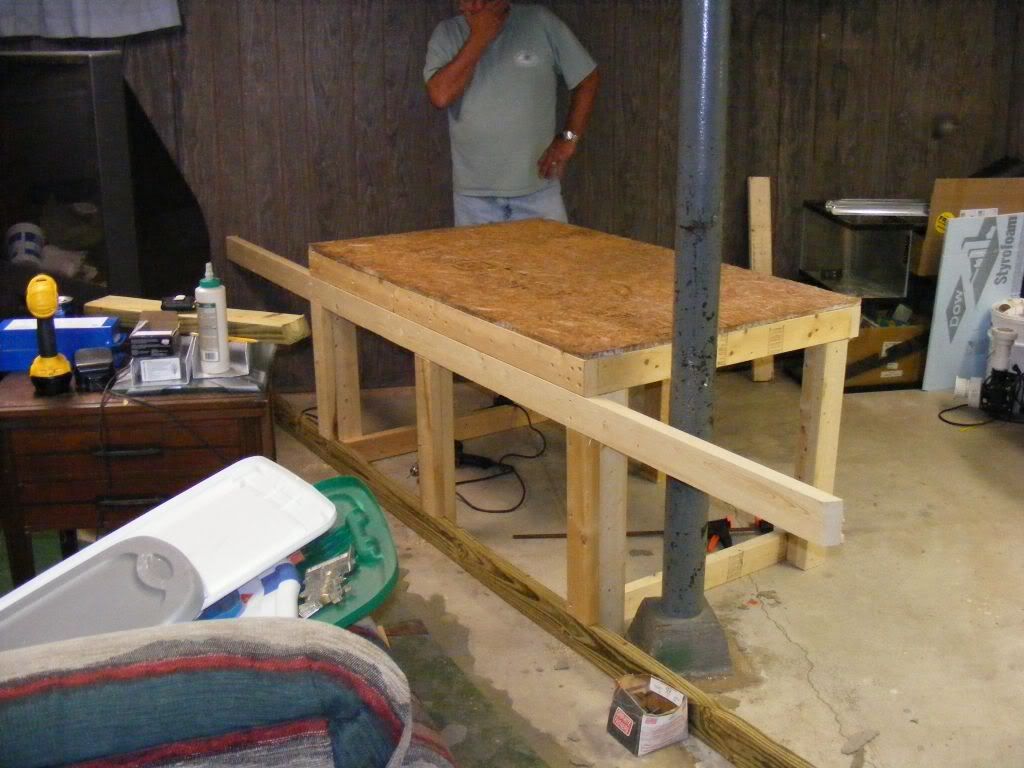
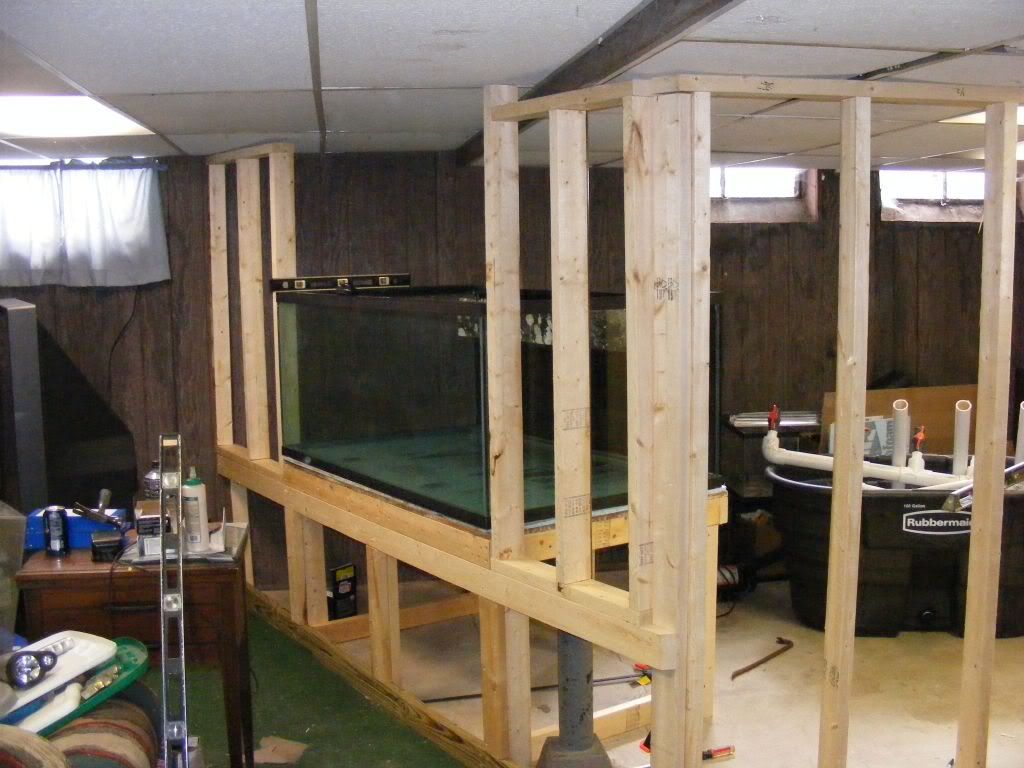
Now all I needed to do was build a stand, I took what I've learned since my first tank and built a stand that will more than hold this tank.
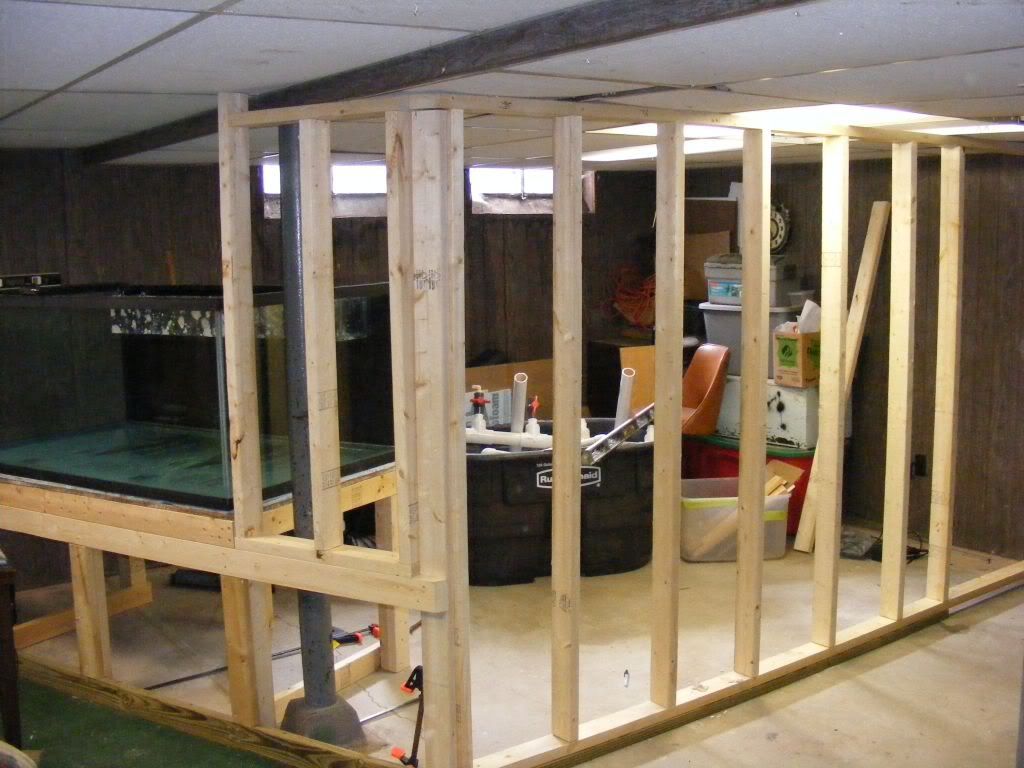
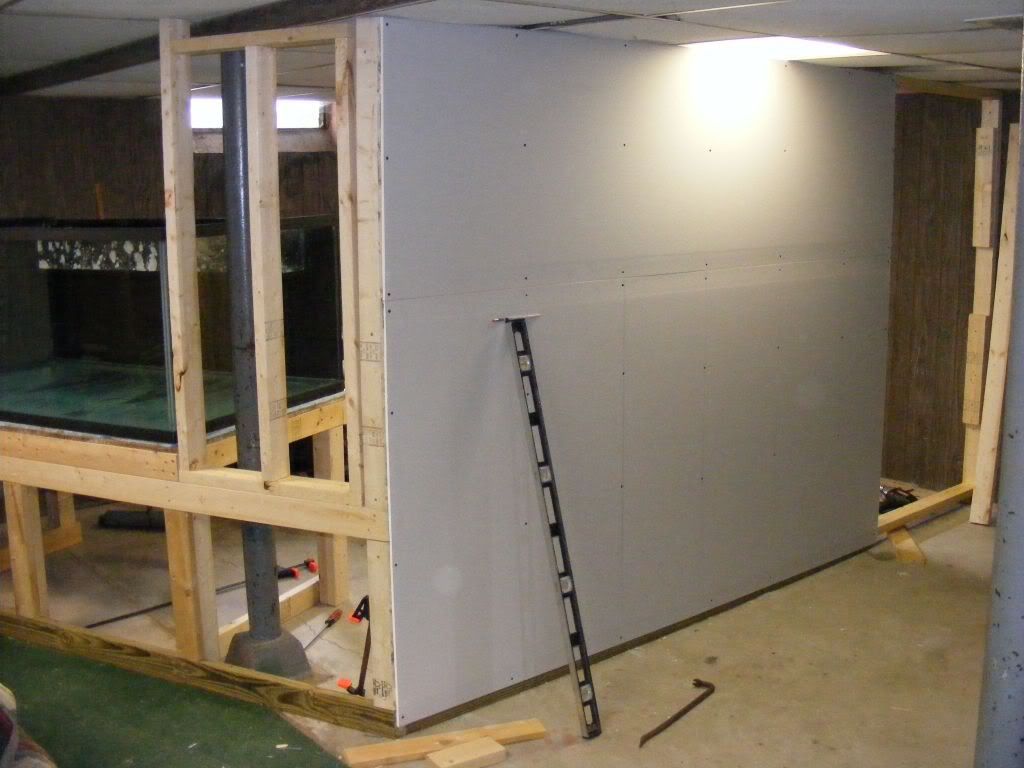
The long 2 x4's will be part of the wall on the front and then there will be a wall added to the side making a "fish room"
After the stand was built it was decided that the tank really needed to be on the stand in order for more work to be done. So I call up some more friends and we placed the tank on its new home.
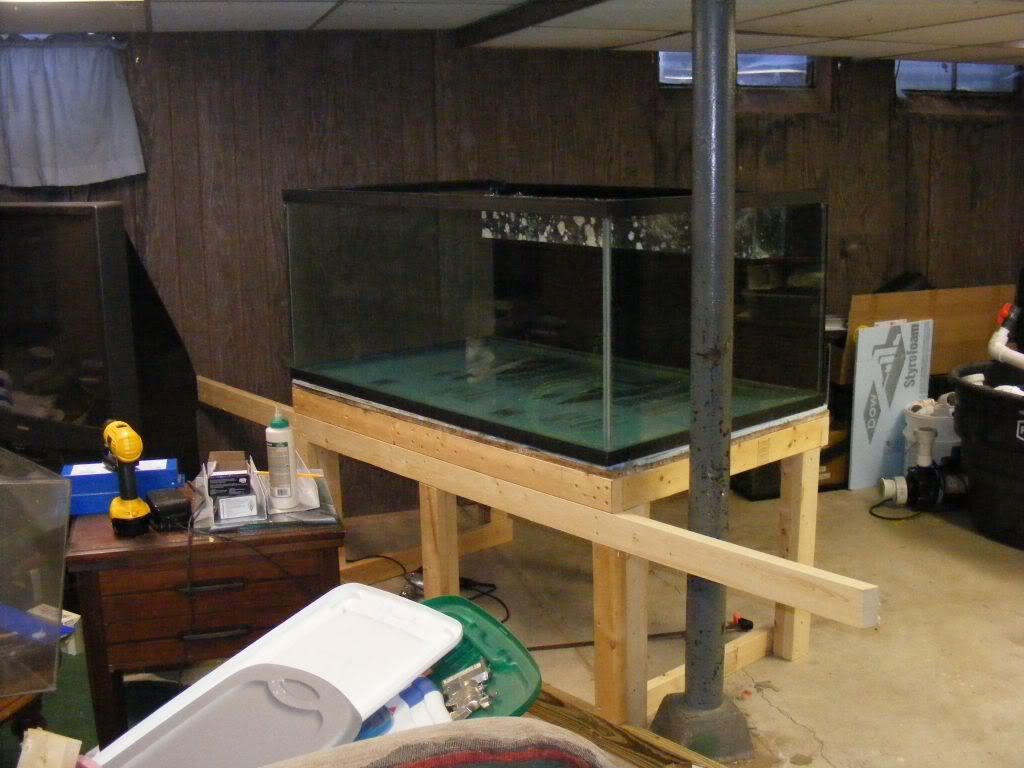
So a quick recap of my day, clean tank, move tank to basement, build stand, place tank on stand. Yep I'm done for the day more tomorrow.
Day 3
Got a little more done......
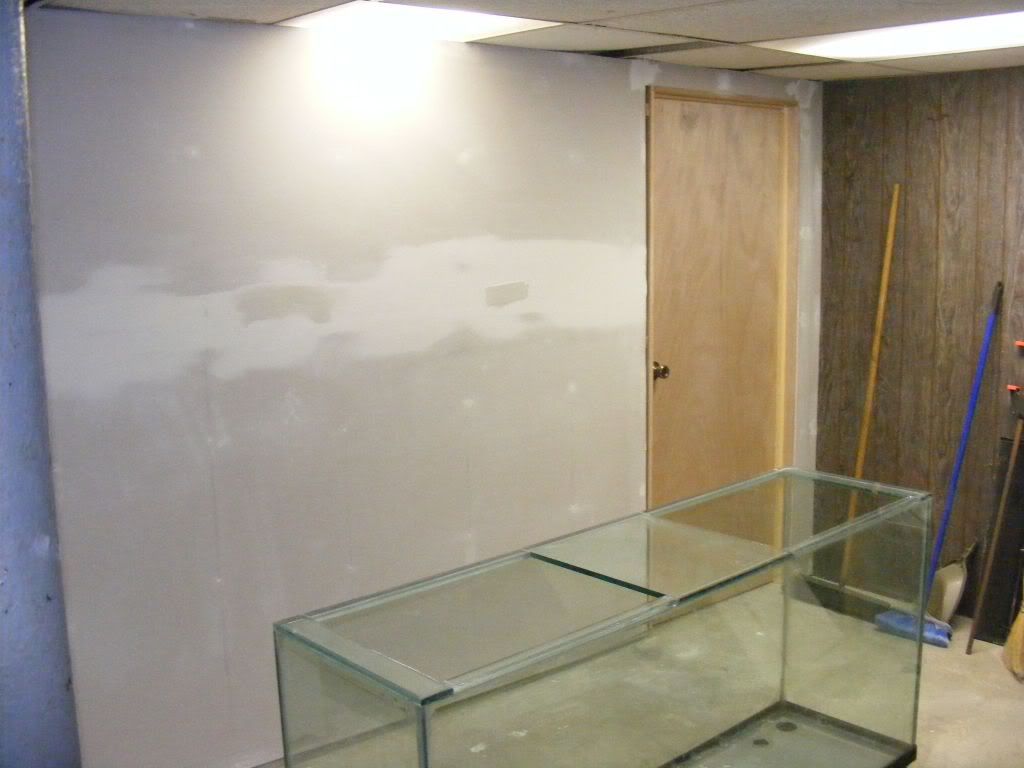
Got that ugly pole out of site. Up next is electrical, then green board on the inside. Then its on to sumps and plumbing.
Day 4
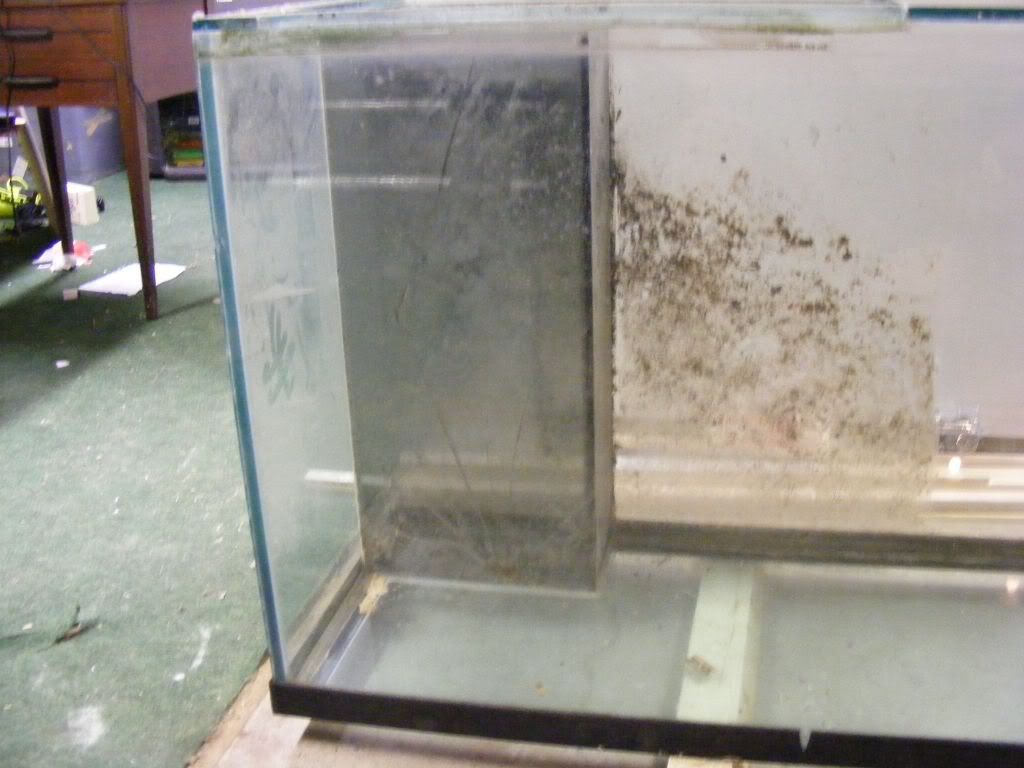
Not a lot of work, just some more planning and I picked up a 150g for a sump for free, THANKS Slandis. It needed a little work, here's how it looked when I got it, both overflows were broke, no biggie wasn't going to use them. I got half done due to knife blades breaking and running out gonna finish it tomorrow. Now all I need is a big ol glass hole saw for the end and I'm set, and a few baffles.
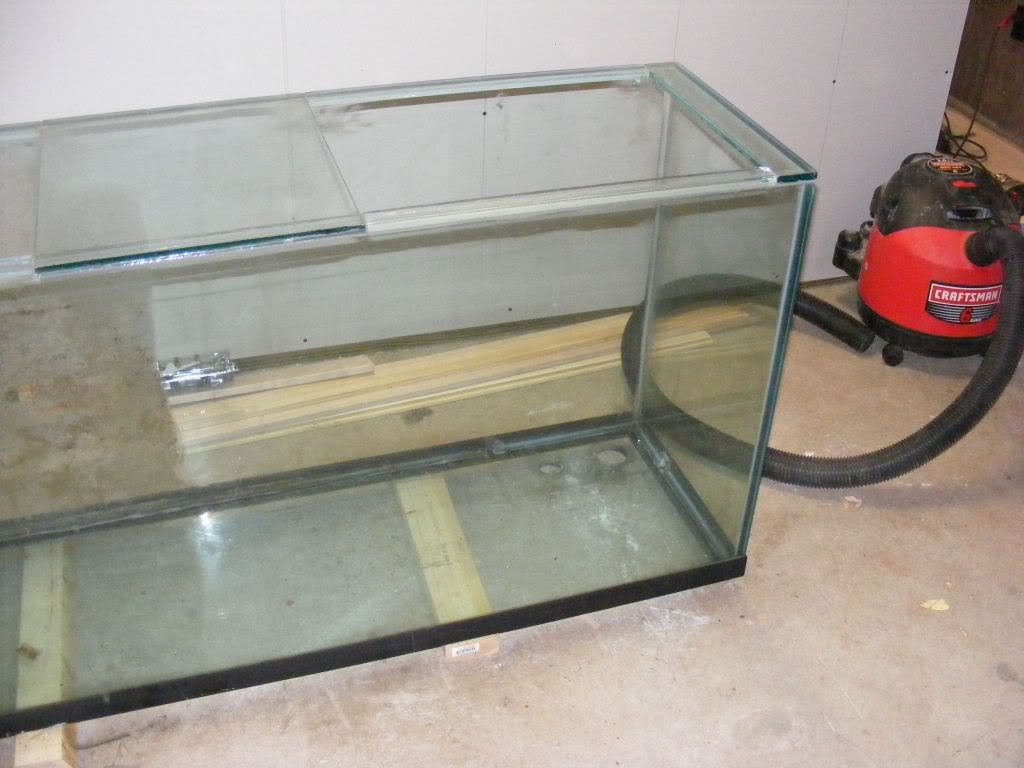
Well this is Day 5 of work, had to take a couple of days off due to being sick (I hate summer colds)
Got some shelves built for the wife, started the mudding of the drywall (Did I mention I hate drywalling?), and even got a door made and hung. The door was another simple job turned into a nightmare. Most doors are 80 in tall, I have room for a 73 inch tall door, the simple solution would be to cut the bottom off a pre-hung door, BUT then the door knob is too low, can't find a pre-hung without a knob hole, so it was time to fab one up. Also finished cleaning the 150g for the sump.
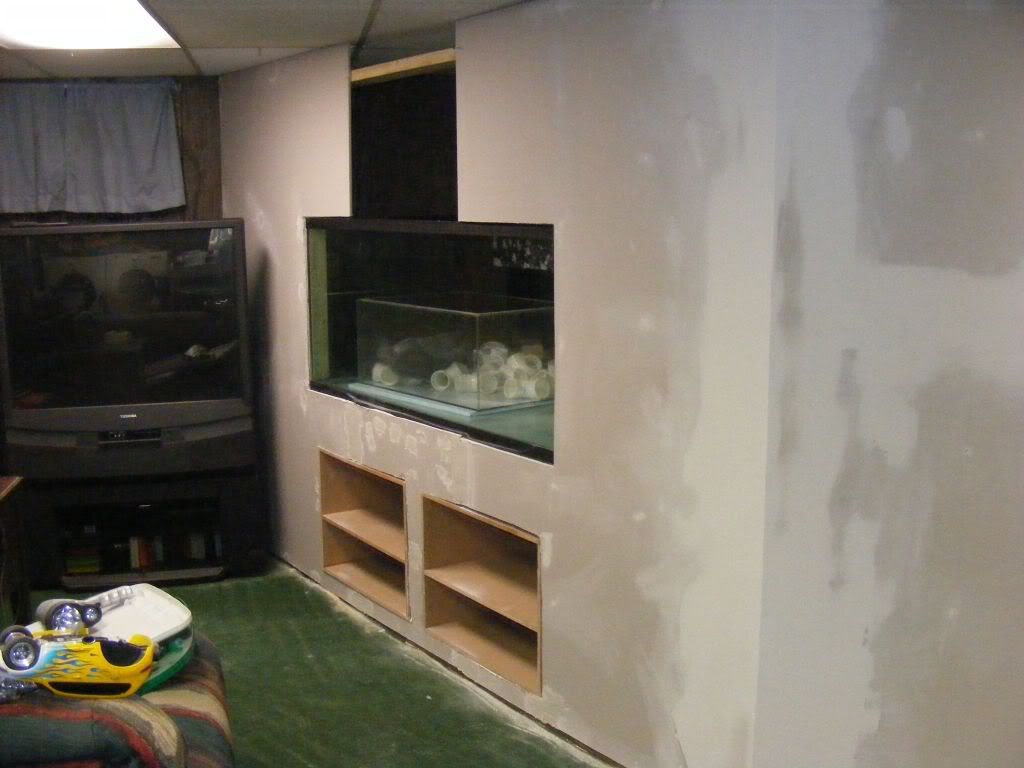
Day 6 of work or What a way to spend your birthday.
Well I fell into some money so I now have enough to finish this project 100%.
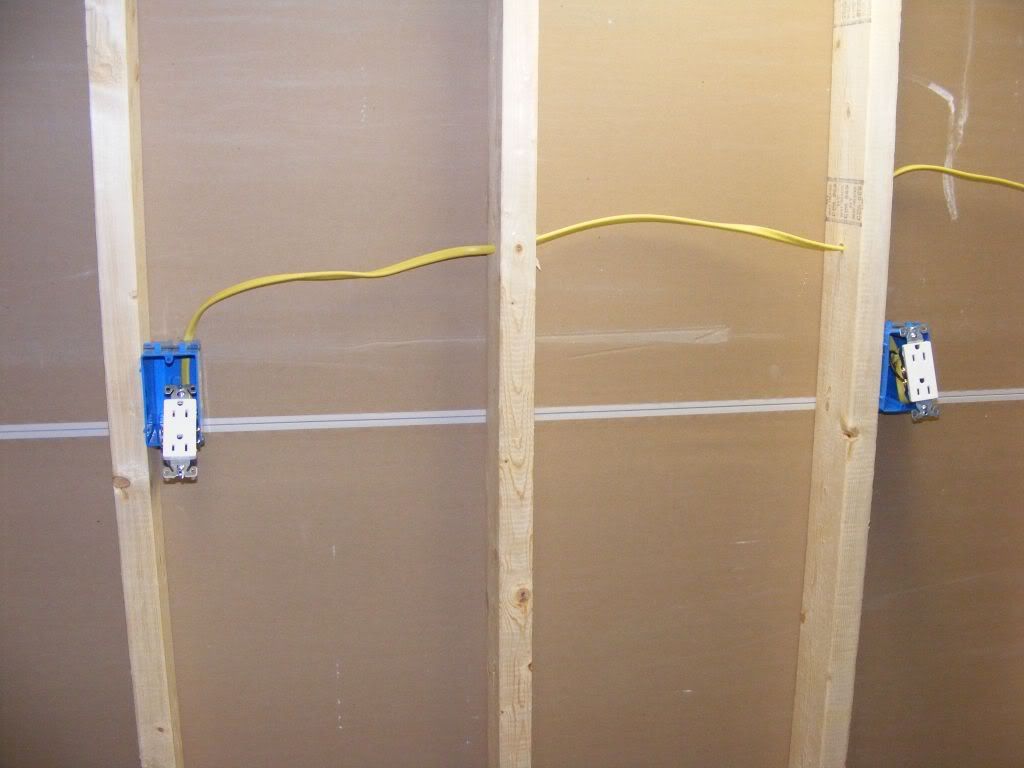
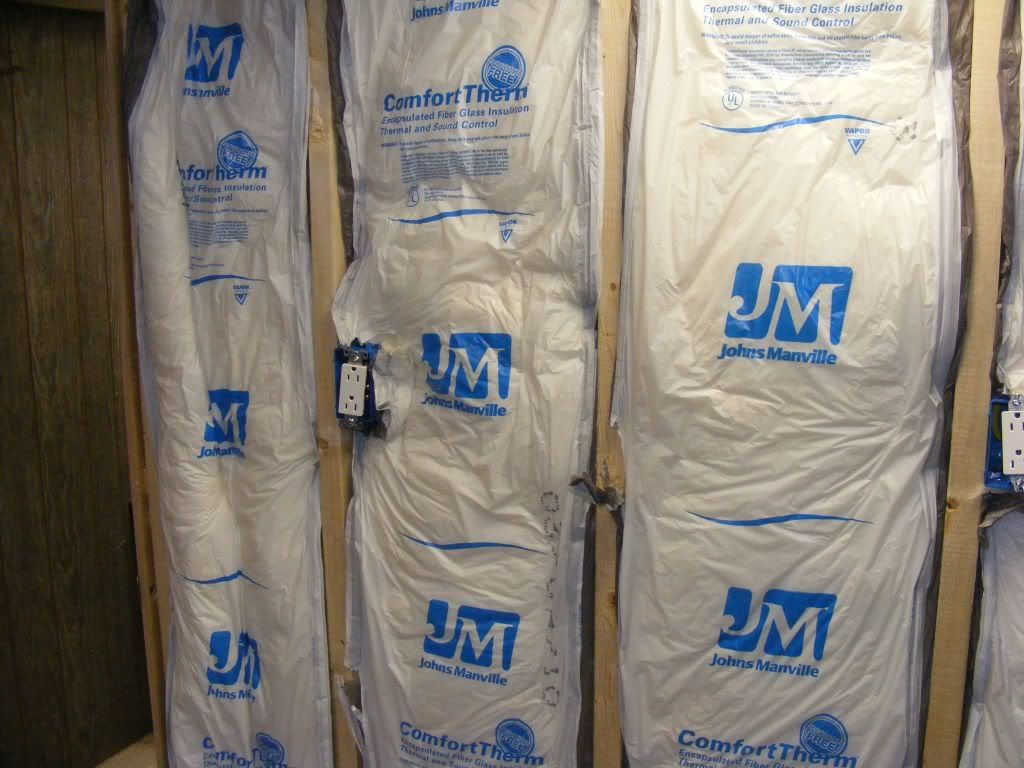
Well we started by doing the electrical, 20 outlets in all. I wanted to make sure I had enough....
Then it was on to insulation, and I did put 6 mil plastic on as well just no picture of the plastic.
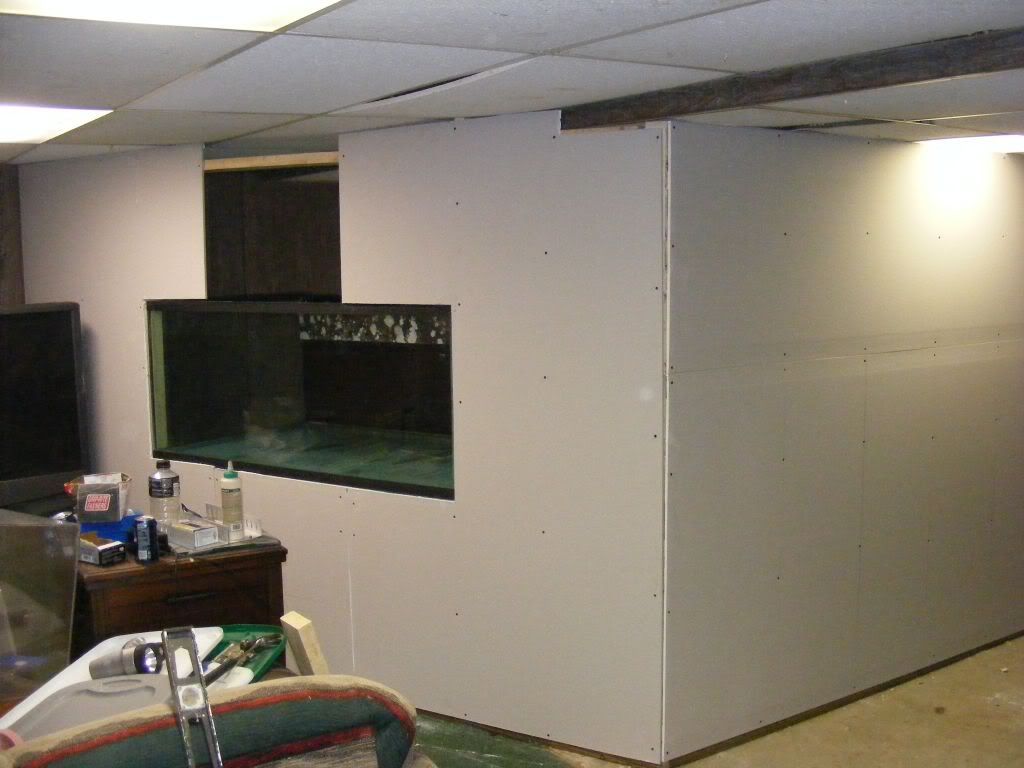
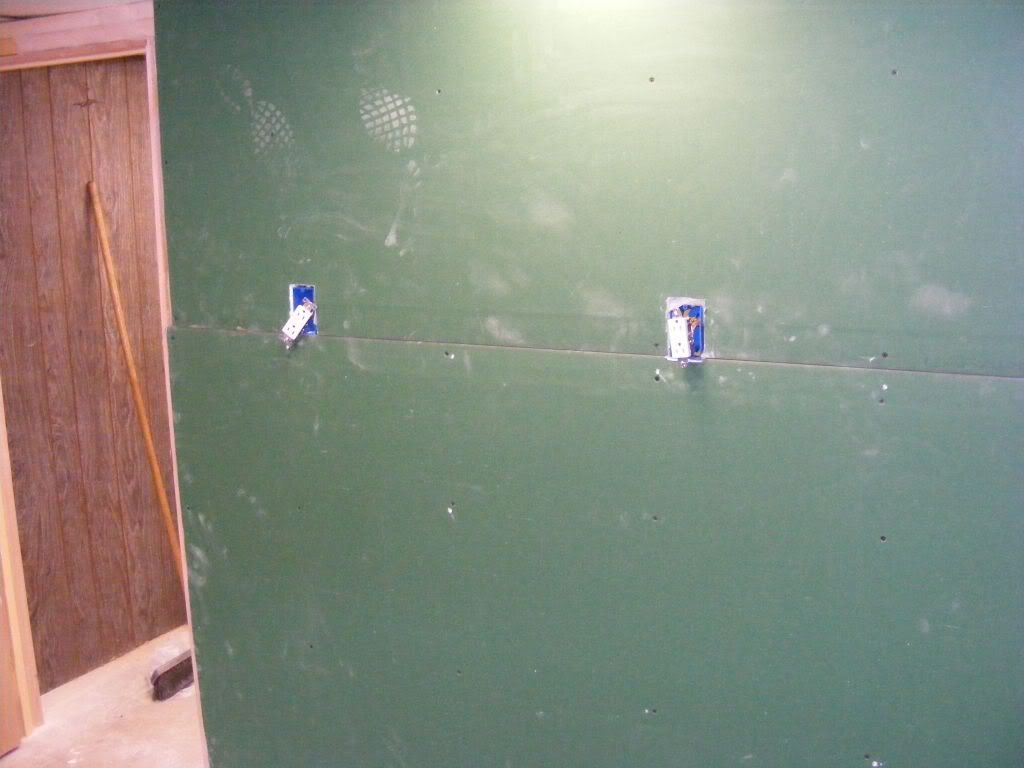
Then I moved onto the dry wall, mold resistant of course.
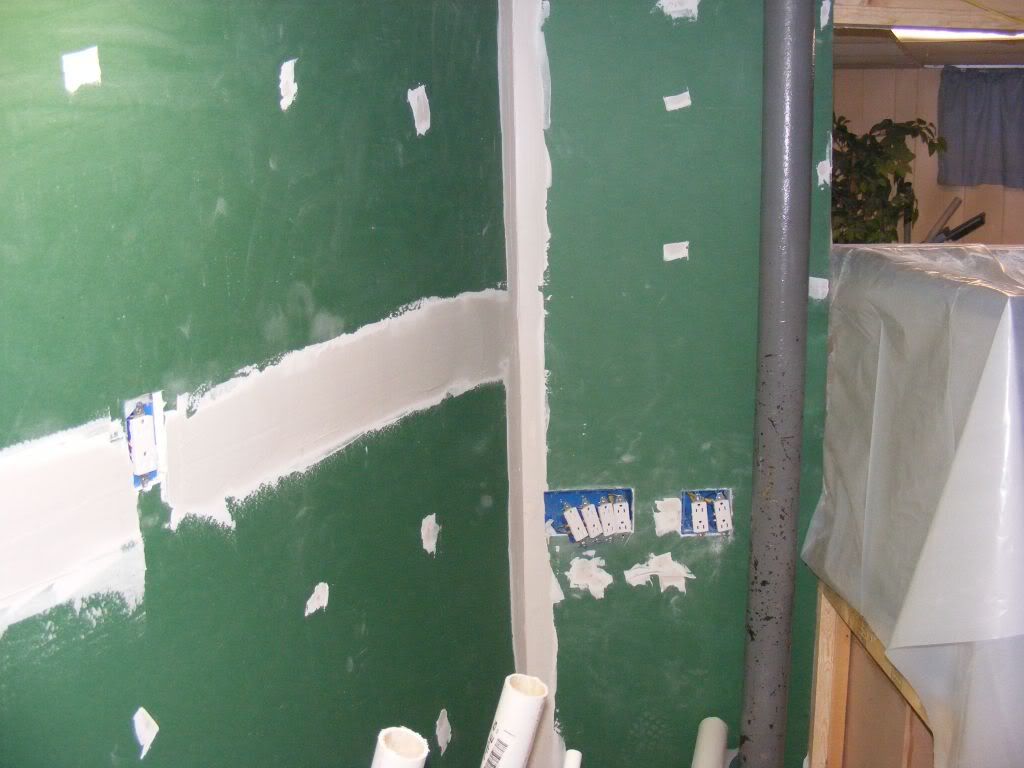
Then on to the last part the mud....
Well until I get a hole saw for the bulkhead I'm at a standstill on the tank but there is plenty of finish work to do. I did get all the trim for the tank opening cut, just need to stain and clear coat it. Then pick a color for the outside wall, trim and then inside paint, trim and plumbing. Then its gonna be a party
This should catch me up to my last update/topic/blog or whatever....


