OneReef
OneReef's new 150g upgrade

by
, 05-02-2010 at 08:28 AM (3792 Views)
After letting my 75g grow for almost a couple of years, I was getting bored with it and decided to move up for more coral to grow out and to add more and larger fish.
Hence, the decision to move up to a 150g. I would have liked to go bigger, but it was going upstairs and I didn't want to stress the floor more than necessary. After speaking to the homebuilder, he felt confident that the floor could support the weight. So I moved forward. I got Richard to custom order me a 150g with one center overflow and a 1 1/2" drain and 1" return holes. Eurobracing all around and a taller stand. I swapped a normal 150g dimensions and use 24" front to back and only 20" tall. It is 72x24x20. This will allow me to have more real estate on the sandfloor, and still get away with using my 150w halides due to the depth. It is up and running right now, and I have taken pictures along the way, and will update a little at a time.
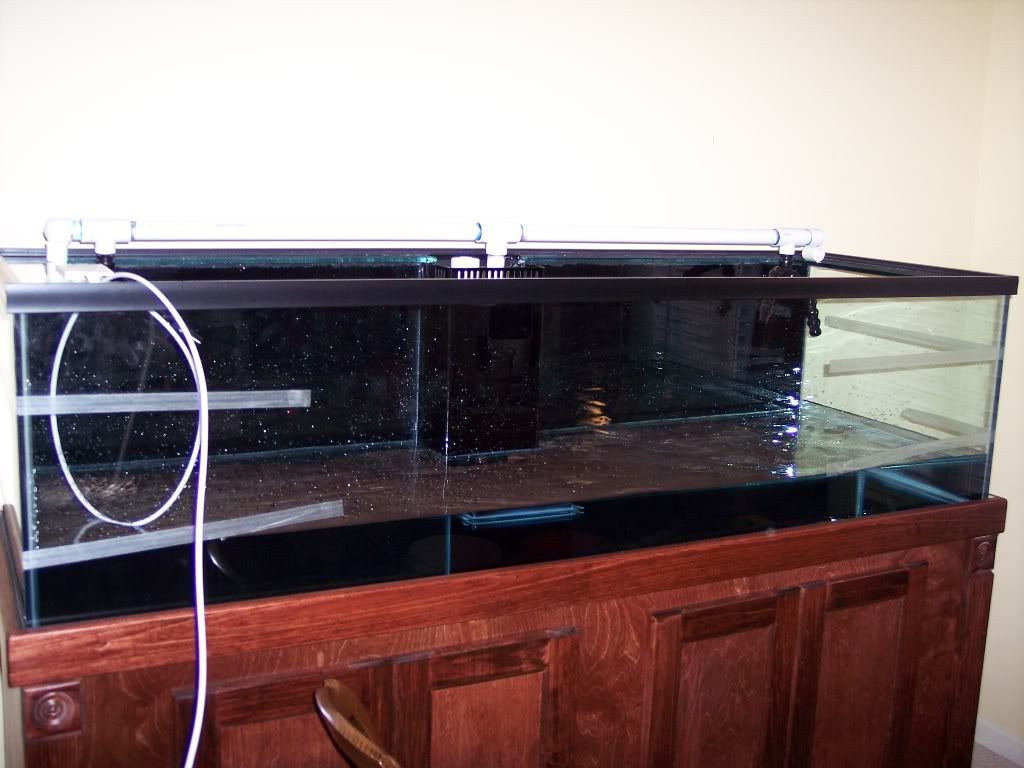
Here is the tank when it first came in. My friends and I had a back-breaker of a day getting this tank around corners and up stairs.
Tank on its front side:
Stand on its side:
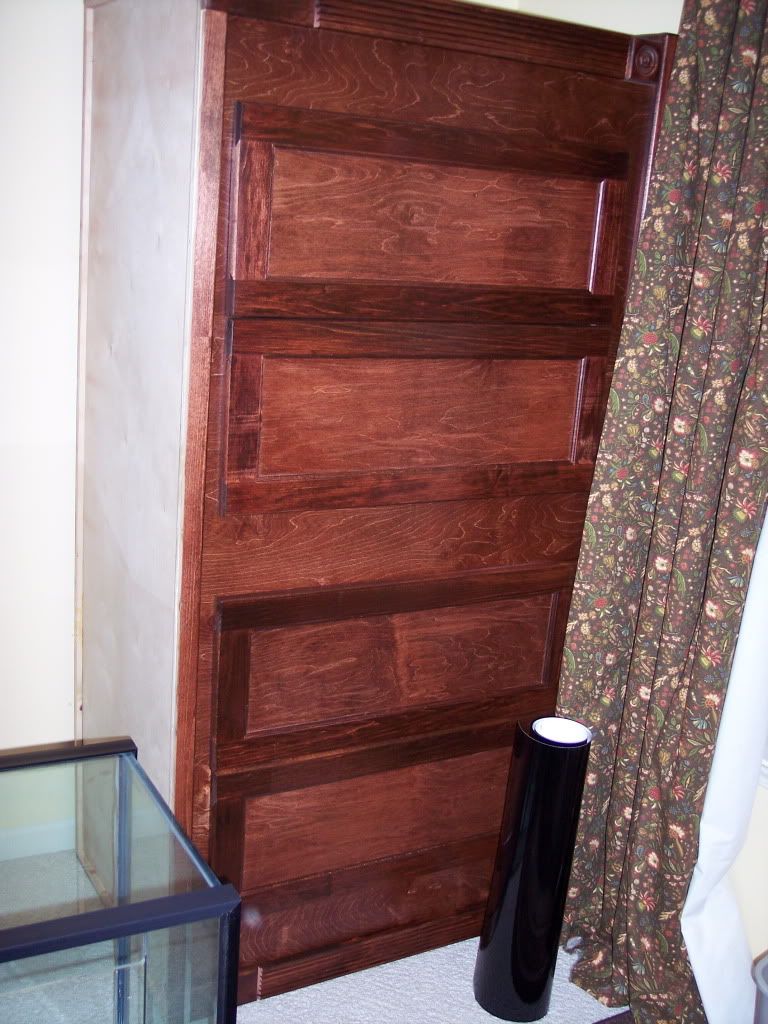
Canopy on its back:
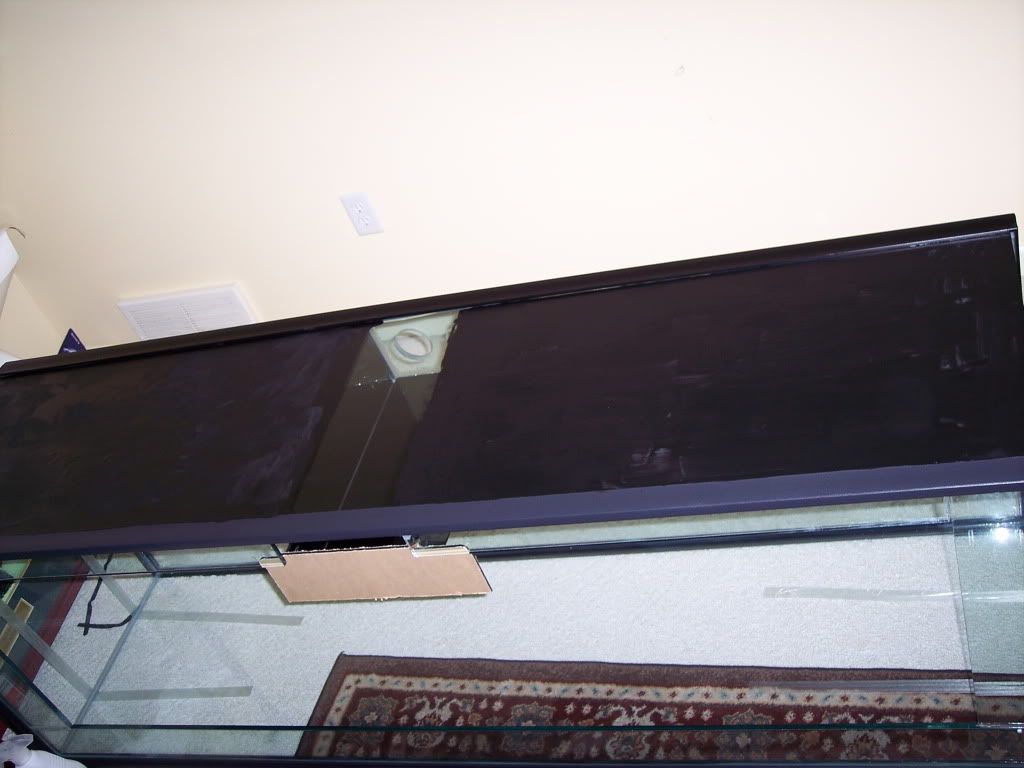
Got the back painted black:
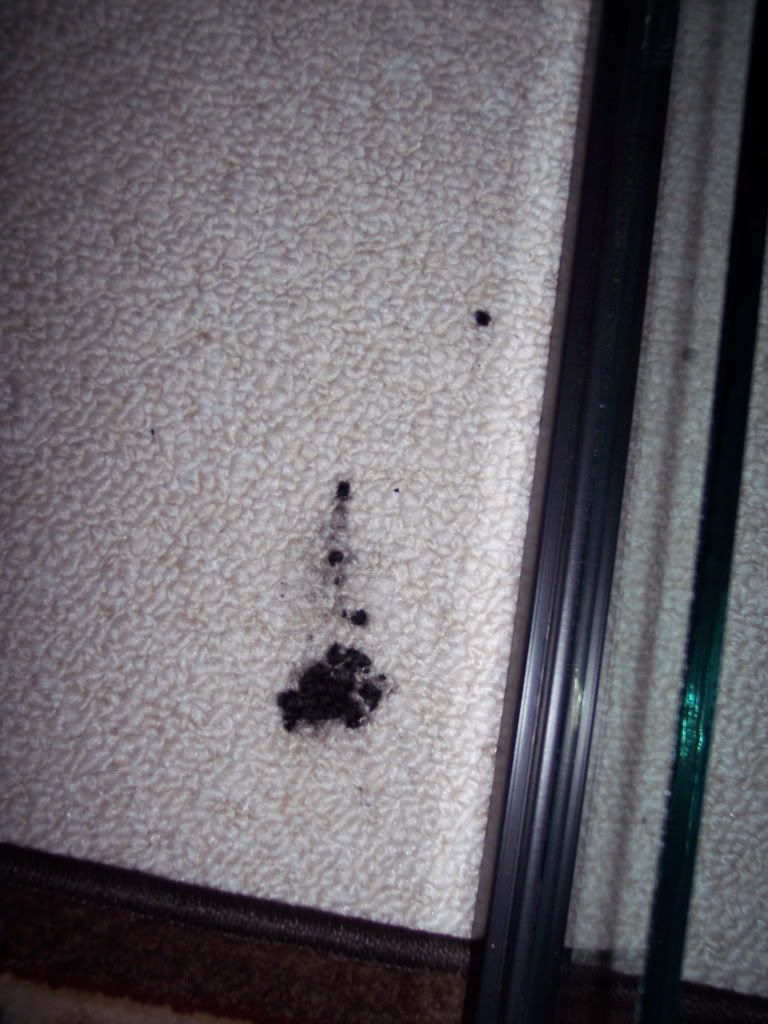
Spilled paint on the carpet, good thing they make area rugs:
Back all finished:
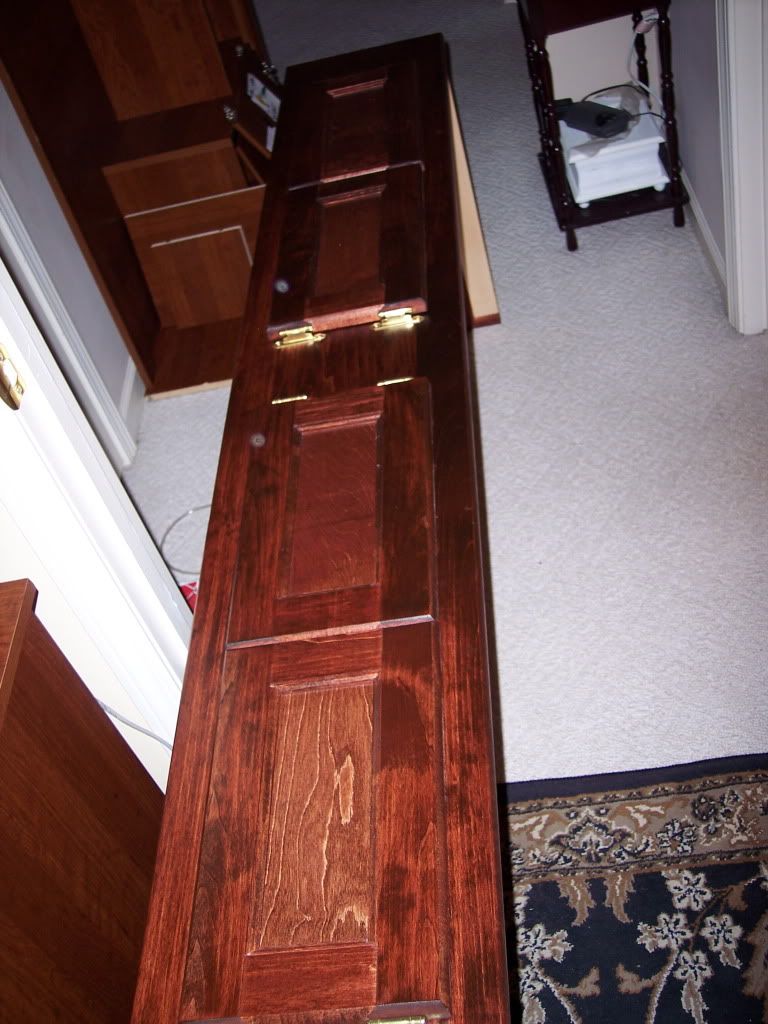
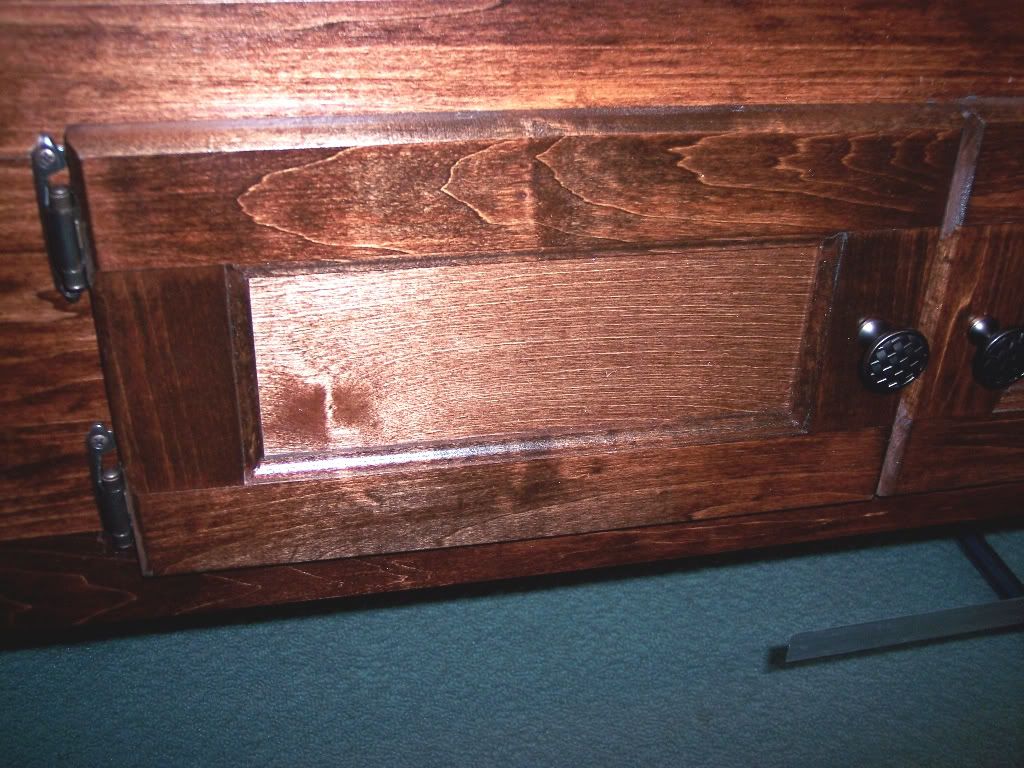
I was not feeling the gold hinges the cabinet maker put on, so I swapped them out for an antique brass and also added door knobs on the canopy and the stand doors. I got the guy to add doors that swung open on the front of the canopy from side to side as well as the top hinging up.
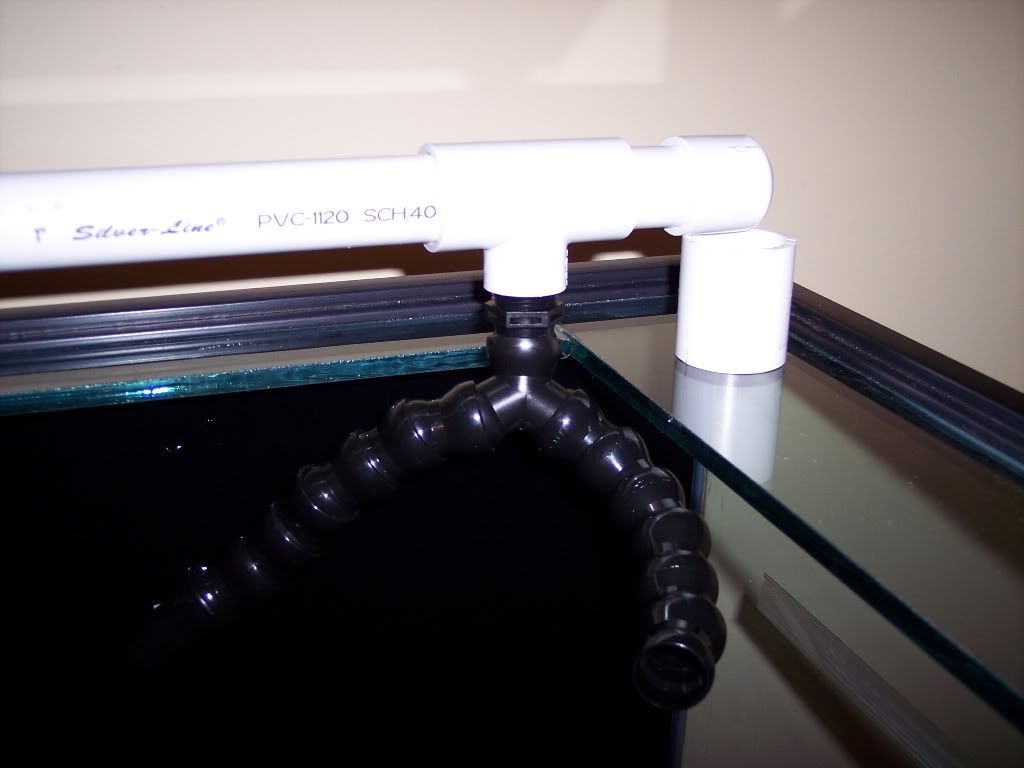
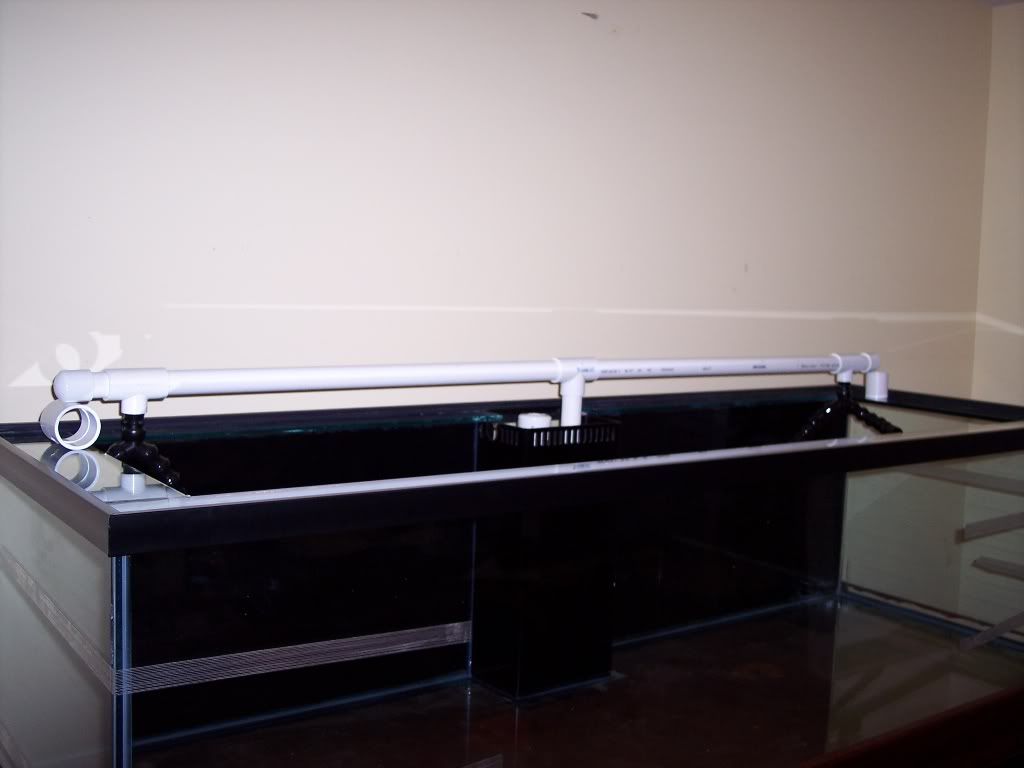
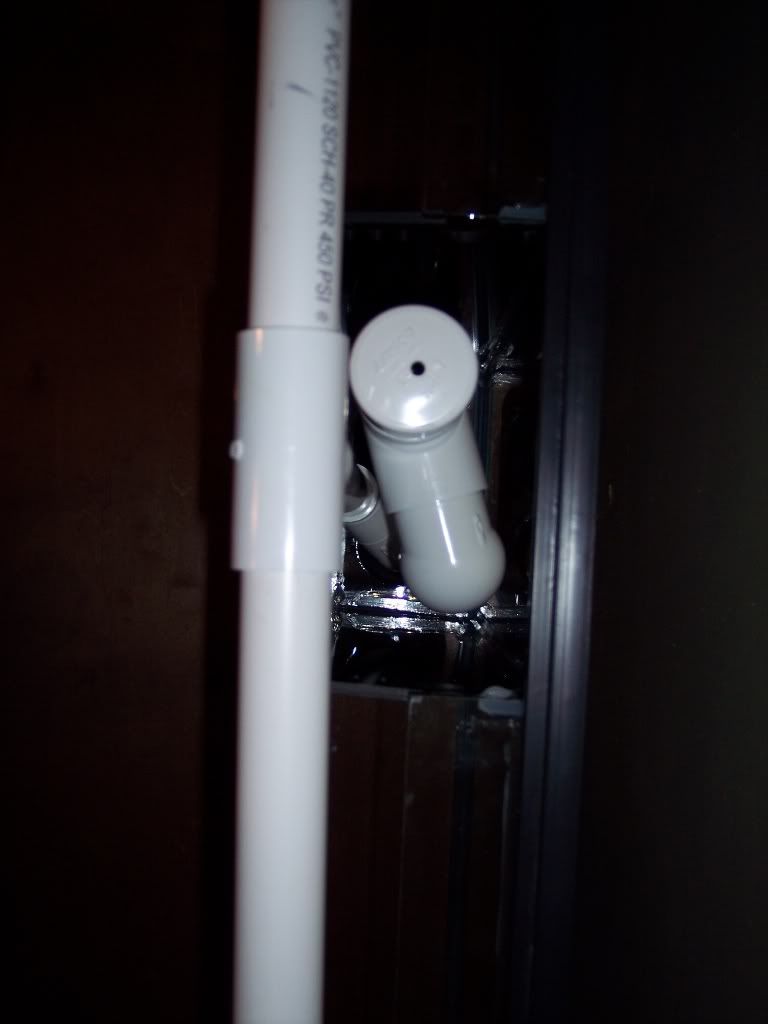
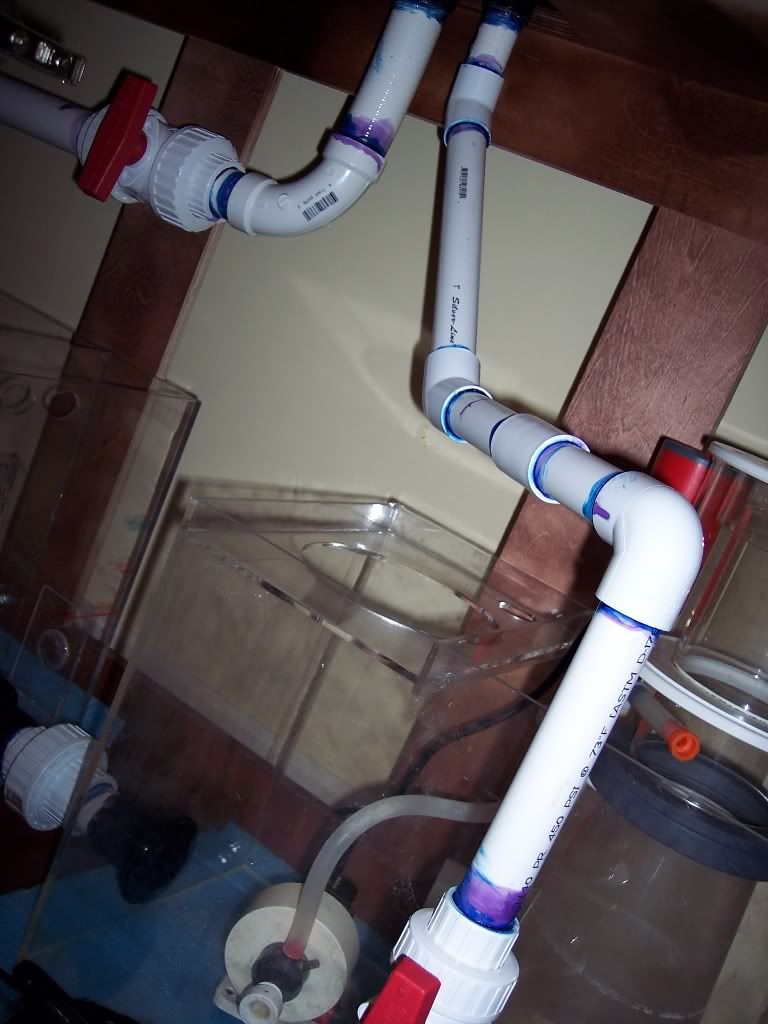
With some different ideas, I began my plumbing. This series is showing the return lines. The return comes up to a tee, which goes to each end of the tank with Y-locline on each end.
I am not sure that you can see it in this picture, but it is a top down shot of the overflow box. The 1 1/2" durso took up almost the whole overflow, so I had to use some 45* PVC elbows on the 1" return line to maneuver around the durso to get my return past it. Worked fine.
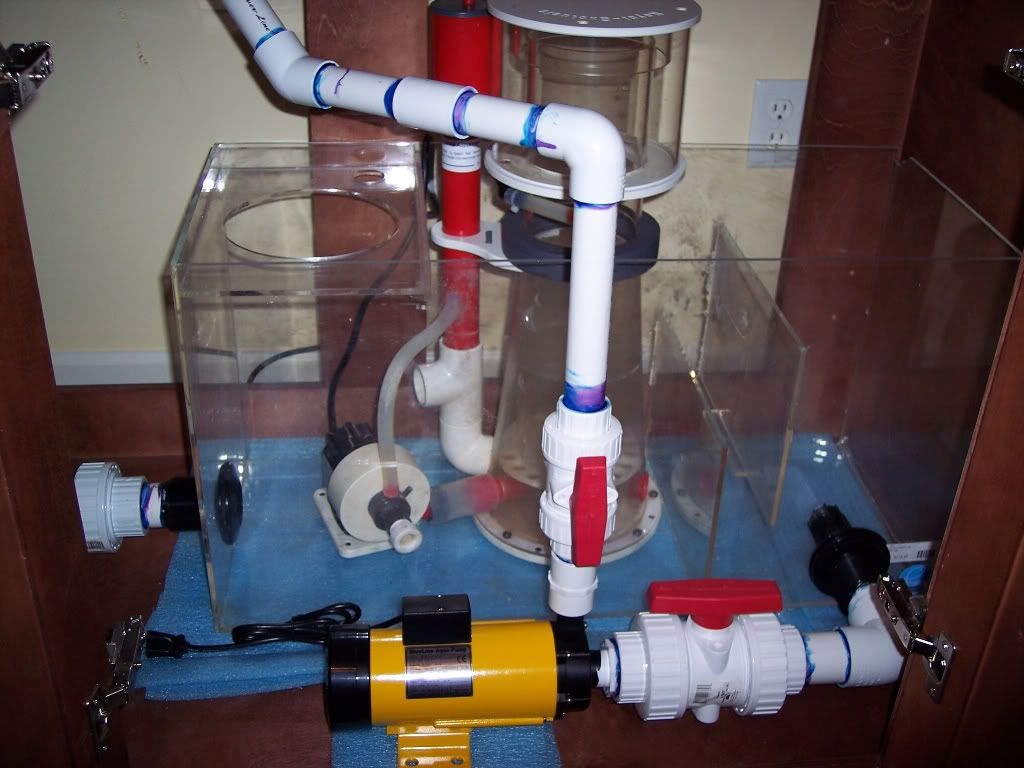
This is showing the Blueline return pump going from one of my sumps ( I have a refugium sump on the other side of the stand) to the return line.
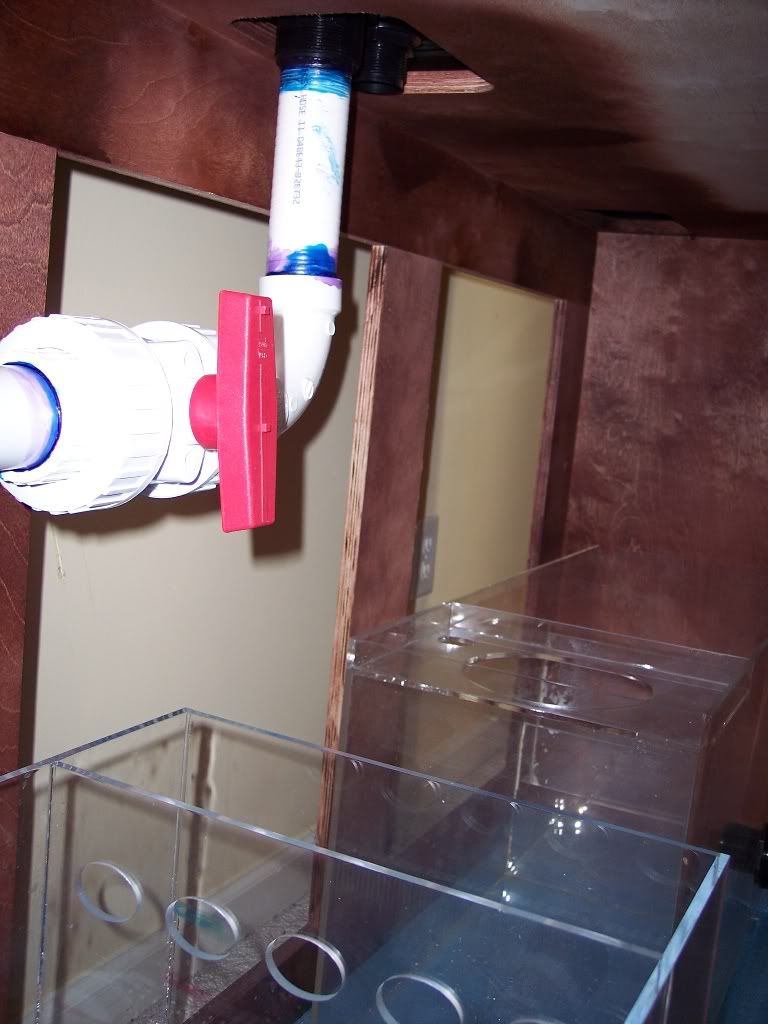
The drain line now in place going to the refugium. (1 1/2" drain line)
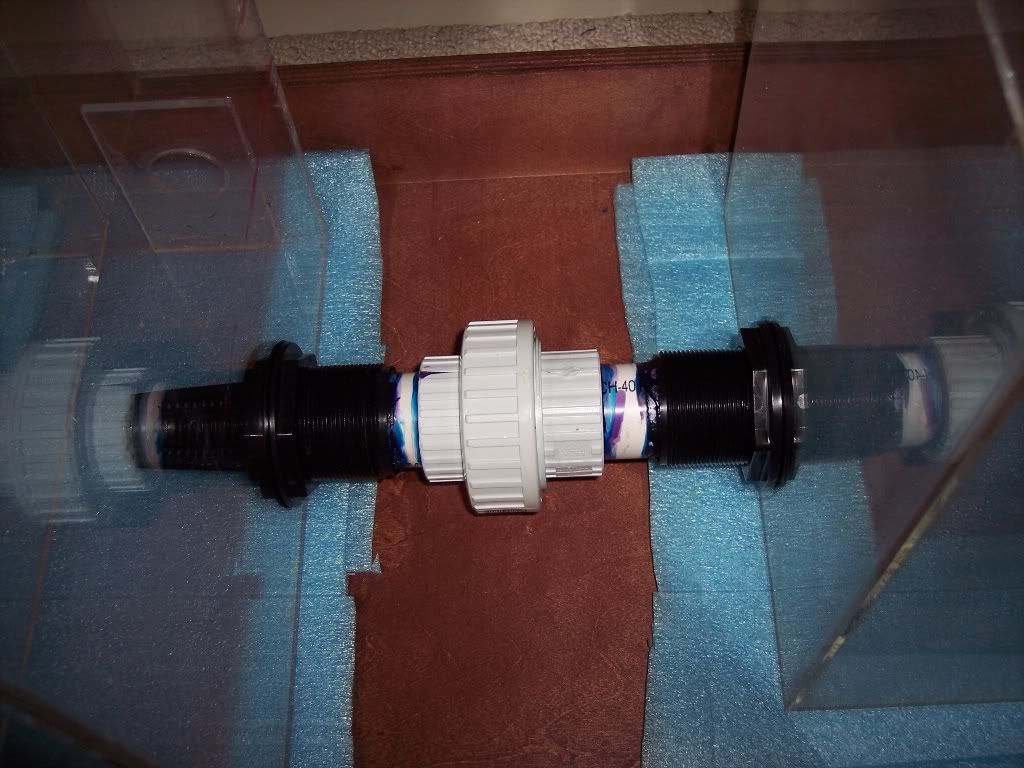
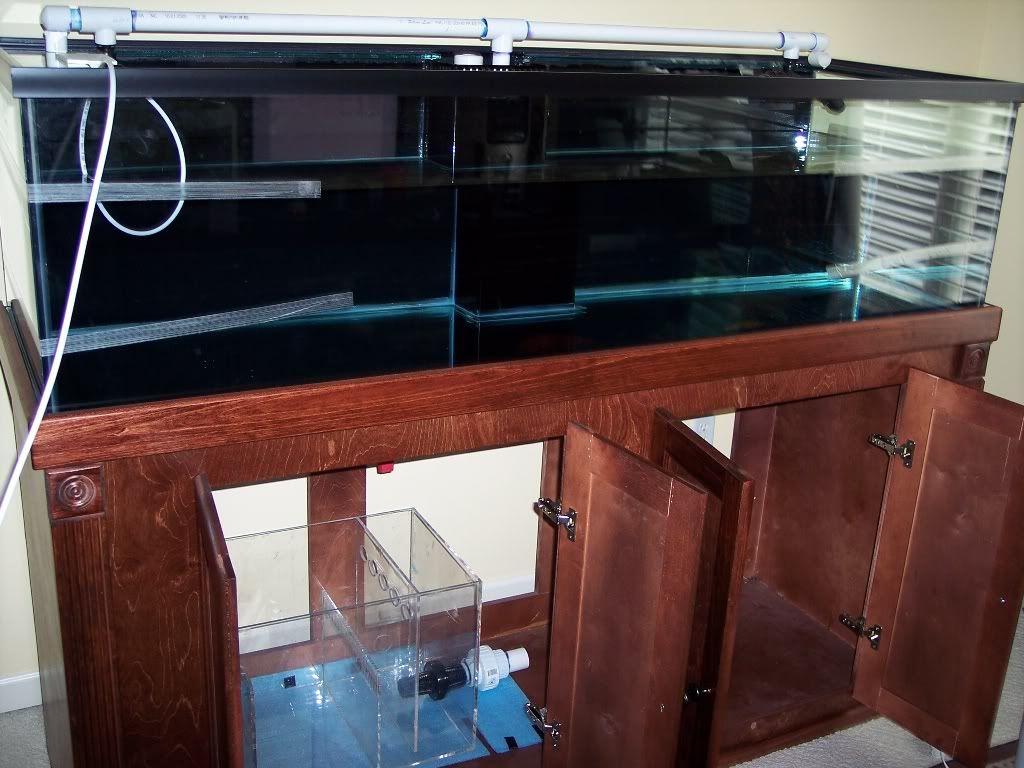
Got the sump and fuge drilled with bulkheads..........
Then attached the fuge and sump with a pvc/bulkhead/union. Wanted to use a ball valve but did not have enough room, so the union fit fine.
I had to take my old sump out from under my 75g to drill and add the bulkheads, so a friend let me borrow an old sump to put under my 75g for a day or two to keep it running while I finished the new tank. Here is everything piled into the temporary sump under my 75g for the time being..
Tank filling up with RO/DI water.....
A little over halfway full:
Sump and fuge connected:
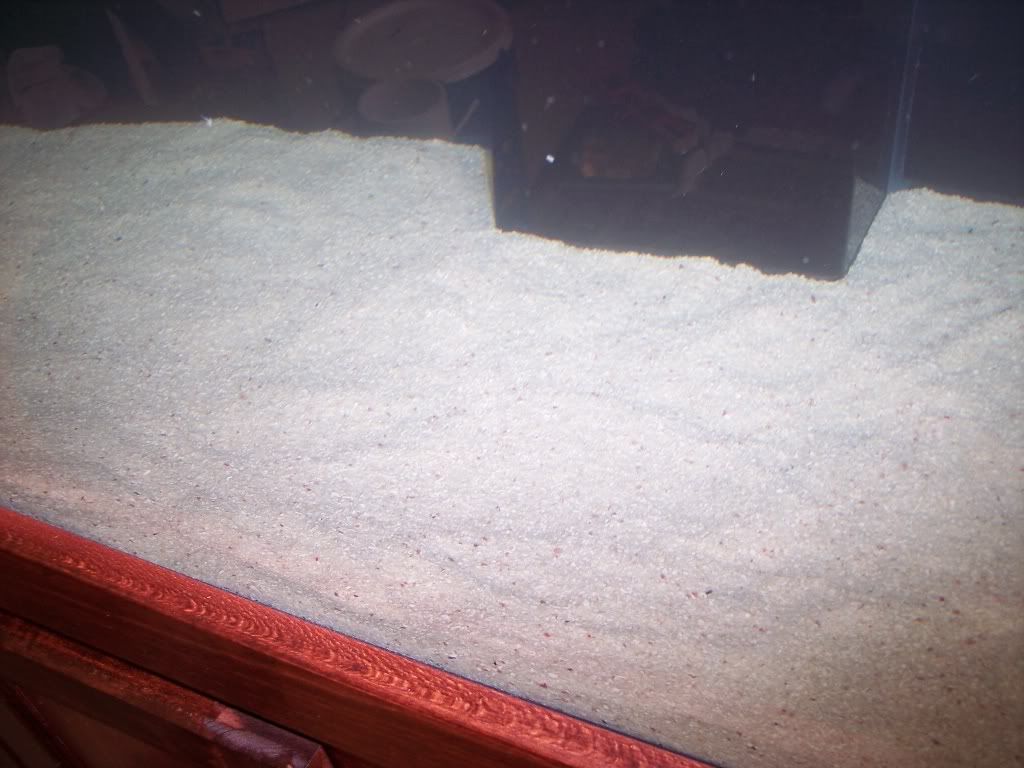
I read great things about this Tropic Eden ReefFlakes sand. Big enough to not blow around ~3.5mm, and nice and white. It is very clean coming out the box, no rinsing and it didn't cloud the water at all. I didn't have to use alot since I wanted a very shallow sandbed. This stuff is awesome sand!
Right after adding, no clouding!
Enclosing the canopy and venting the back:
I decided that since the wall the aquarium was on backed up to the attic, I was going to enclose the canopy, and vent the hot air out into the attic so I don't have to worry about my office getting hot and humid this summer.
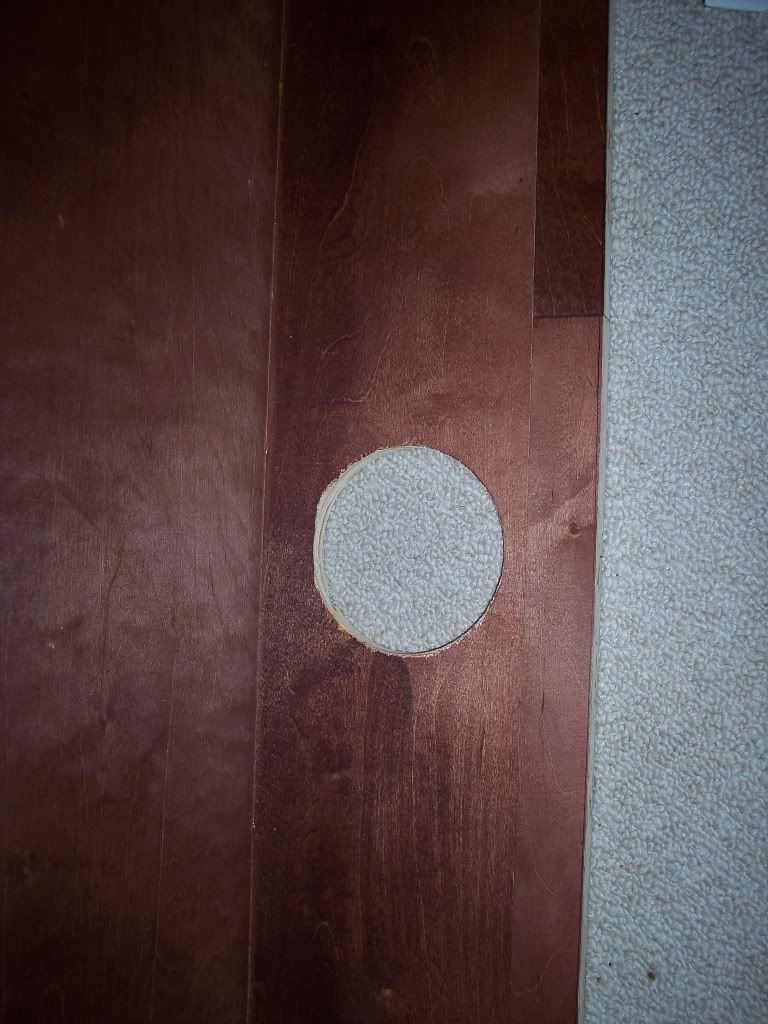
Hole drilled in the drywall with holesaw:
Hole drilled in the canopy back:
A wood strip that I added to enclose the canopy down to the tank:
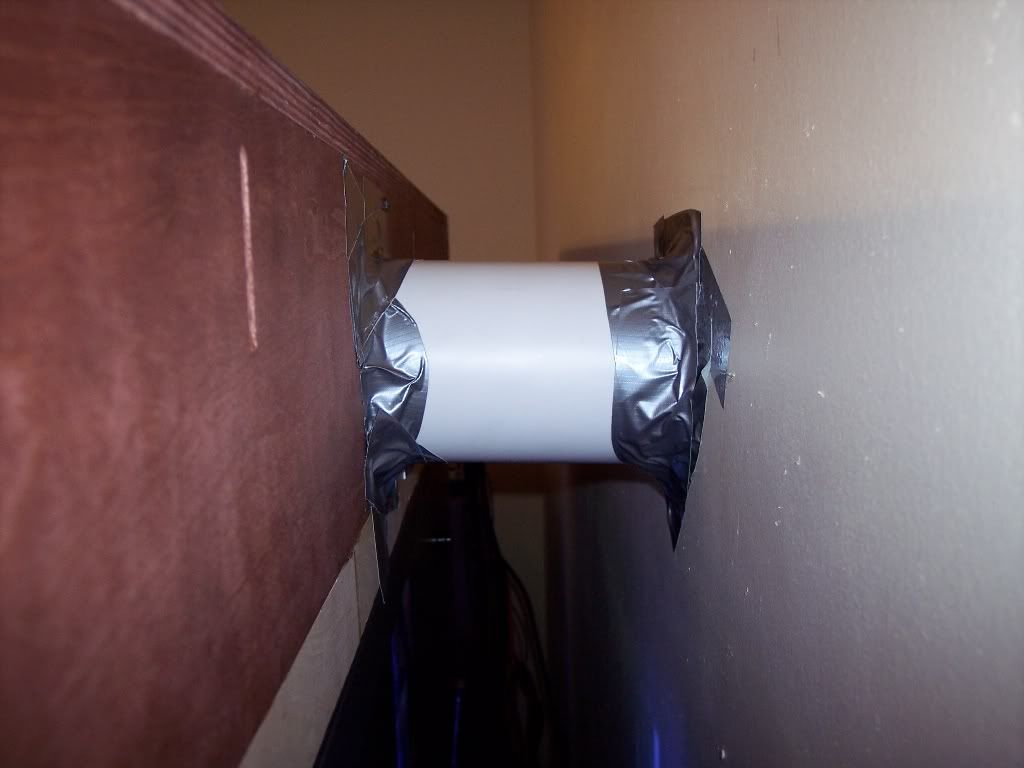
4" PVC pipe running from canopy to attic through wall:
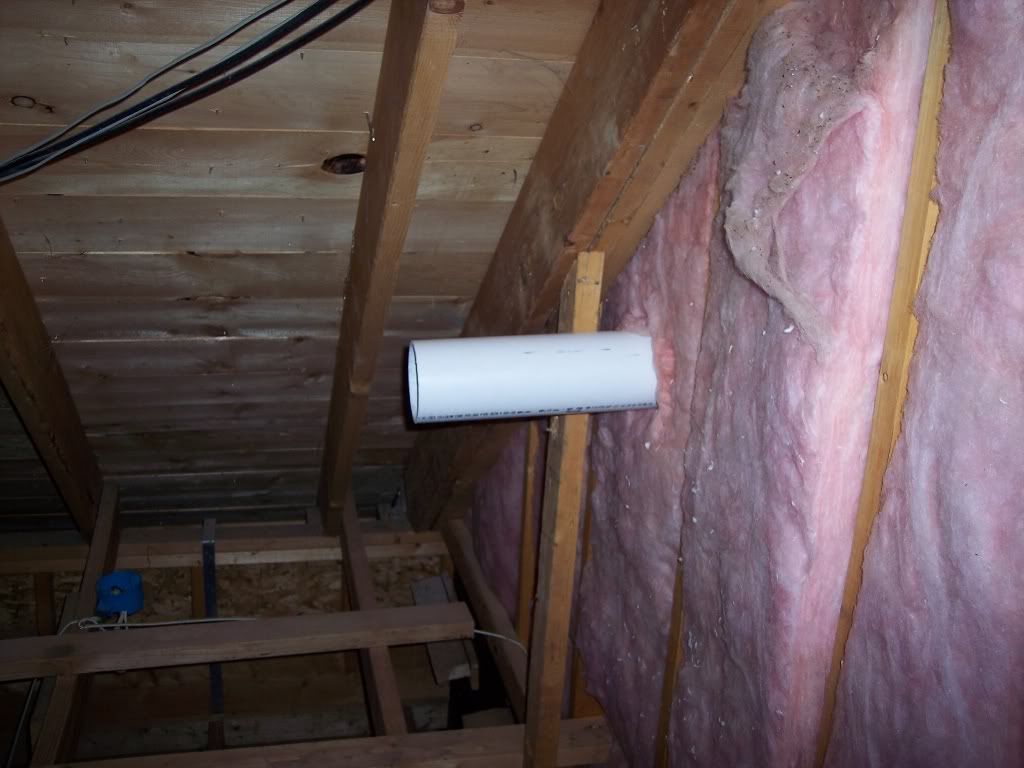
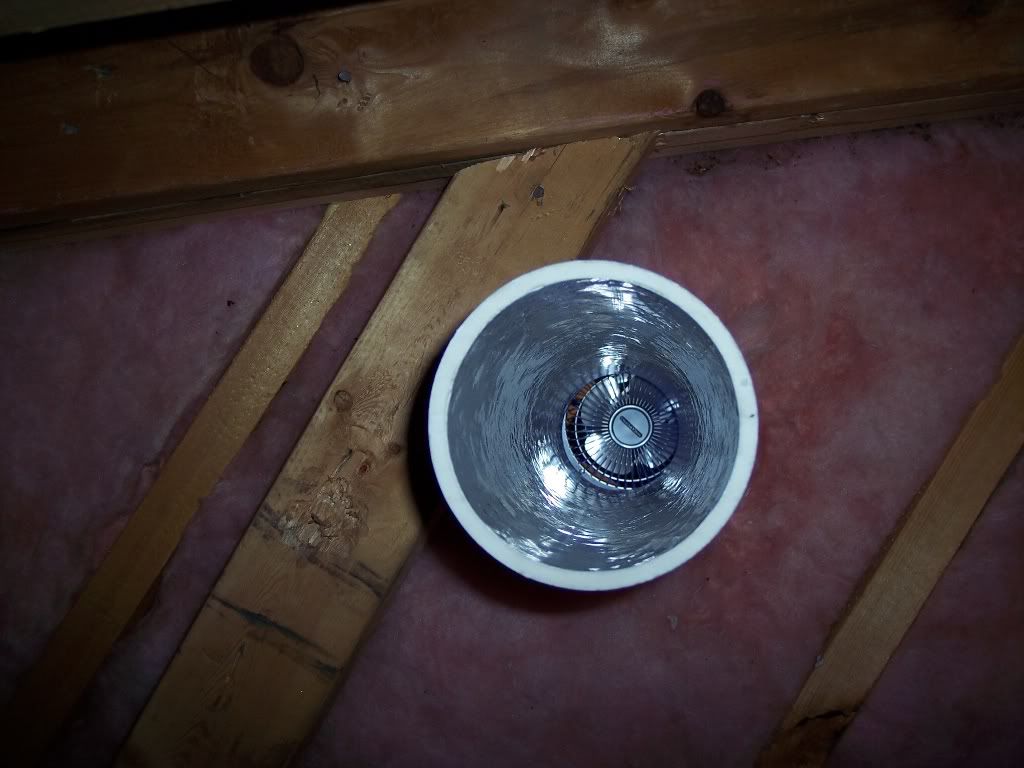
in the attic: (this will at some point have a plastic dryer vent attached to the end of the PVC to vent it out of the attic)
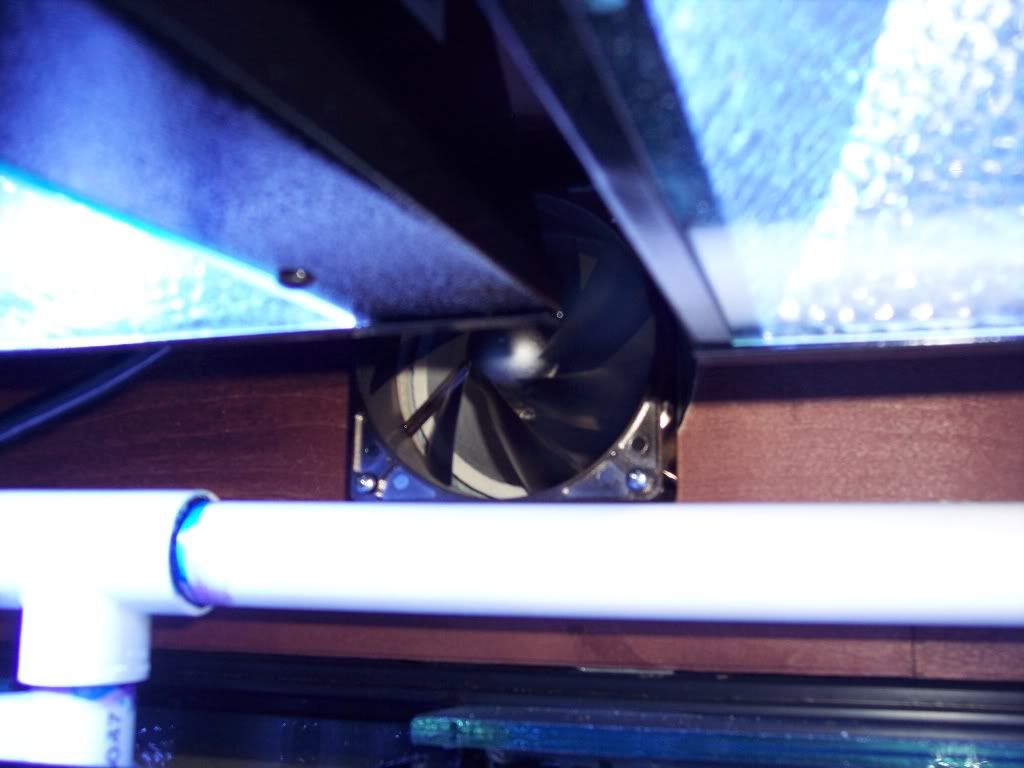
SilenX Fan with 90 cfm pushing air from canopy to attic: ( I also have two SilenX fans blowing 72 cfm's into the canopy, one on each end.)
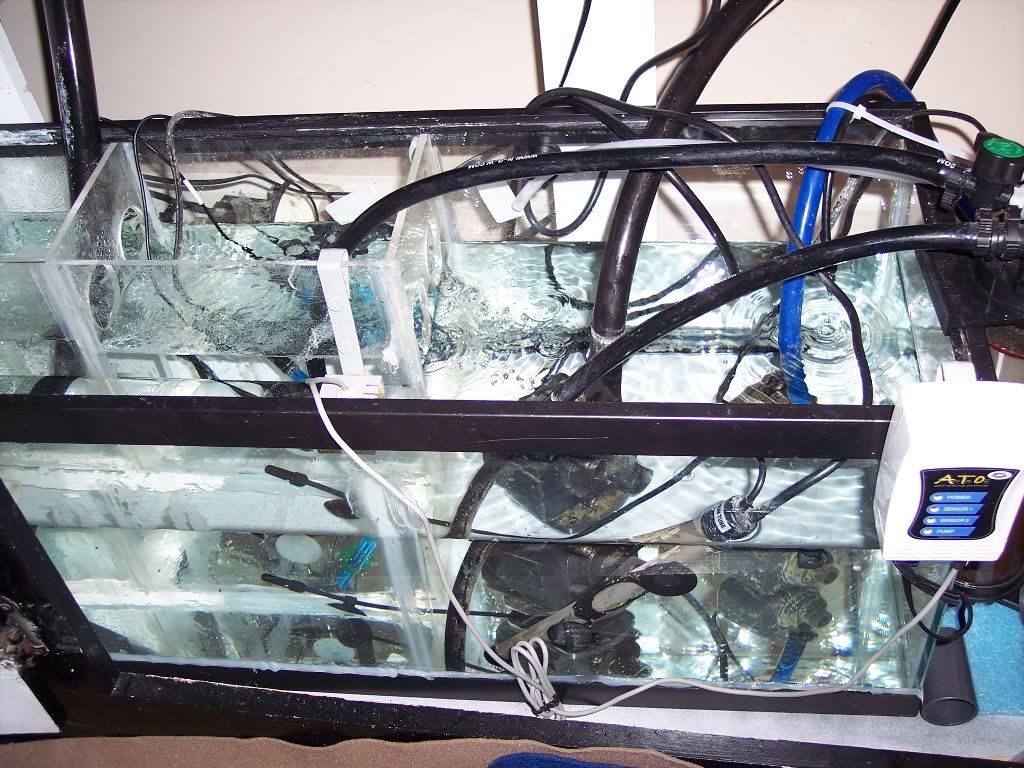
So, I found that the 1 1/2" connection between the sump and the refugium wasn't large enough for water to pull through as fast as the return pump could run. So I added a 1" line and union to allow some more flow.
Since I used an external pump this time, I had my whole return section open in the sump. I turned it into a frag grow out area. I added a Nano Tuners custom LED light over it. It has 2 blue and 3 white LEDs for a 12K light.
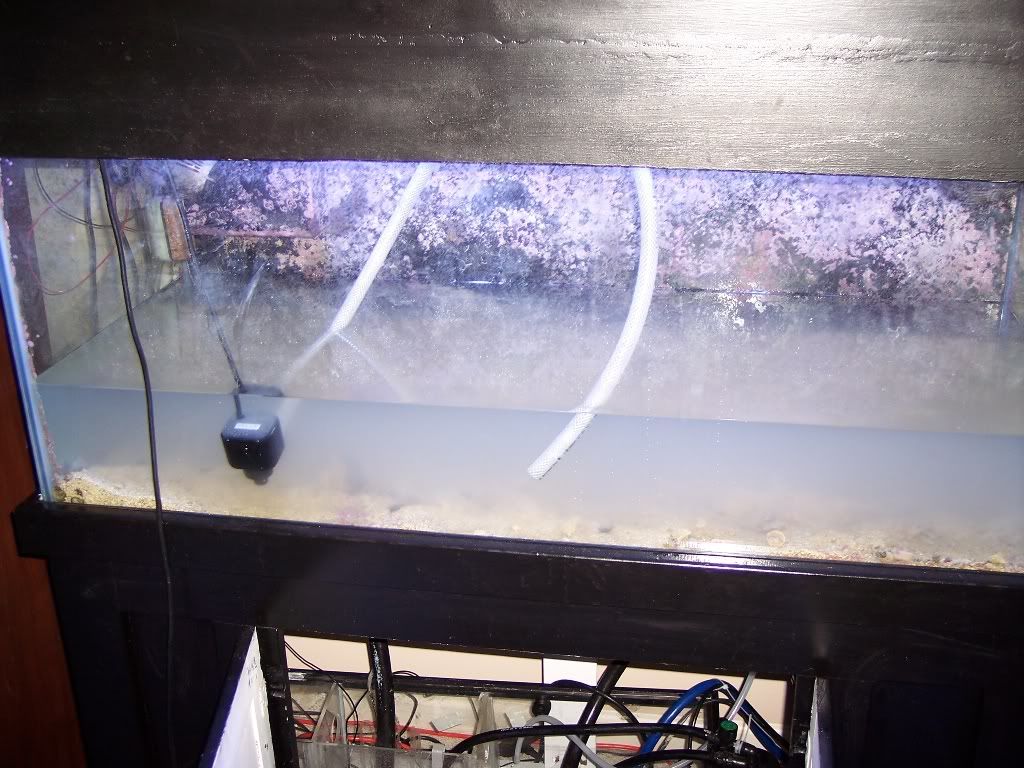
Everything now moved over to the new tank from the old 75g. Looks good, but empty of fish.
Old 75g still waiting to be cleaned up..... yuck
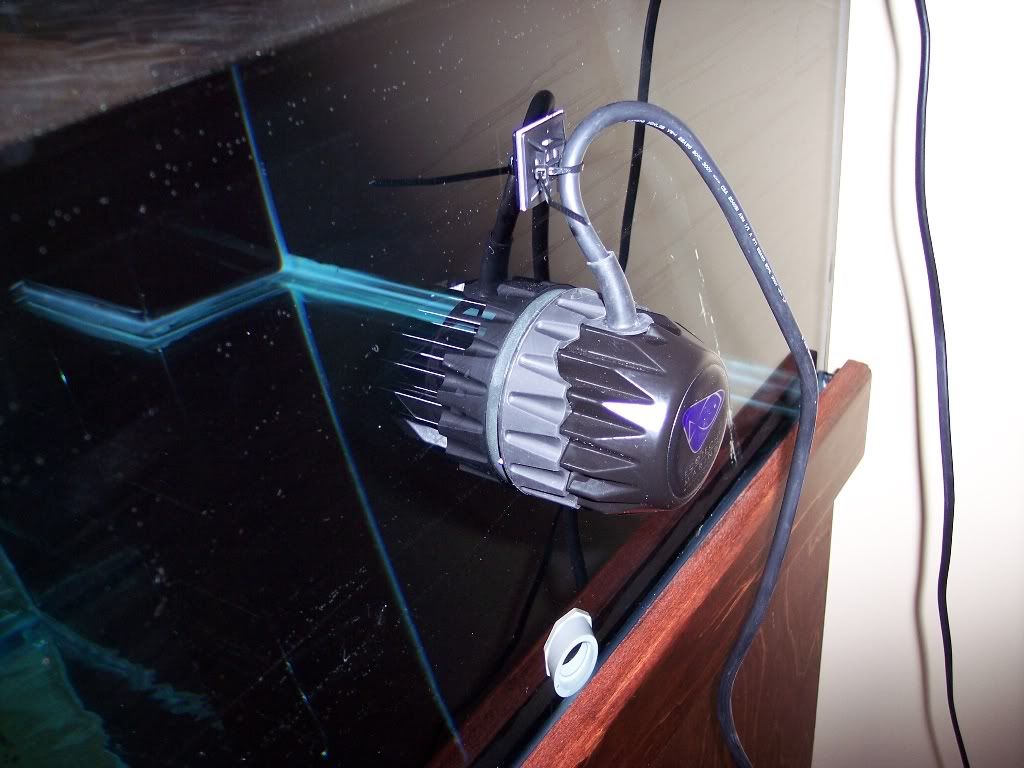
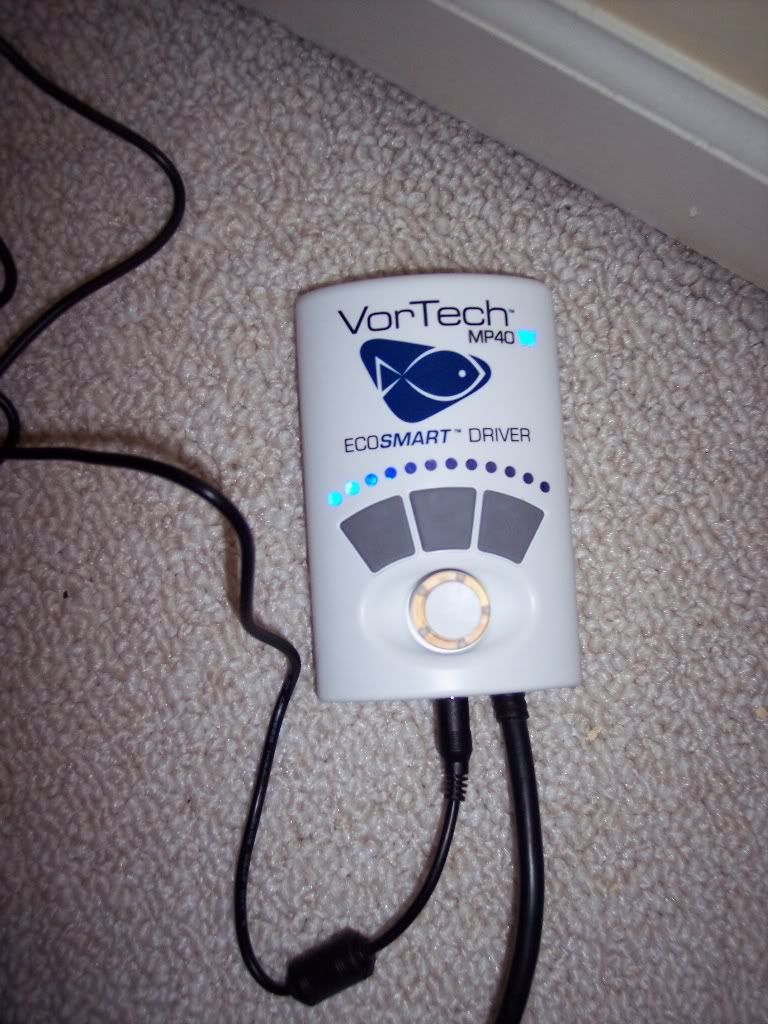
As for circulation, I have a Sicce Voyager 4 on one end with the front turned to the spiral flow pattern. On the other end, a VorTech MP40 ECOSmart. There is also my return pump doing about 1260 gph going through four loc-lines in the tank.
I now have this controller mounted on the side of my stand. It connects to a 30-hour battery backup.
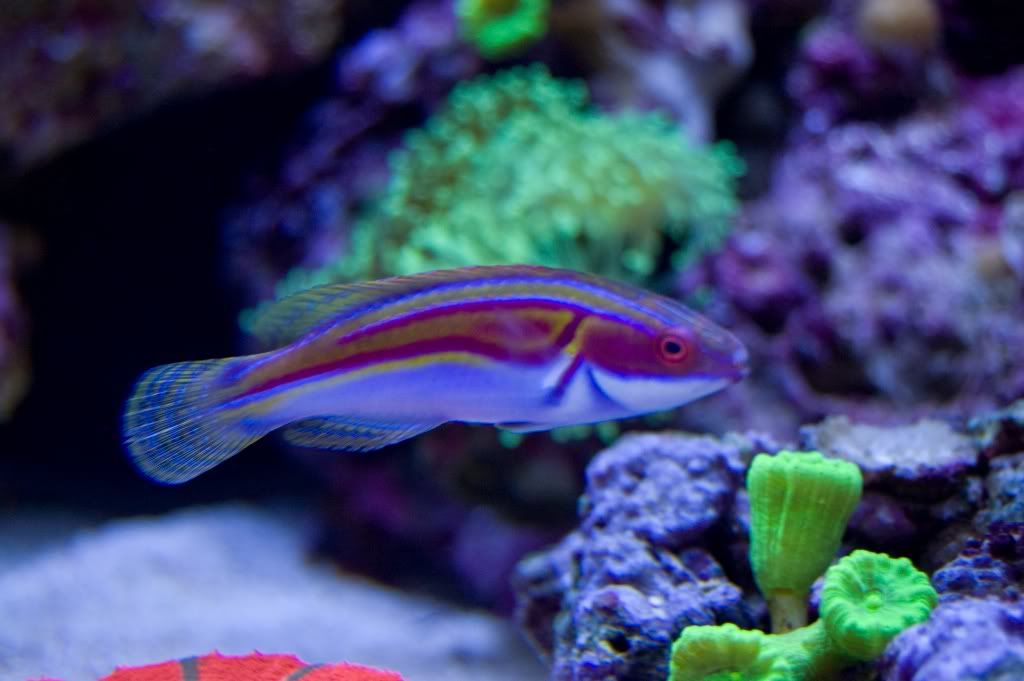
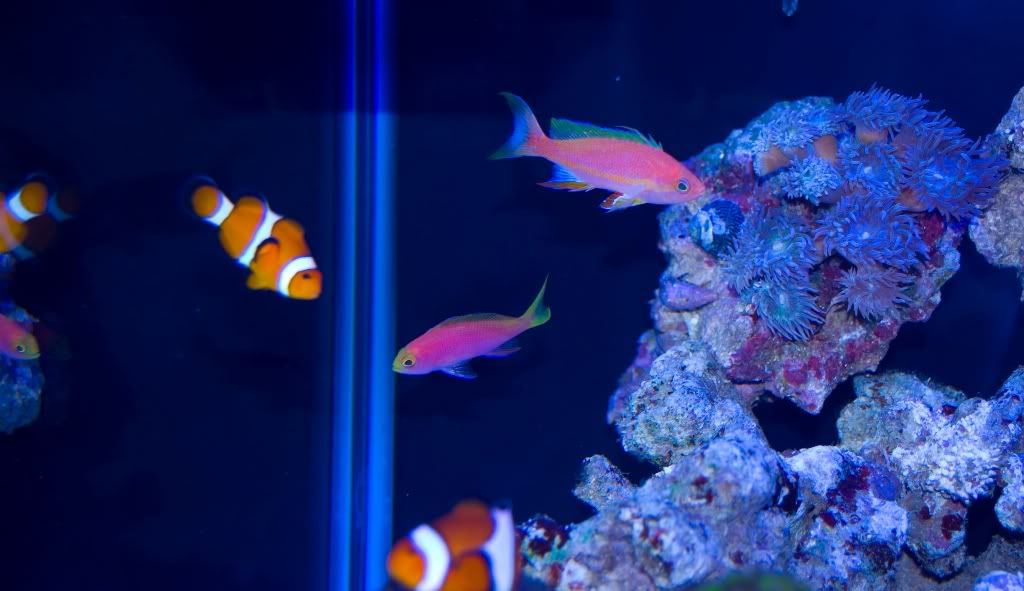
A Few new Tank Inhabitants:
Male and Female Tierra Anthias
Copperband Butterfly
Labouts Fairy Wrasse