My Canopy Build
by
, 04-30-2010 at 09:45 PM (5280 Views)
I sold my T5s and decided to go back to MHs. I didn't want a fixture, so I would need a canopy. I decided to make my own to save some money. Although in the end I probably spent just as much as if I would have had bought a canopy, I feel the project contributed to a skill I would like to further develop, carpentry. Not to mention the sense of accomplishment that you get from completing the project.
While you look at the pictures remember, this is my first ever carpentry project. It's not perfect, there are things I learned and there areas where I could have done better.
I got the plans from this website:
http://www.timbob.com/Aquarium/canopy_build.htm
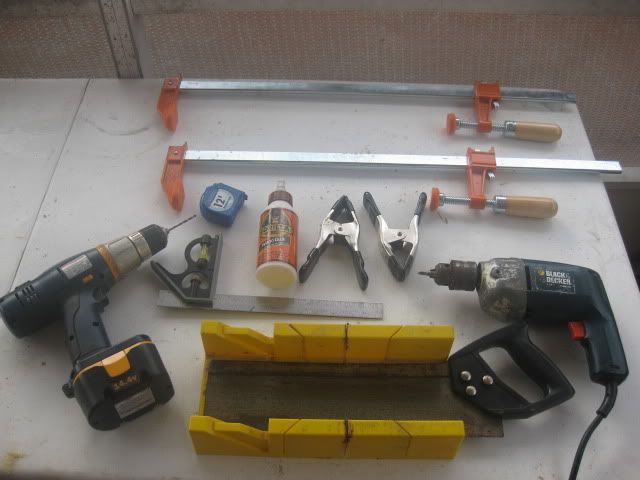
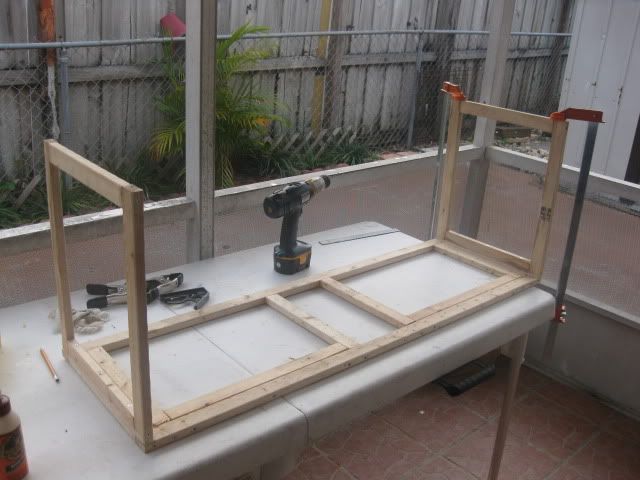
Some of the tools I used, later on I bought 4 more smaller clamps and later on returned the larger ones.
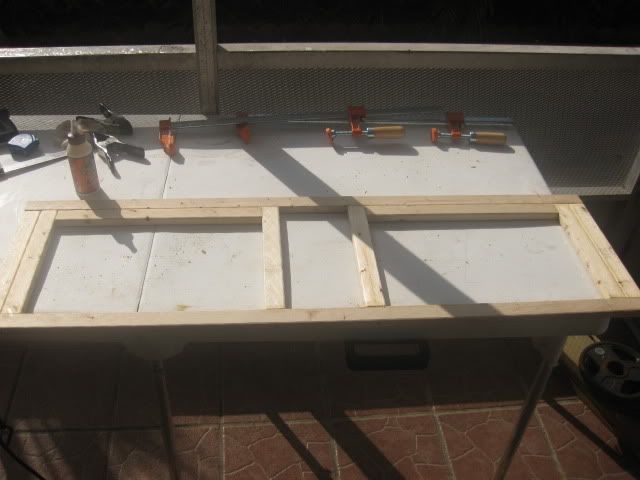
The front frame
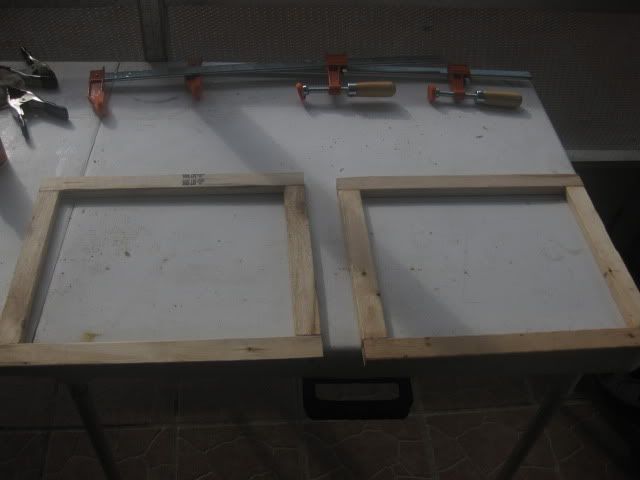
Side frames
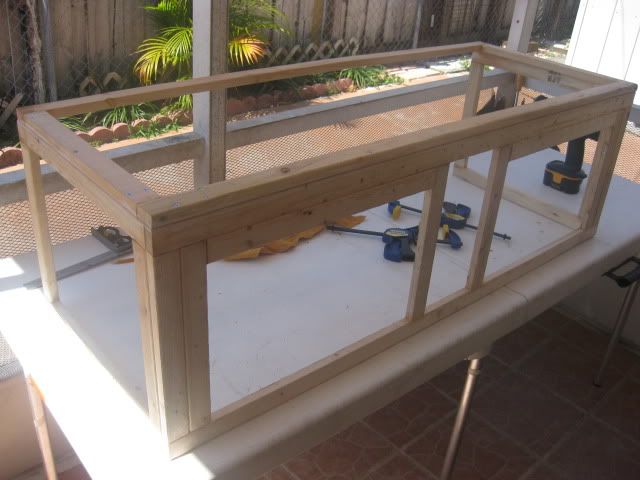
Here I'm gluing the side panels, later on I added screws to reinforce.
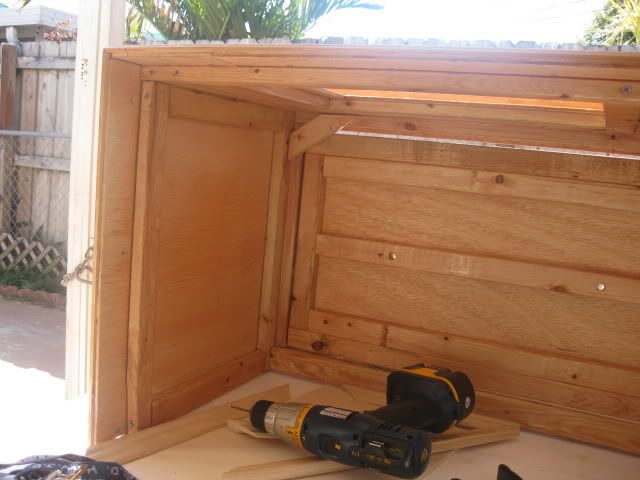
Here it is all together with a top frame glued and screwed in for rigidity.
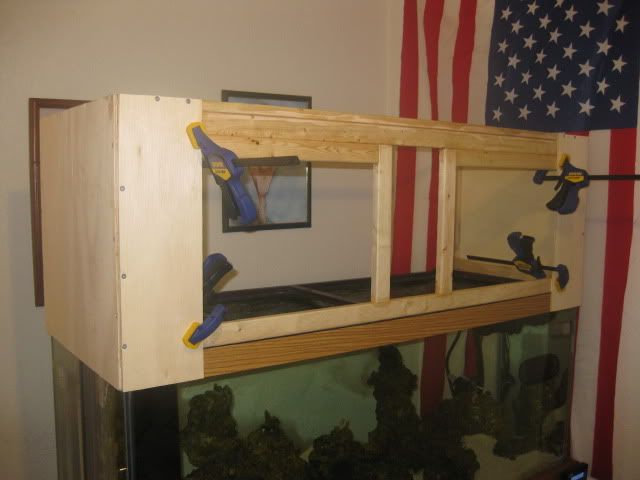
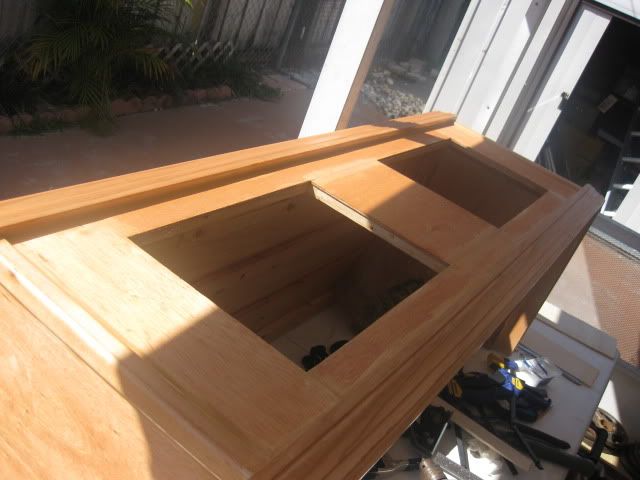
Here I am skinning the canopy and trying it on the tank to make sure it's all flush.
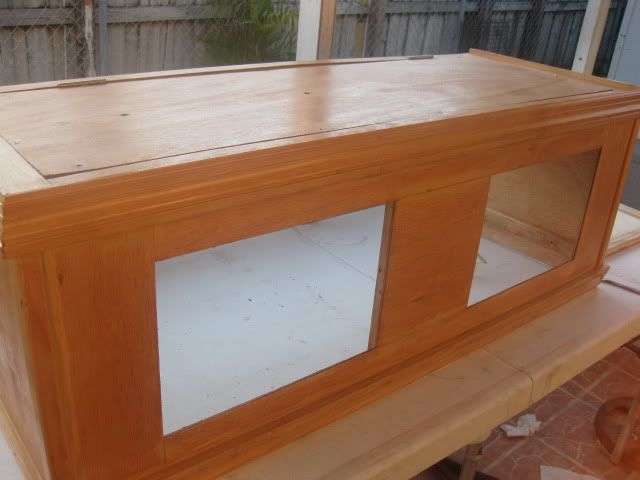
All skinned
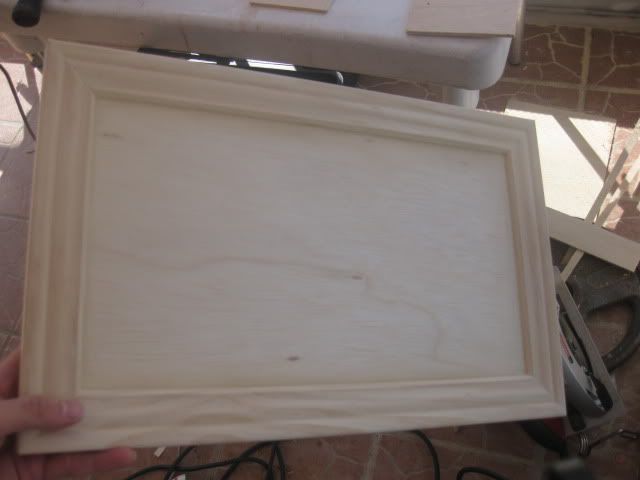
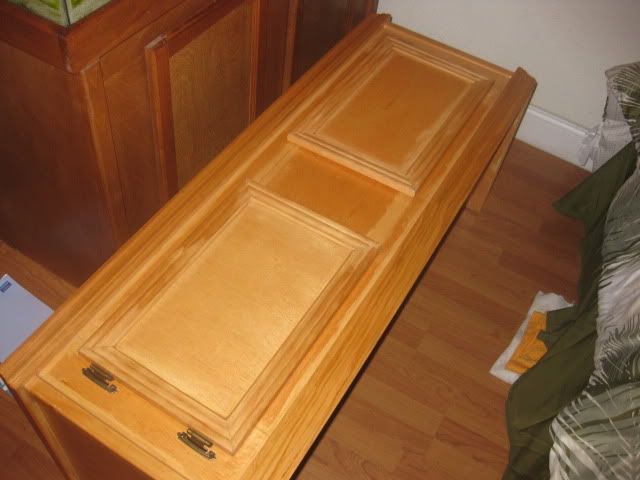
And the door(s) It was a PITA to make the doors. Ideally If I had a router I would have made slots in the middle of the door frames to slide in the door panel. But I don't have a router and was not going to buy one.
Since I ain't no carpenter, I had to use a lot of filler to do away with some of the small gaps between the moldings. Overall I think it came out pretty good for a first timer.
Here I'm staining and coating with polyurethane.
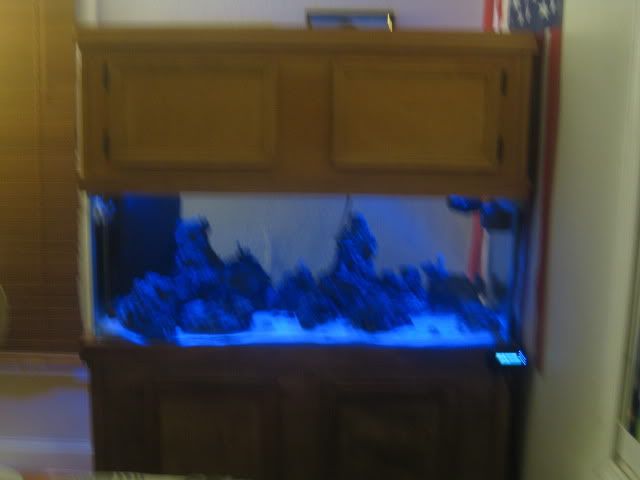
One of the mistakes I made was not accurately identifying the colors, as you can see I added a lighter stain. It doesn't bother me, I just wanted something to house my lights. Doesn't look too bad right?
