Electrical additions
by
, 09-27-2012 at 11:46 PM (4754 Views)
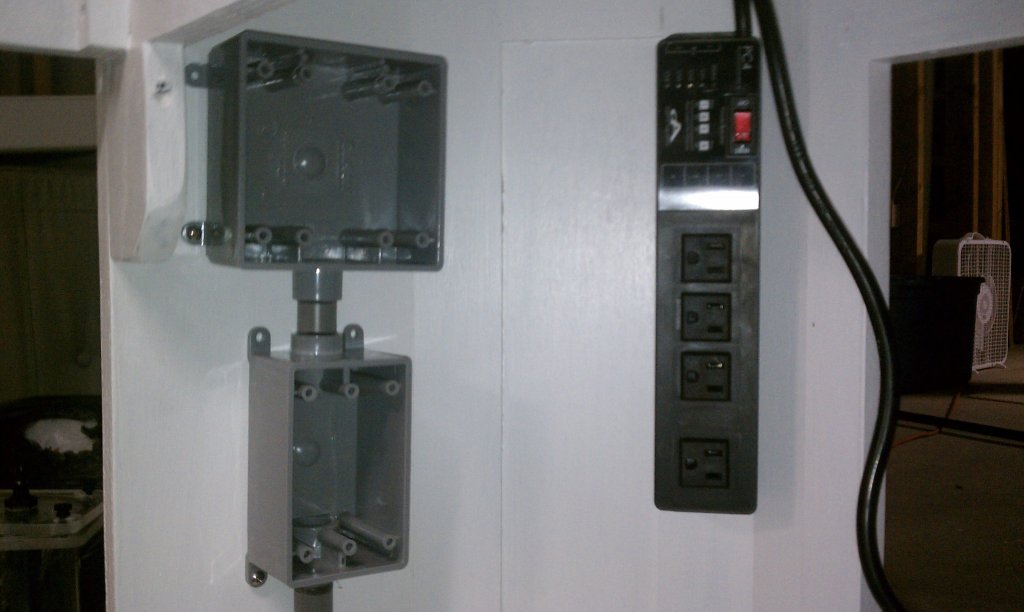
Major construction finished, I'm moving on to fit and finish. Next up is electrical. Last iteration of this tank had a power strip velcro'd to the inside of the stand and lighting on an analog timer. That was not going to fly for the revised version. I started by installing outdoor grade PVC conduit. I installed a double gang box for outlets and a single gang box for a switch that would control one of the two outlets.

I ran a three prong cord into the boxes through PVC conduit. There is a GFCI outlet that is always powered and a standard outlet, protected by the GFCI that is switched. I'll use the switched outlets for the skimmer and the always on for my aquarium control system.
I picked the ReefKeeper Lite Aquarium Controller for my tank. A single four-socket Power Control module and PH/Temp probes round out the system. Set was a snap, but I'll wait for final configuration once the system is in place. I'll use the aquarium controller for main lighting, moon lighting, and main return pump. Heater will probably be always on and use its integrated temperature controller, but not completely sure yet. The wiring is tight, and looks good. Nylon p-clips hold all the cables tight to the stand. I used stainless steel screws throughout, so rust should not be an issue.
p.s. Spam control on this site would be a plus! If you need moderators, please ask!


