My superman nano tank.
by
, 05-07-2011 at 10:06 PM (3666 Views)
I thought I'd share how I built my nano tank for my daughter. This was originally going to be a seahorse tank but I found out later it was too short.
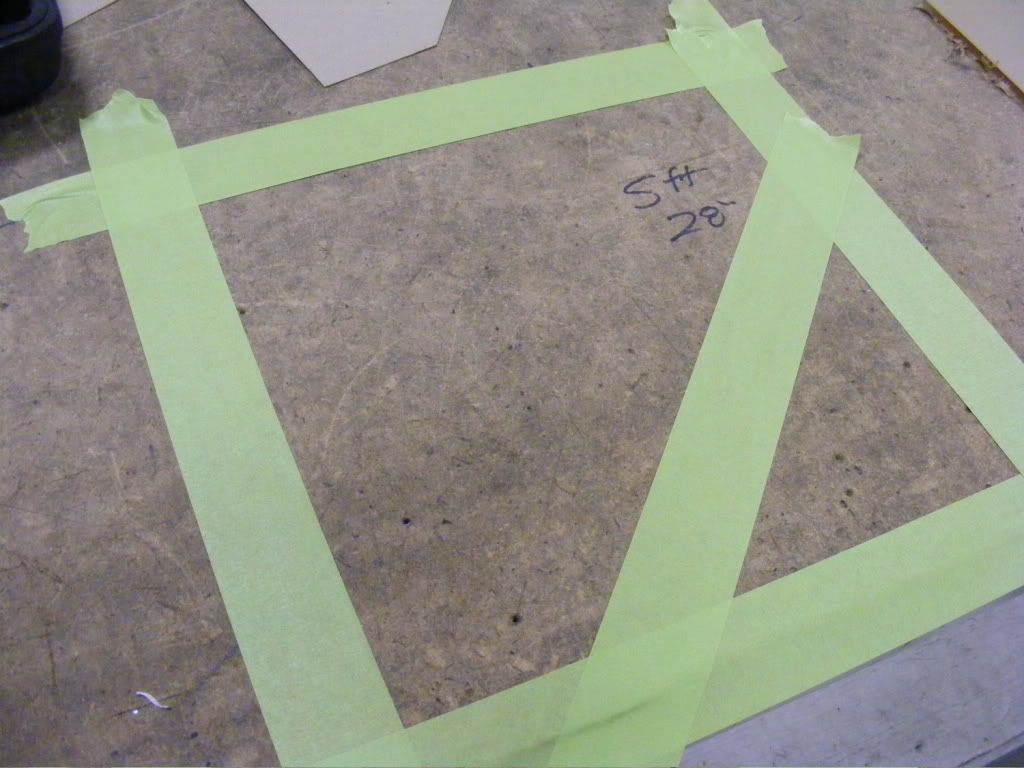
1st I laid out the design I wanted, I wanted something different to show off some acrylic skills.
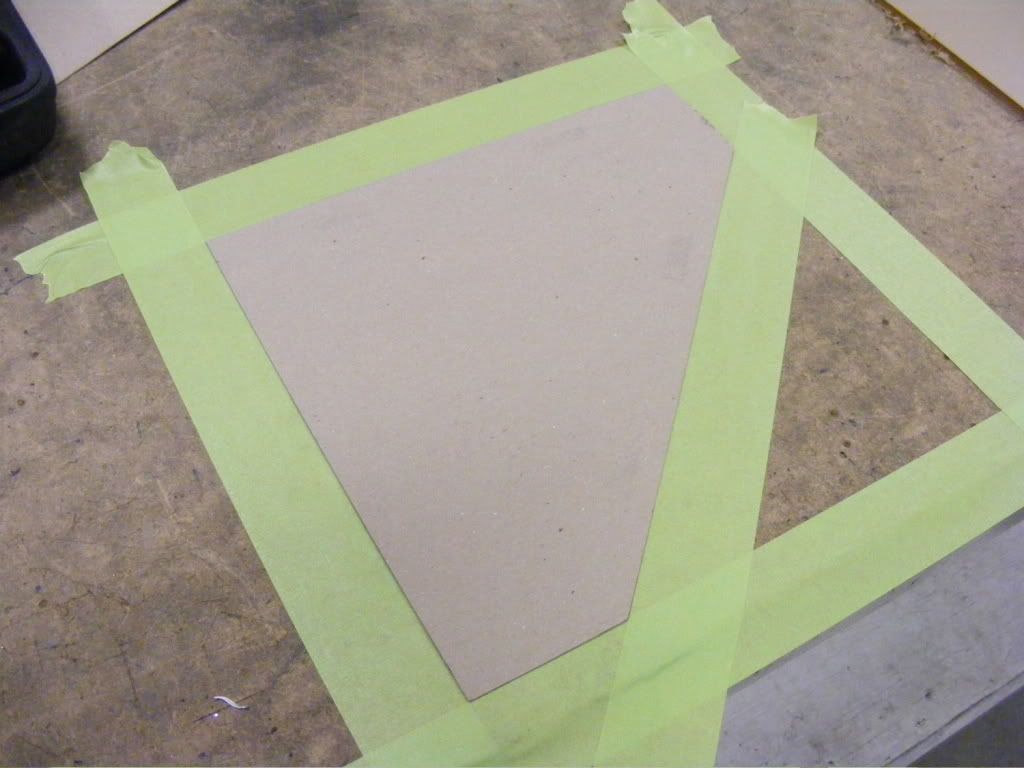
2nd I made a cardboard template so when I bent the acrylic I could make sure the 1 piece side was correct.
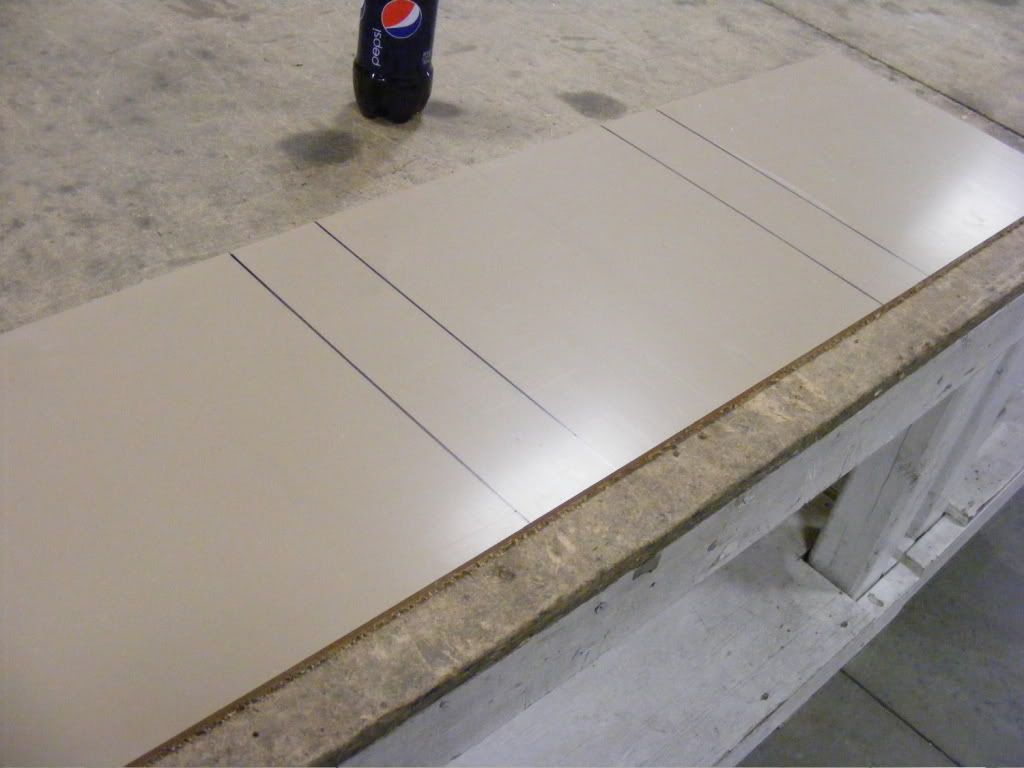
I then made the bend marks on a flat piece of acrylic.
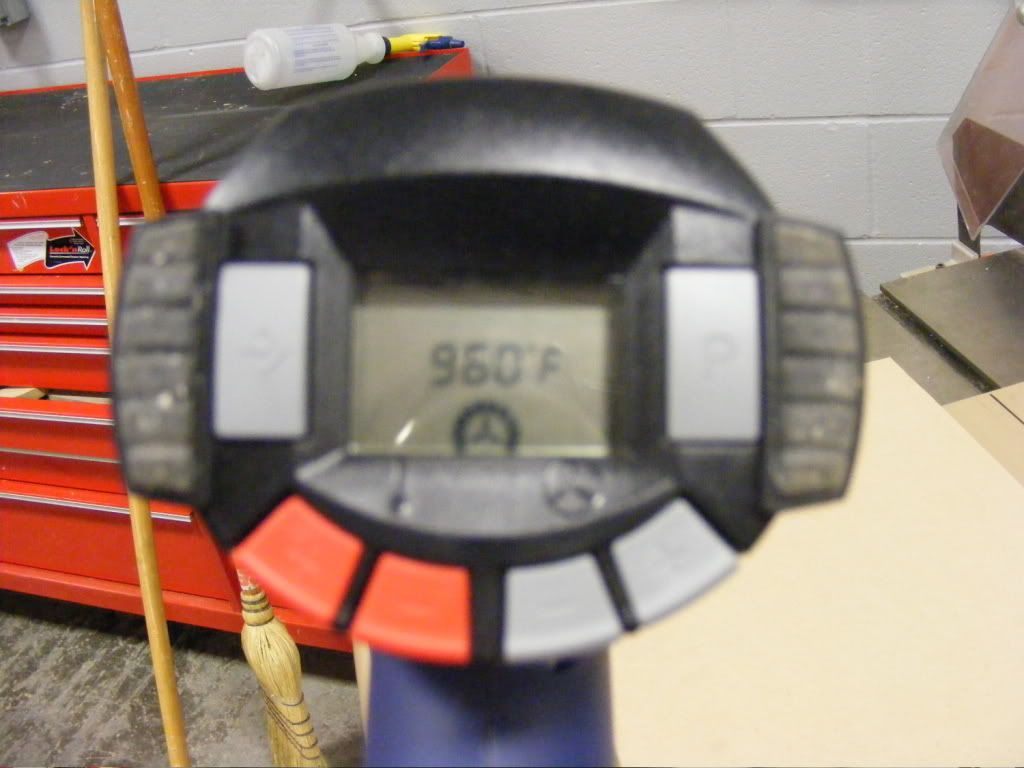
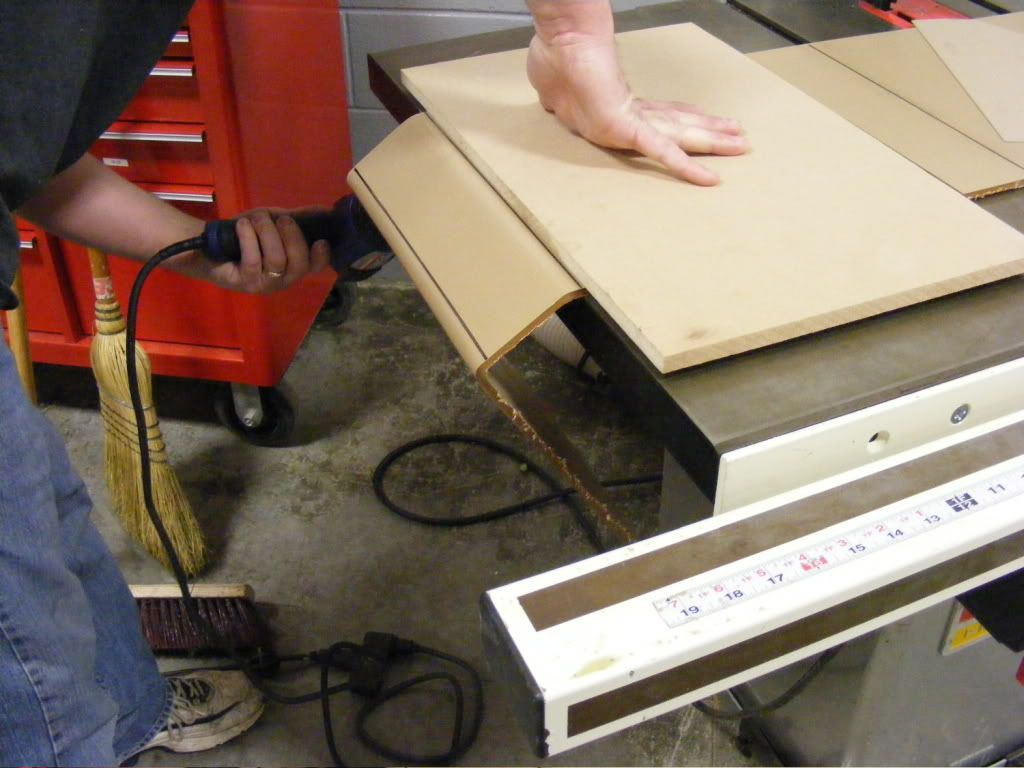
Now it was time for some heat, I used a heat gun, but you could use a small torch just be careful not to overheat the acrylic or it will bubble.
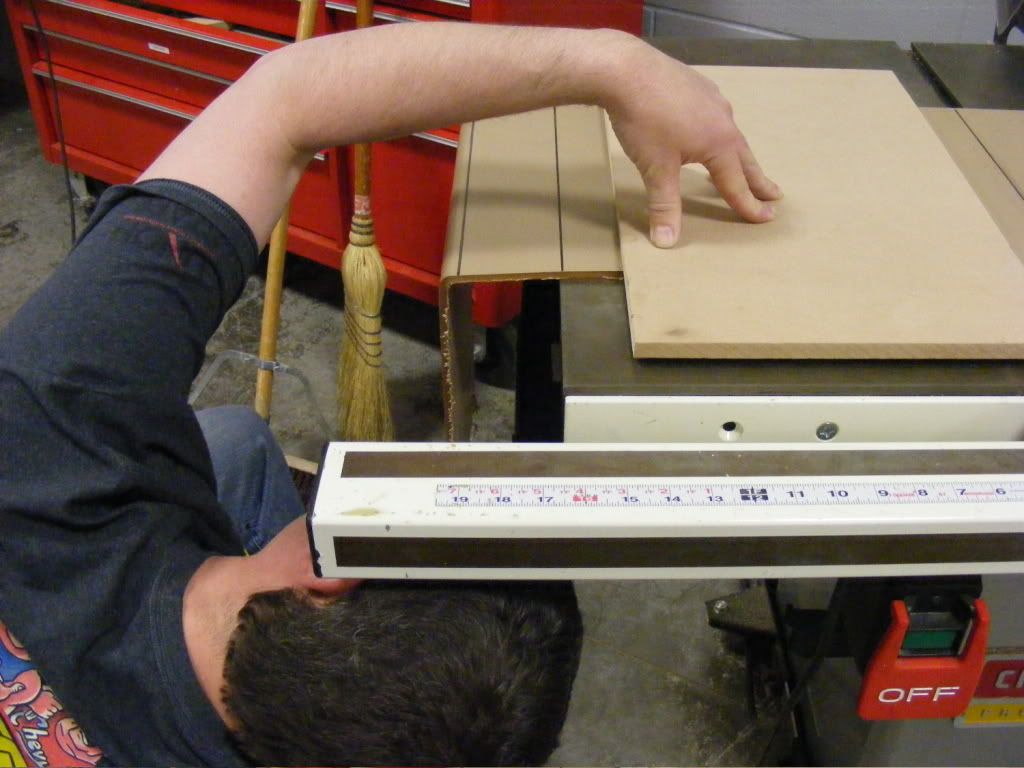
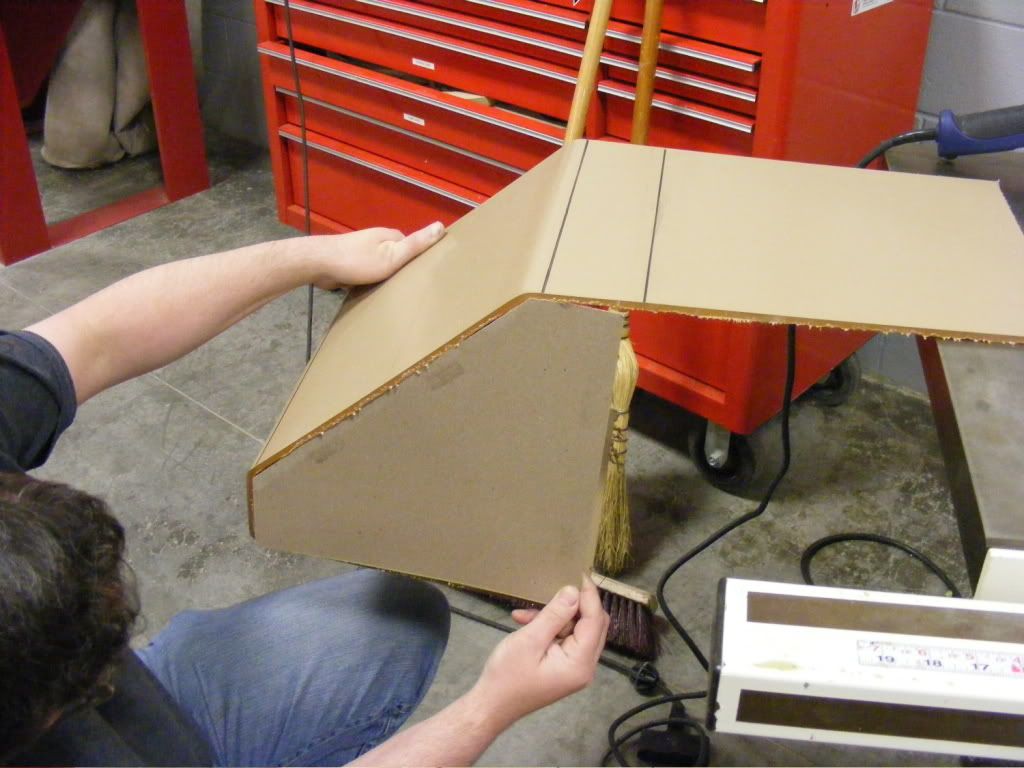
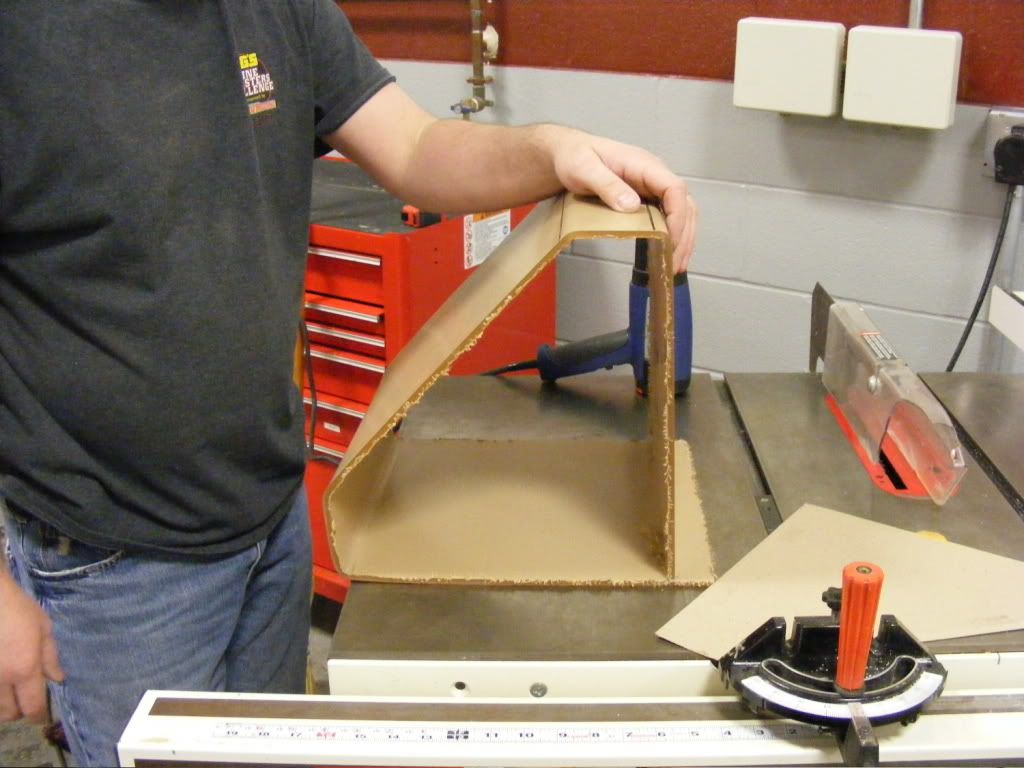
Now it was time to bend. You need a good straight edge. I used a table saw and a scrap piece of wood. You want to heat up the top side until the acrylic rises, then heat the bottom. Repeat until it starts to fall no matter which side its heated on.
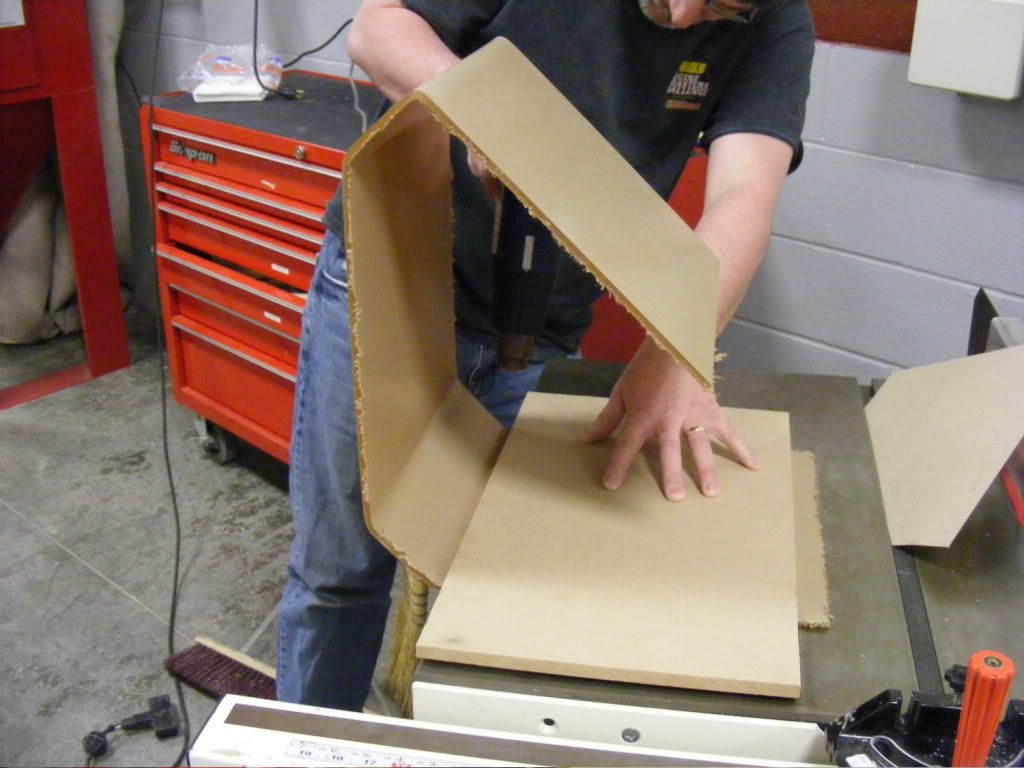
A few more bends and its starting to take shape.
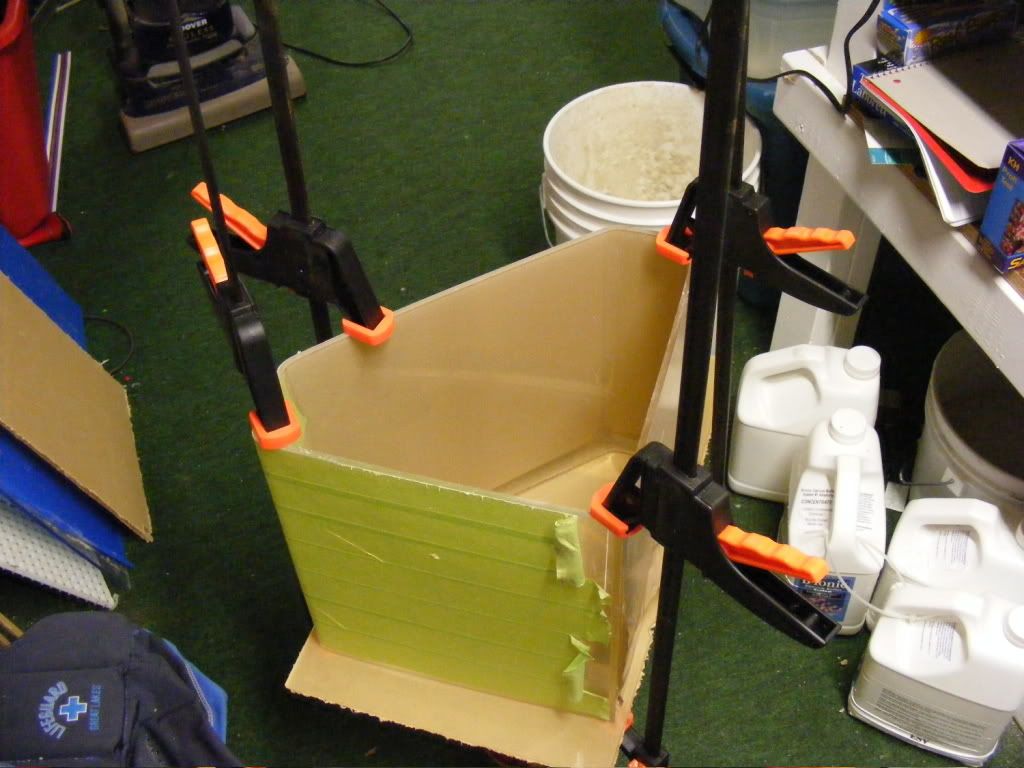
Now to finish it up and only have one seam on the side, which is actually the back corner.
Ok, you may have noticed that the corners didn't line up in the last pic. Thats ok because I'm going to use a flush trim router bit to clean it up later.
Once the back seam was glued and flush trimmed I glued it to the bottom, again I will flush trim to fit after the glue dries.
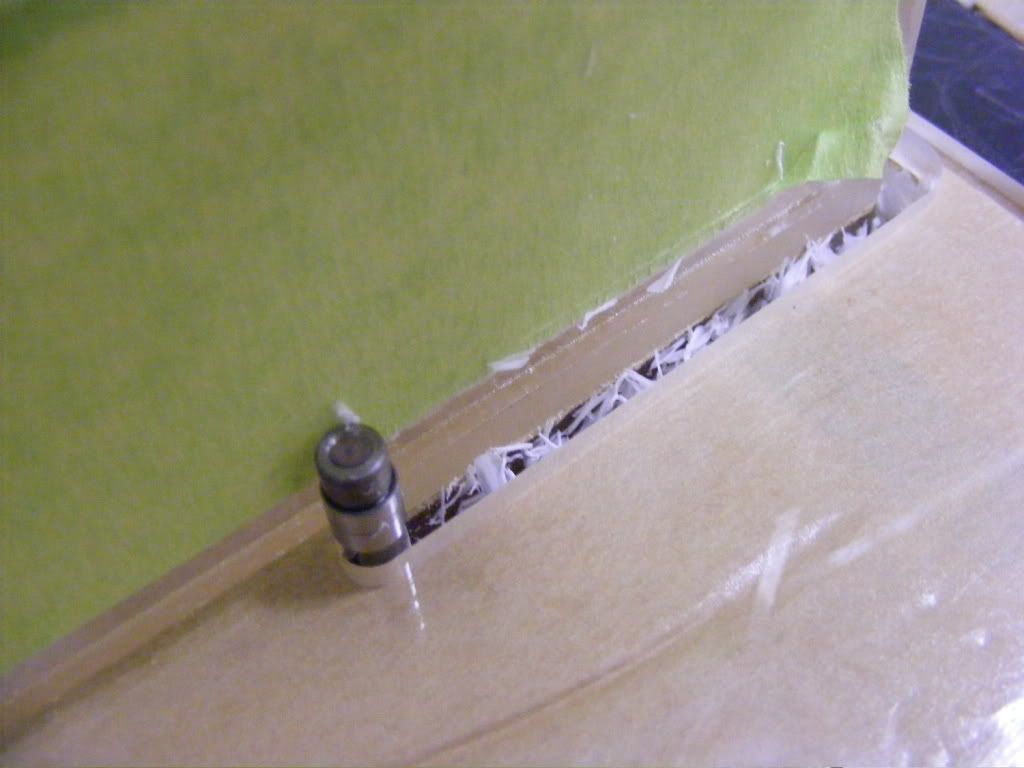
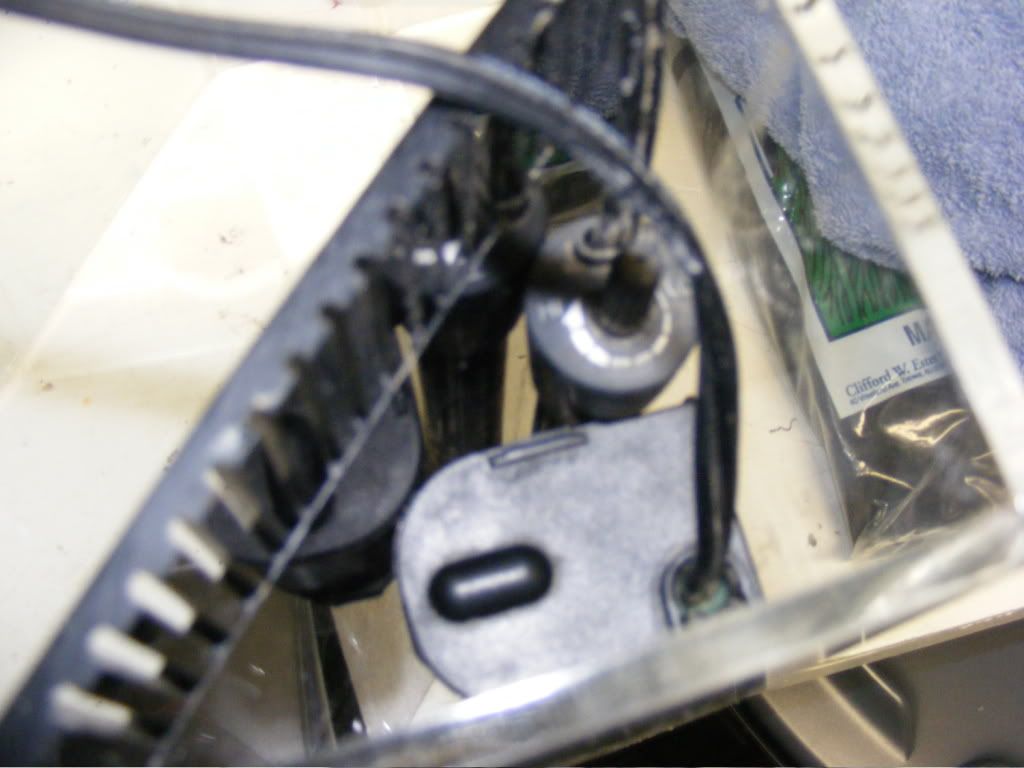
Heres a shot of the flush trim process, this assures that the bottom is perfect even if I'm not....
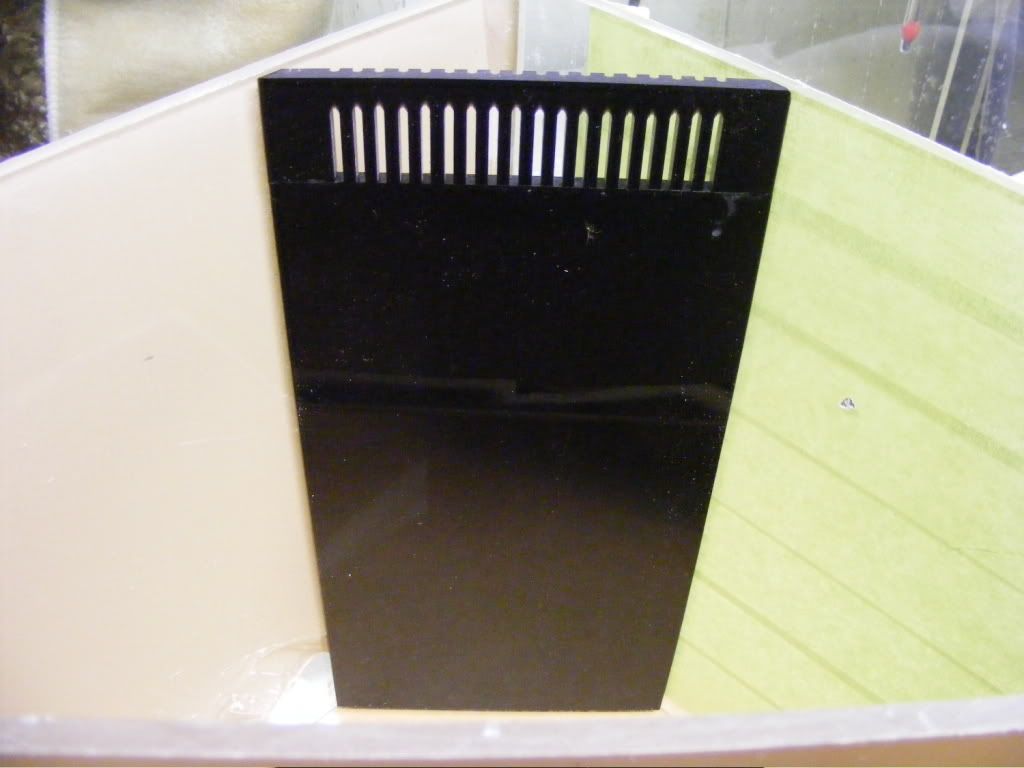
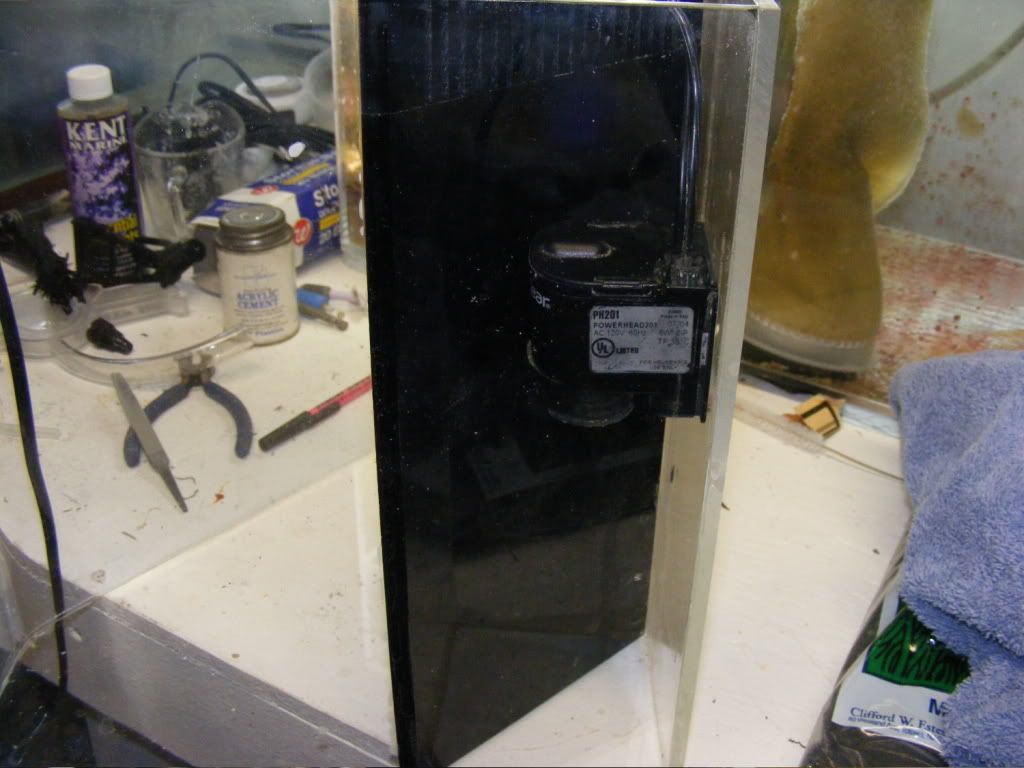
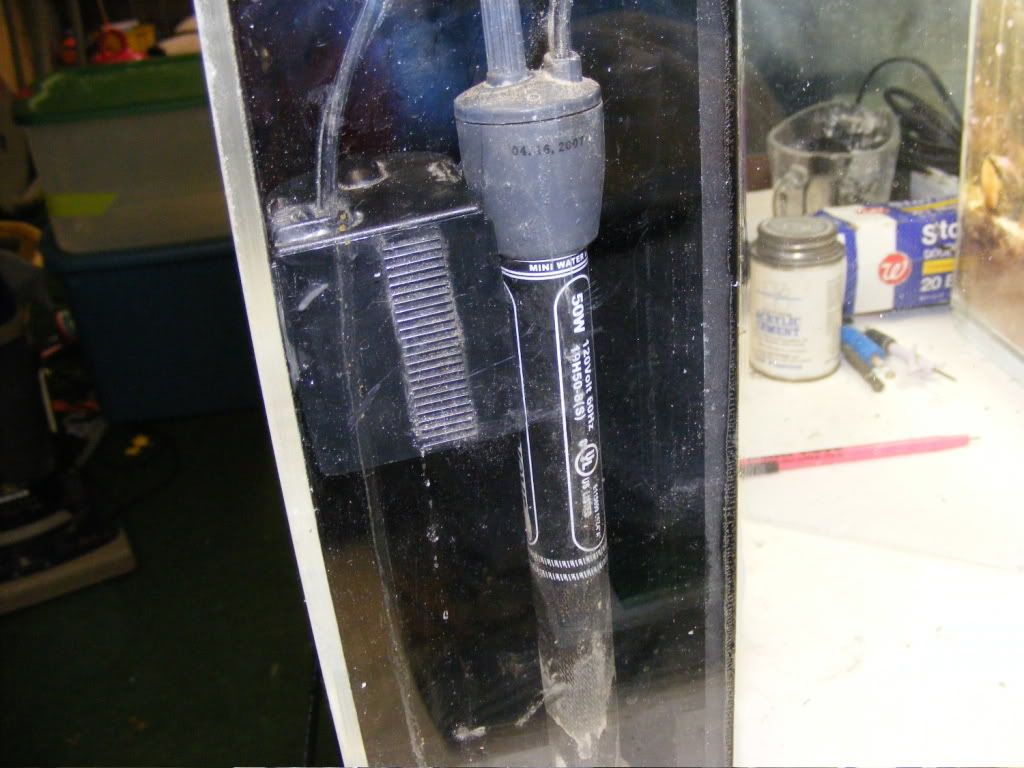
I decided I wanted to hide the power head and heater so I made this fake overflow/cover. It would also allow me to ad an overflow later if I so desired.
Tight fit but it works.
Now it was time for a water test.
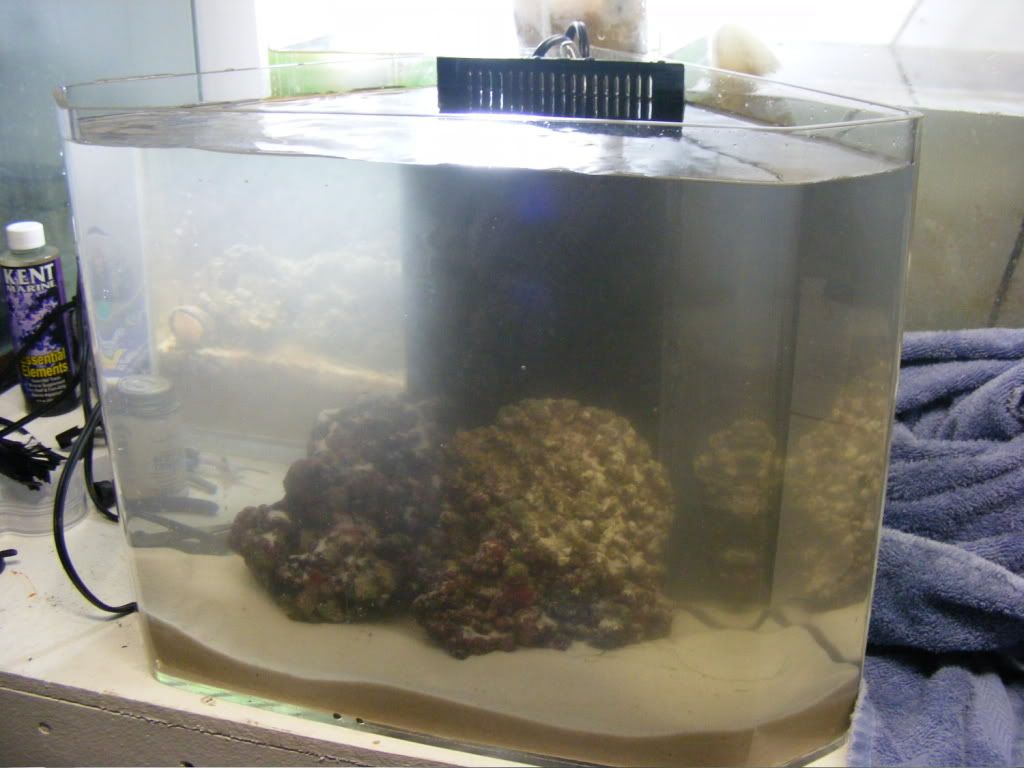
I decide to add some sand and a piece of live rock.
Sadly my daughter lost interest in this tank after one of her friends decided to scare the clown fish into carpet surfing. I've been thinking about setting it up as a frag tank.


