Inspecting and repairing a American DJ switch
by
, 02-13-2011 at 06:17 PM (7667 Views)
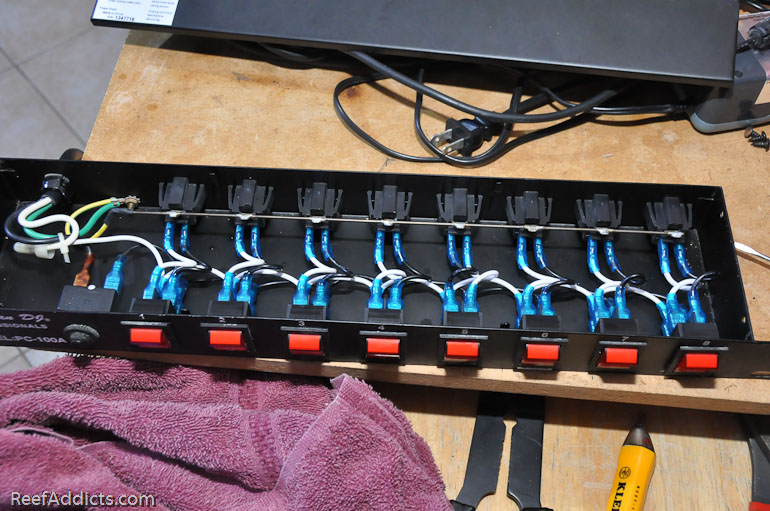
Last night, while cleaning out my living room, I accidentally got one of the American DJ switch assemblies wet. I quickly unplugged it and dried it off, and today I opened it up for inspection. What I discovered was a discolored spot at one of the connections. There was no water inside, fortunately.
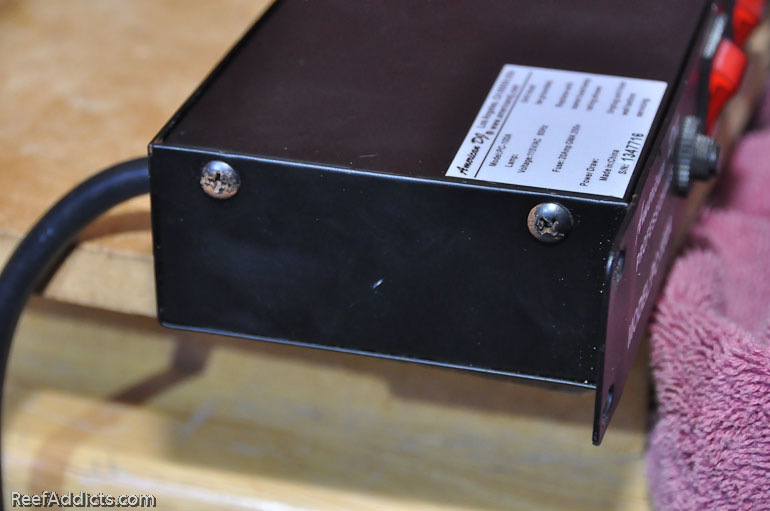
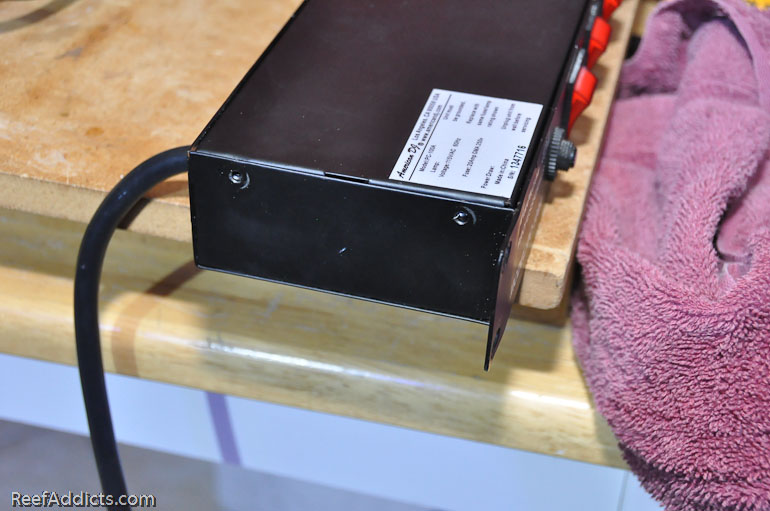
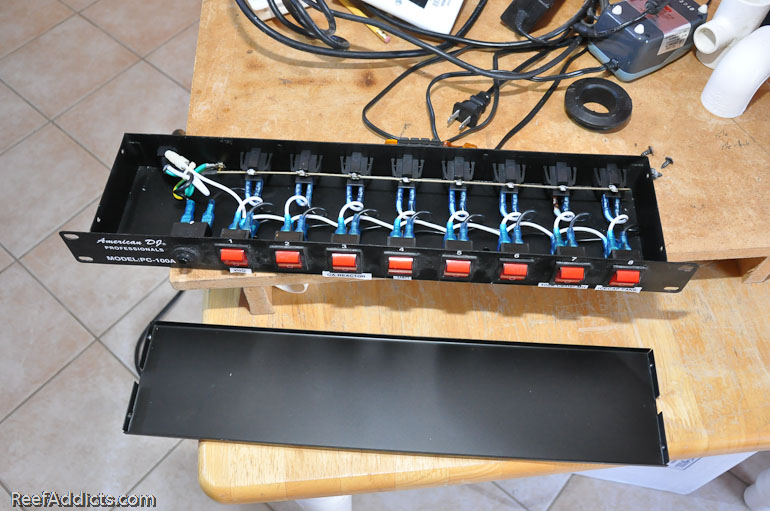
Here's how to open one up. Remove it from use, unplug it of course, and remove the two screws from each end.
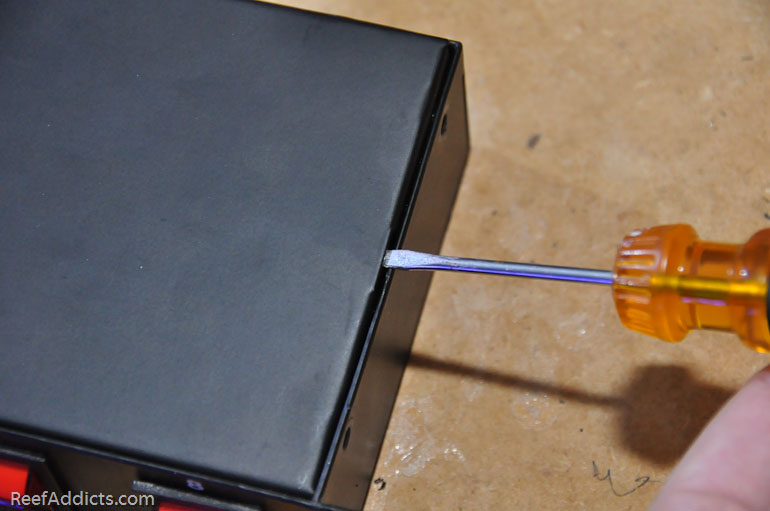
Using a small flat blade screwdriver, you can pry open the cover via the two built in slots.
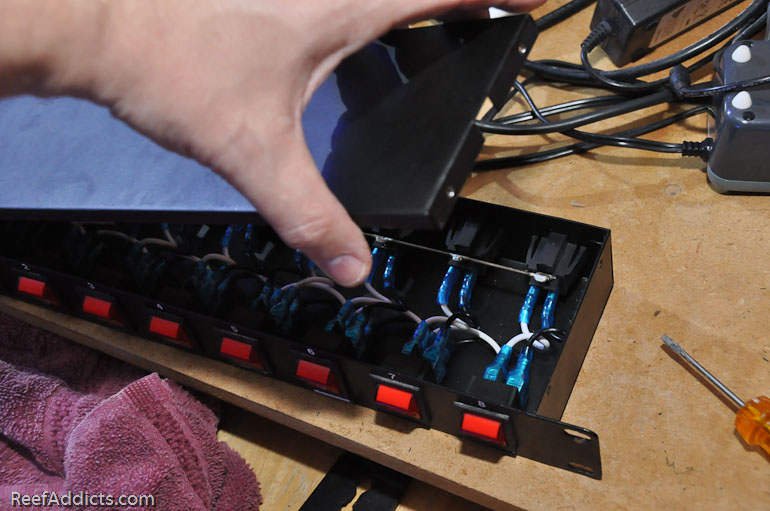
This is what you should see
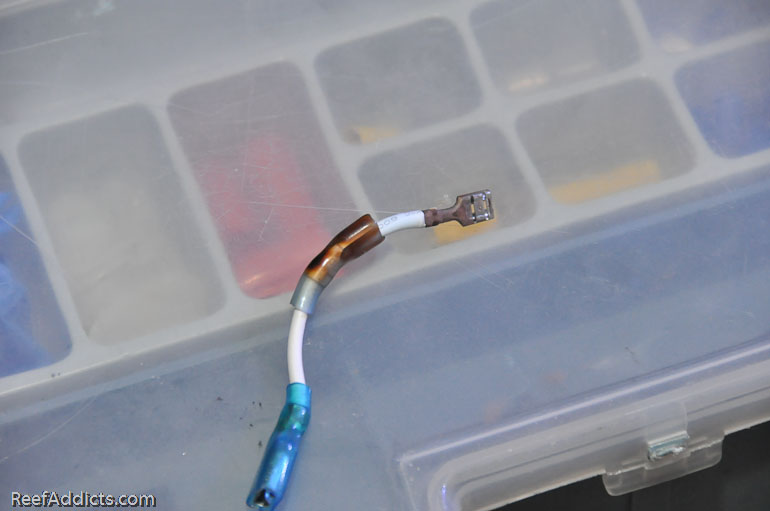
Instead, this is what I found.
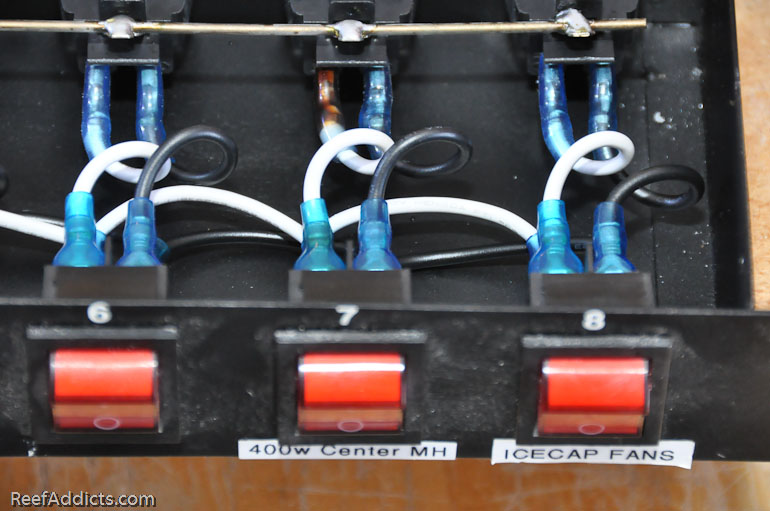
All the connections were clean and in good shape, other than that one. Interestingly, it was for the 400w ballast (previously) so perhaps it arced once, or dealt with a power surge.
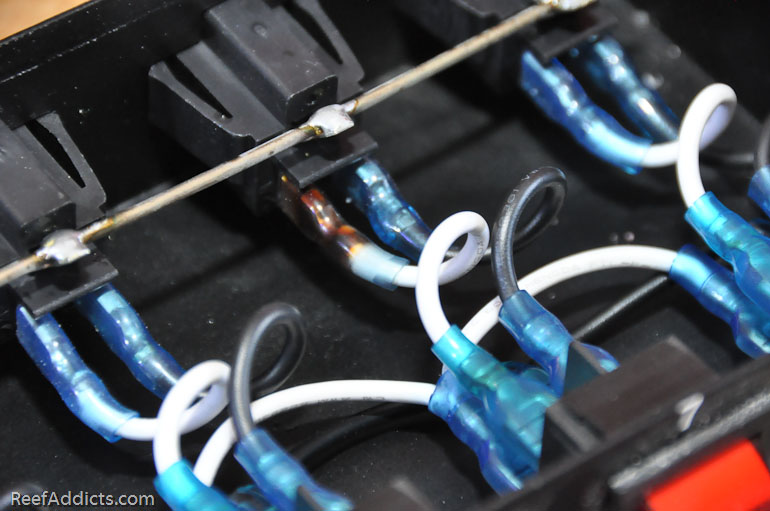
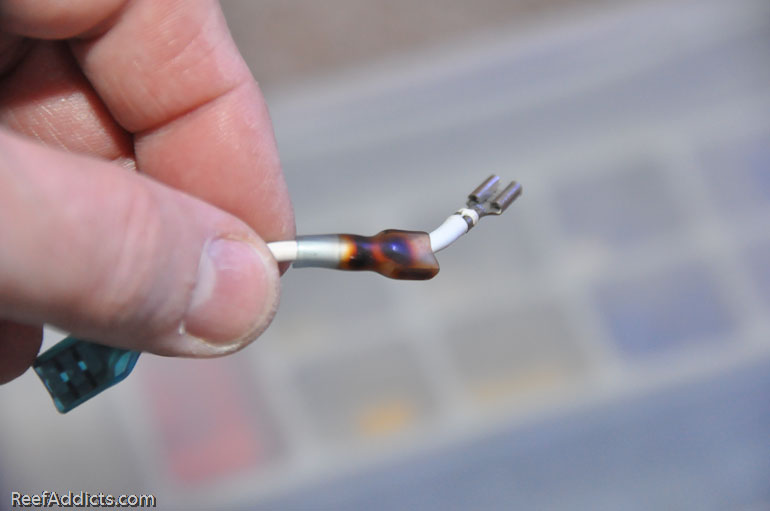
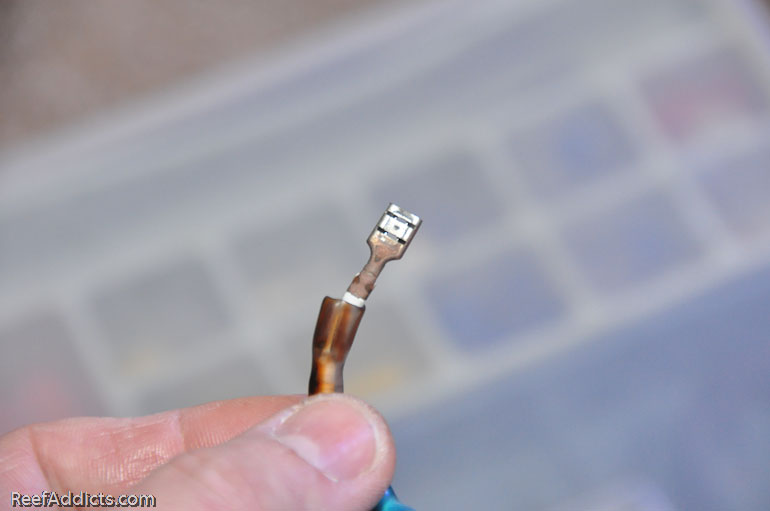
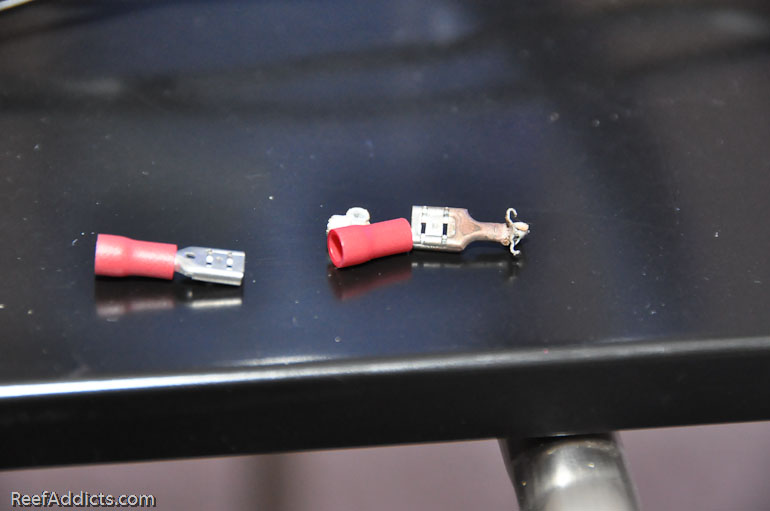
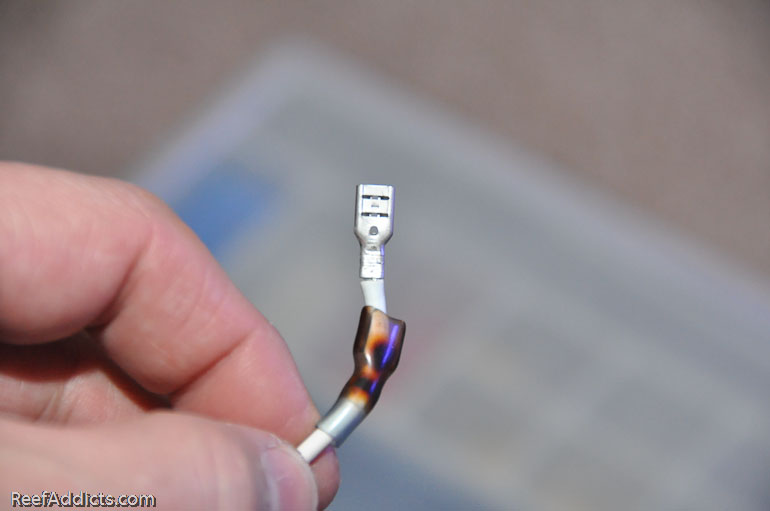
I pulled off that wire to inspect it more closely. I pulled the plastic sleeve back to discover the metal was only mildly discolored.
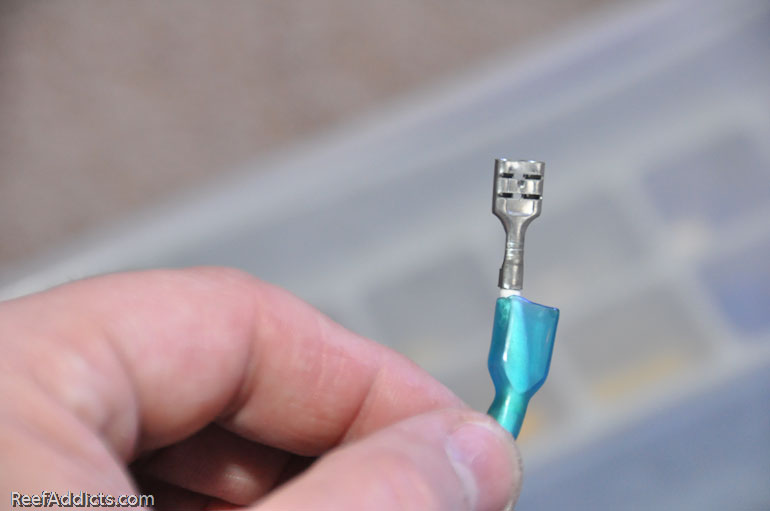
By comparison, the other end of that wire.
In my electrical gear, I found a matching connector, and stripped off the red plastic end. I cut off the old one and replaced it with the new one.
All that was left to do was slide the sleeve back over that connector, reinstall it and close up the assembly. I tested it and the outlet is functioning correctly.
I opened up the second one and inspected it, and all was perfect. I still have to inspect the last one to make sure there's no risky issues that could lead to problems in the future. I would recommend others to do the same.


