Custom Auto Top Off Reservoir
by
, 01-29-2011 at 02:39 AM (20080 Views)
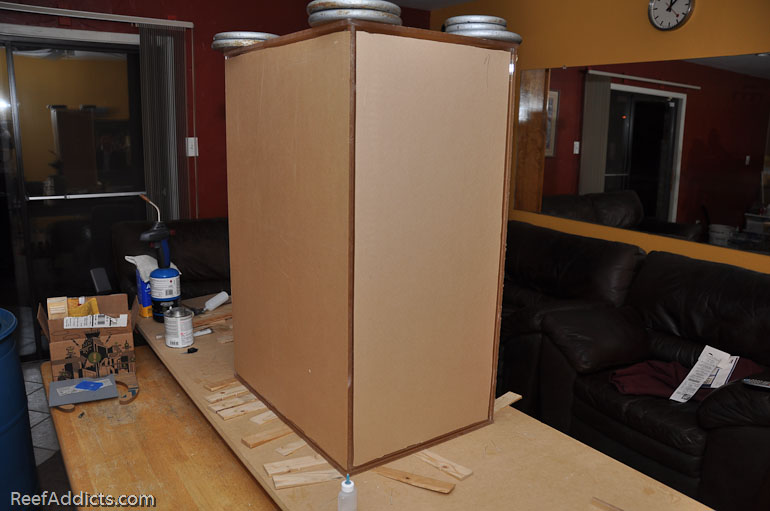
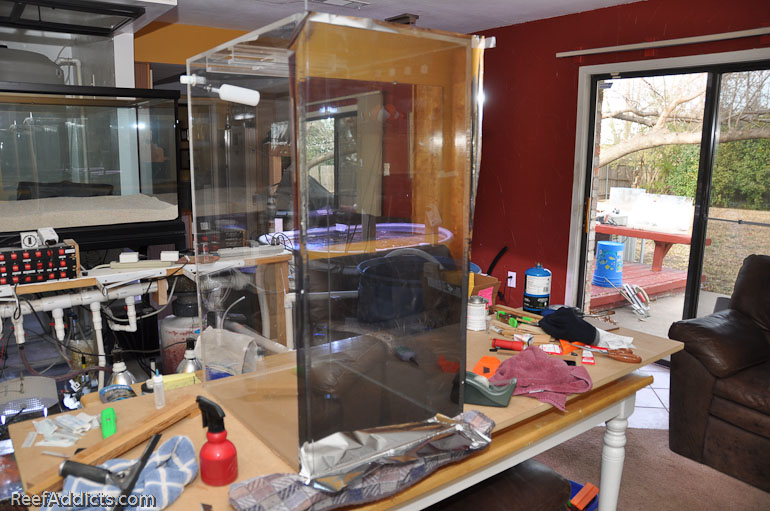
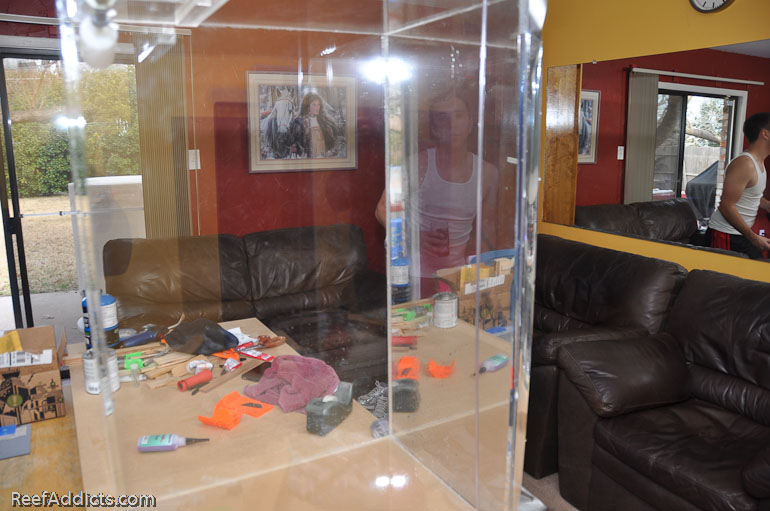
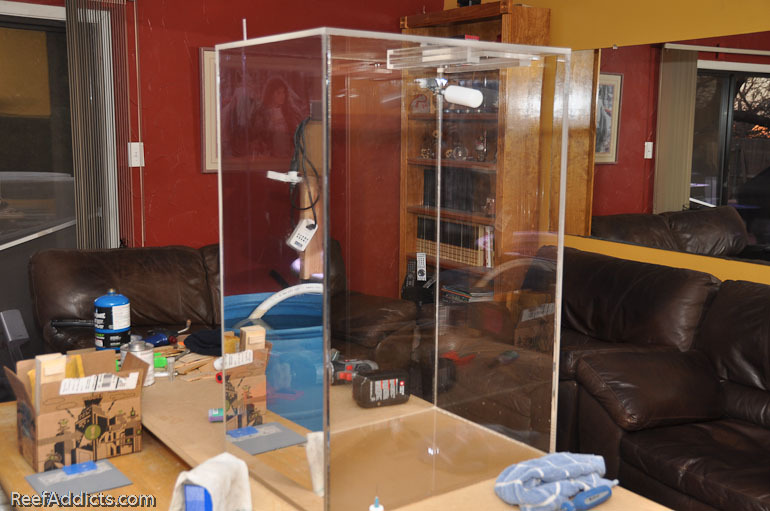
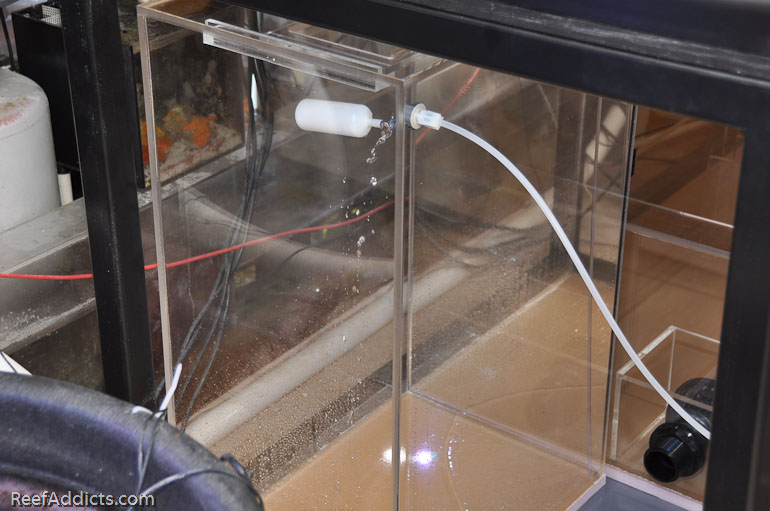
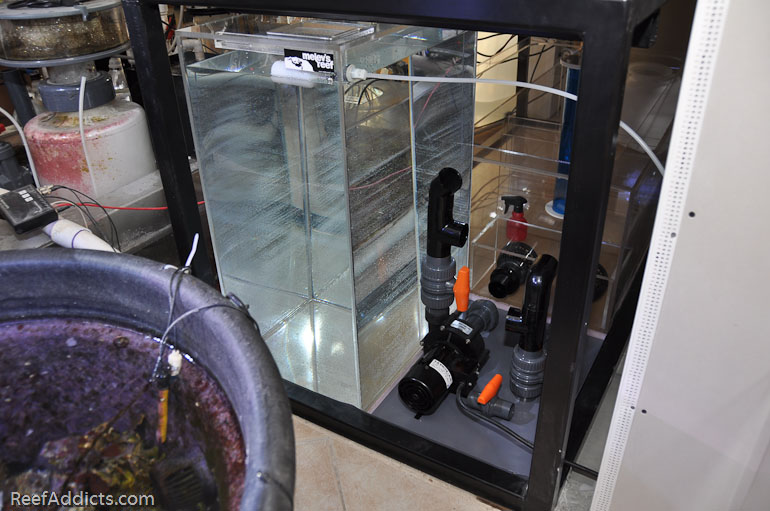
For years, I've used wrapping paper containers to hold 20g of RO/DI water for my reef's evaporated needs. With the new tank, I decided it would be sexier to put a custom-made acrylic vessel under the tank. I measured twice, opting to use every inch at my disposal, and proceeded to build it. The reservoir is 22" wide, 32.75" tall, and 15.5" deep. It has a small access door on the top to allow me to adjust the float valve when needed. It is made with 3/8" AcryLite GP.
The purpose of the reservoir is to have a week's worth of water on hand, and leave the RO/DI system off until it needed to be refilled. If the entire reservoir drained into my sump at once, it doesn't have enough water to affect salinity detrimentally. If I ran the RO system directly to the sump with a float switch, the consequences would be far worse -- until I finally got home and noticed it. I strongly recommend against that method, both for the risk to your home as well as your livestock. Use a container, please.
I had some window tint in my garage and decided to apply some to the panel that faces the refugium lighting to avoid algae growth in the reservoir. You can see the film hanging off the edges that I had to trim off.
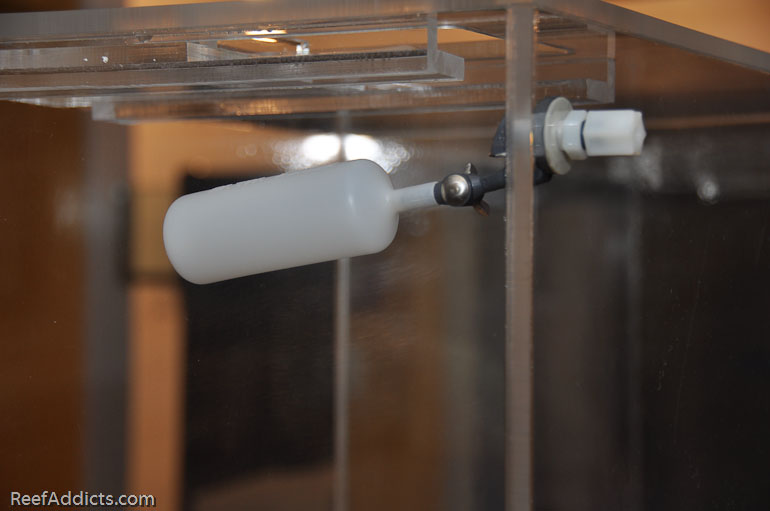
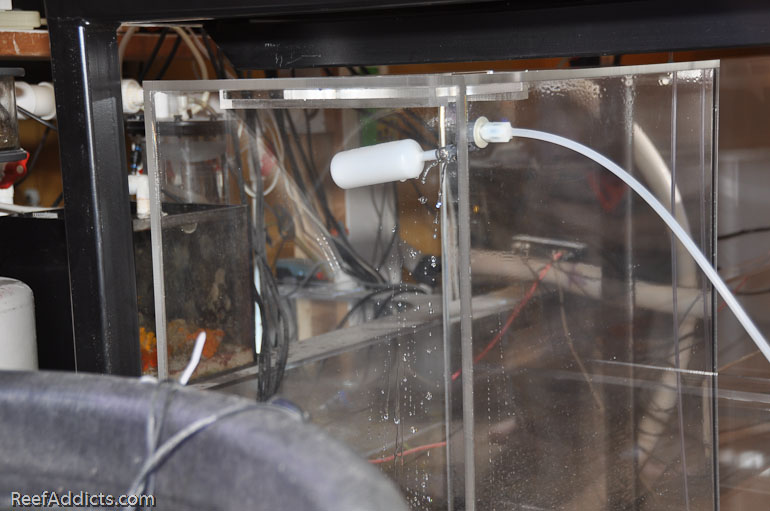
The float valve is available at USPlastics.com
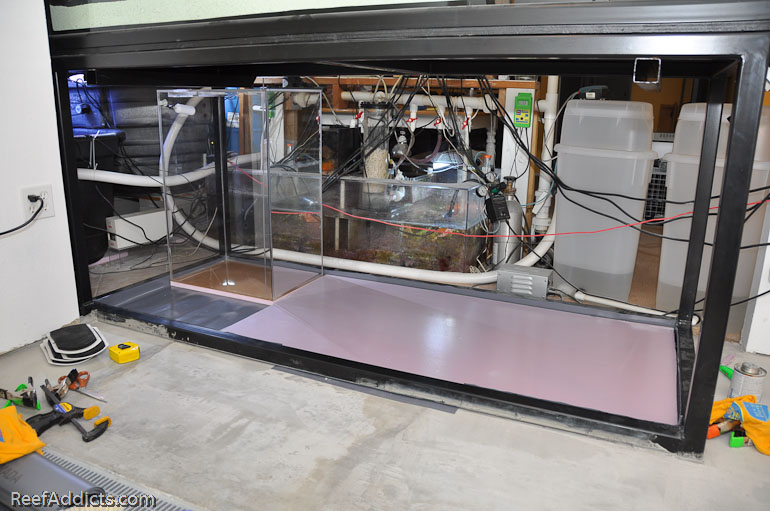
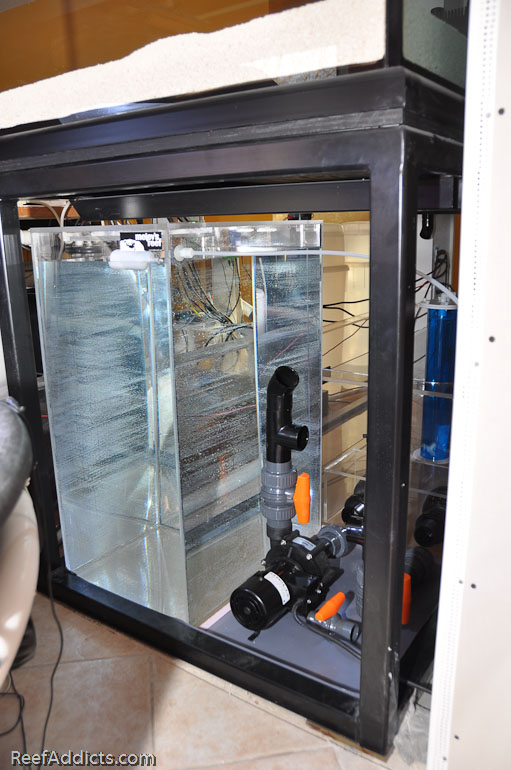
As I slide the ATO reservoir into place, I realized just how ambitious I was. This isn't coming out any time soon, once everything else is installed. Matter of fact, if it has to come out, it'll be done with a saws-all.
There isn't even enough clearance for me to squeeze a finger between the top and the steel tubing. Oops.
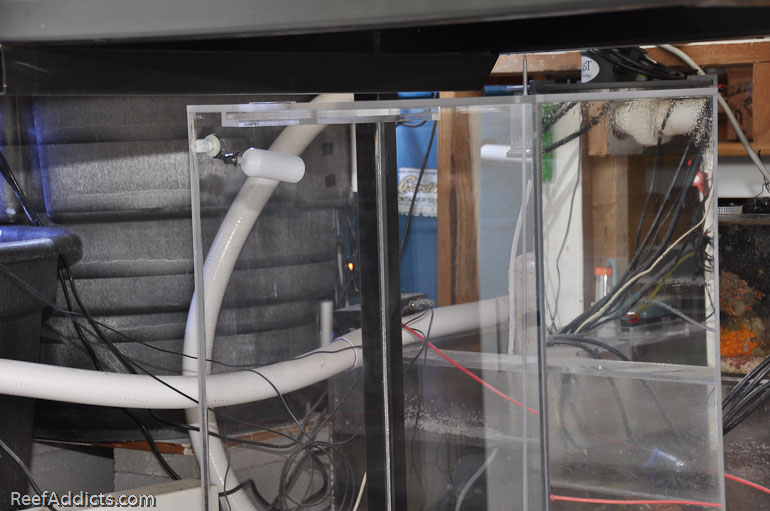
Connecting the water supply to the float valve, I was in business.
I didn't time how long it took to fill up, but it seems like it took over 7 hours. It holds about 45g of water. While that was collecting, I played with the new Dart pump and some plumbing fittings to get a better idea of the plumbing project.
Once the float valve rose, it pinched off the line causing back pressure to shut off the Boosted RO system. At that point, I close an inline ball valve to prevent it cycling back on. This avoids TDS creep and keeps the RO system turned off until I decide it should be on.
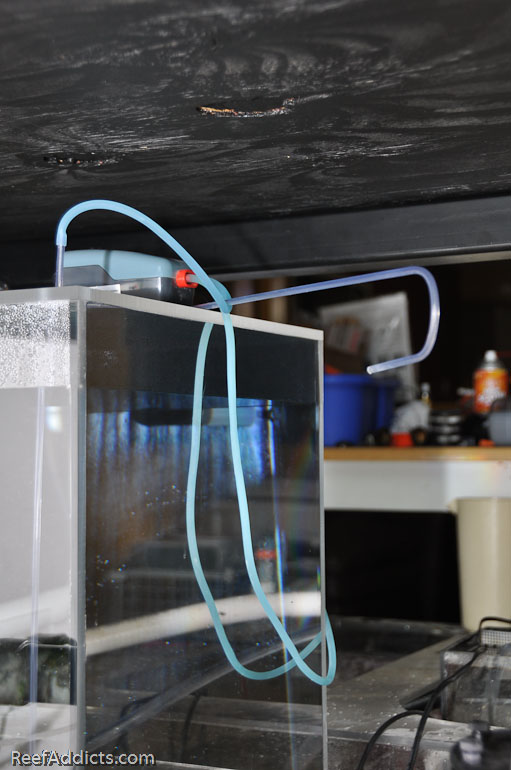
Water is pulled out of this container via 3/16" rigid tubing using an Aqualifter pump. Then it trickles RO/DI water into the sump. When the float switch rises, the pump shuts off and the flow of water stops. I like the Aqualifter because it can only move 3g per hour, and only uses 3w of power. In this next picture, you can see how I have it set up for the moment. I still need to finalize the tubing in its permanent secure orientation. It is important that the tubing's outlet be higher than the water level in the reservoir to avoid siphoning out more water after the pump shuts off.
