The light rack project
by
, 01-11-2011 at 01:42 AM (18520 Views)
Mark another stage off my list of things to do. The light rack has been assembled and suspended over the tank. I'm going to do a little touch up here and there to make sure no exposed metal will corrode from the salty environment, but I'll have to buy some model paint to do so. Here's how it went...
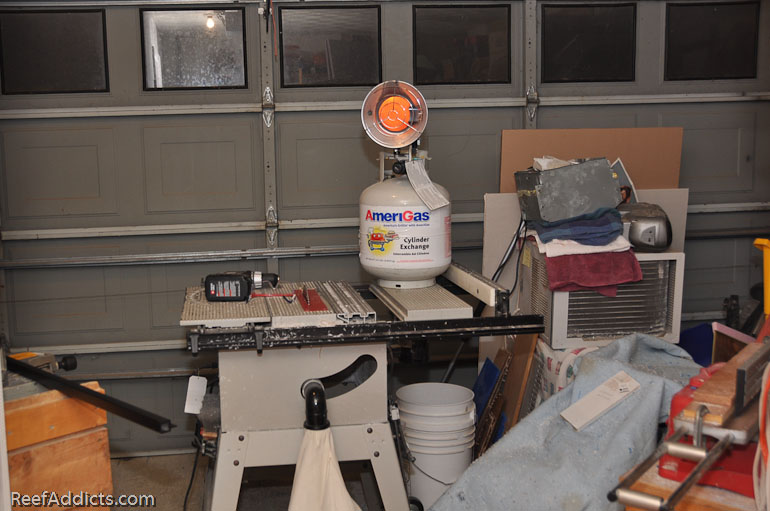
The first thing I had to do was warm up the garage. It's been pretty cold recently, and I didn't want to work in 35F if I could avoid it. So I fired up this heater and let it warm up the garage area. The garage is still very cluttered with so much still to be done, which is frustrating. I just have to focus on the fact that soon everything will be where it should be and I'll have room to breathe. Soon, I keep telling myself.
The aluminum tubing from EzTube.com came in 98" lengths. They offered to cut it for me but I didn't know exactly what size the cuts should have been. Now that the project is done, it turns out I could have told them to make each piece 20.25" long for the Large Lumenbright pendants. Extra pieces are needed as well, as I'll explain below.
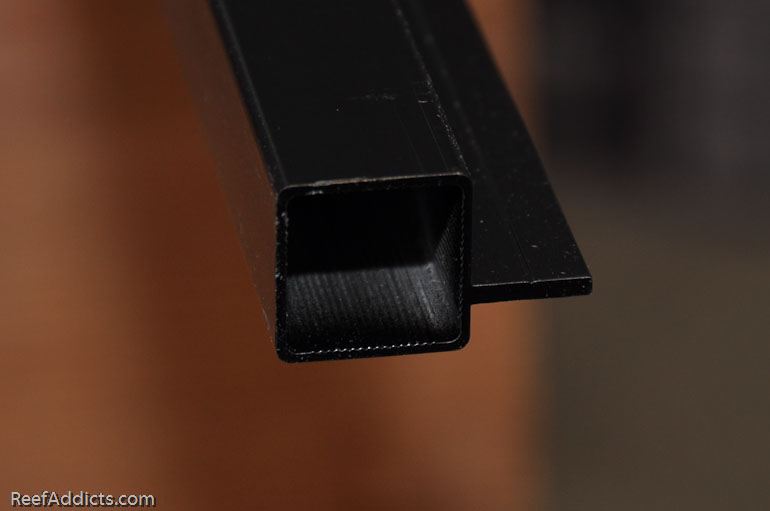
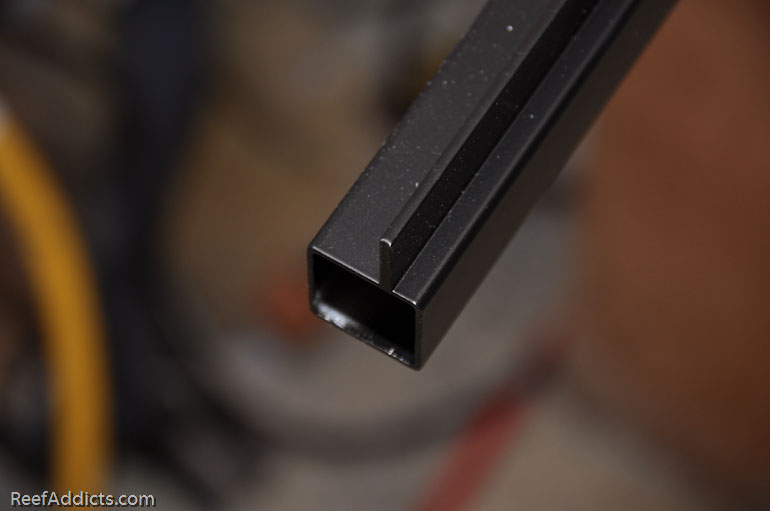
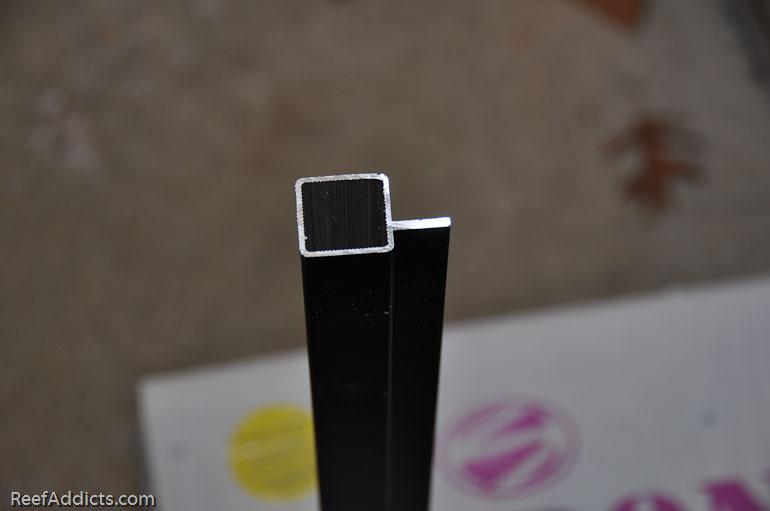
These pieces have a flange on one side that acts as a lip for the pendant to rest upon.
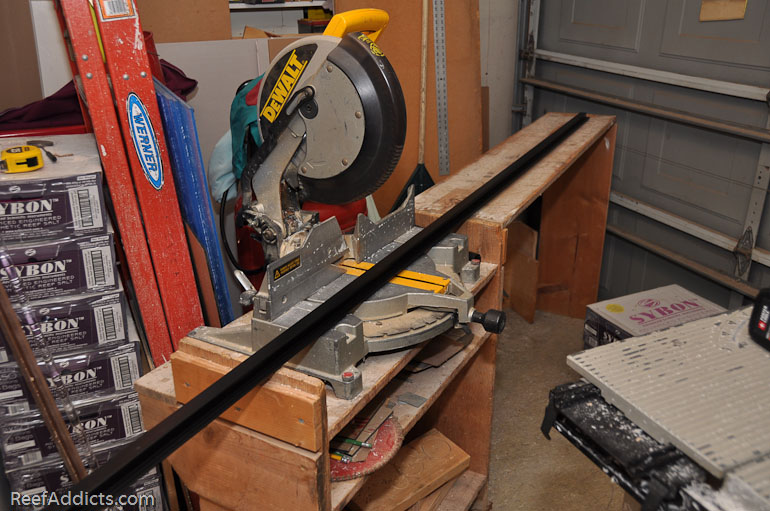
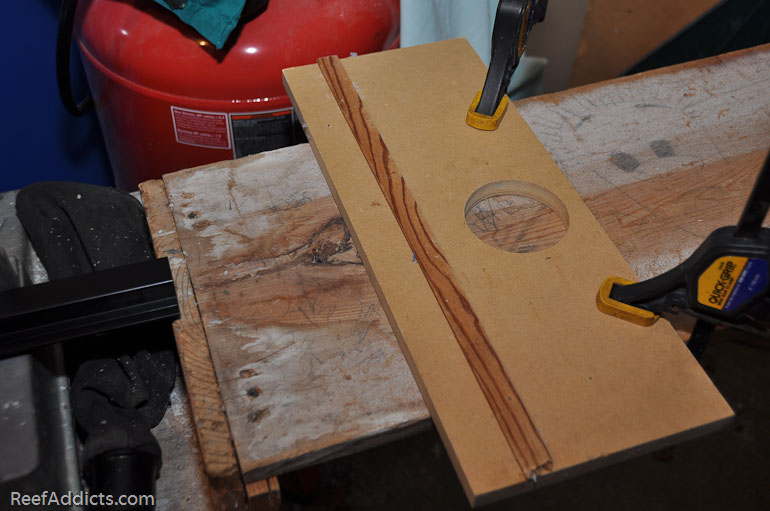
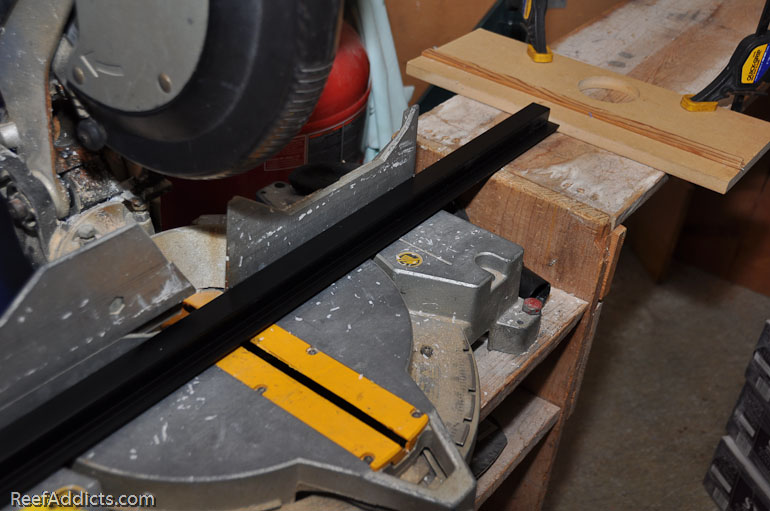
In most any construction project (especially carpentry), it is best to set up a jig when you have to cut many pieces to a specific size. I measured the distance from the saw blade to this handy board to 20.25" and clamped it down.
With each new cut, I simply slide the tubing to touch this "stop" board, and cut.
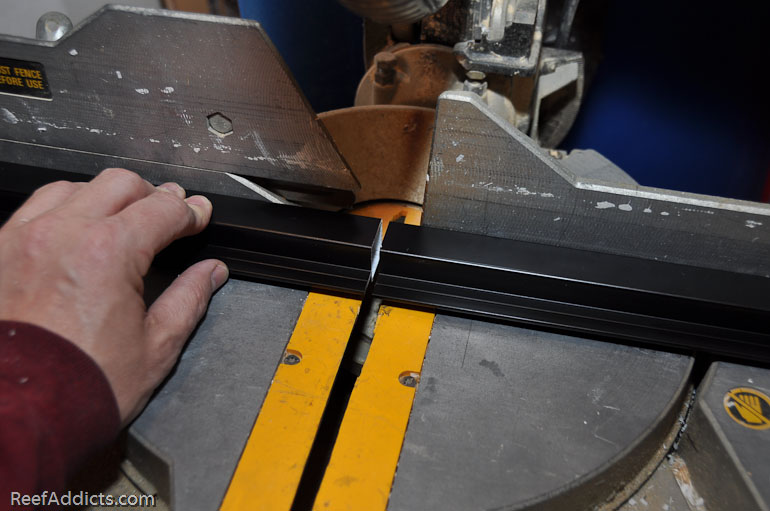
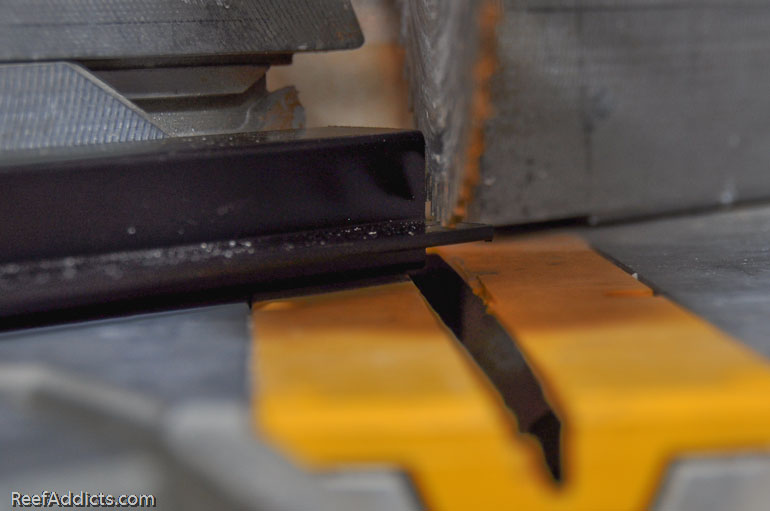
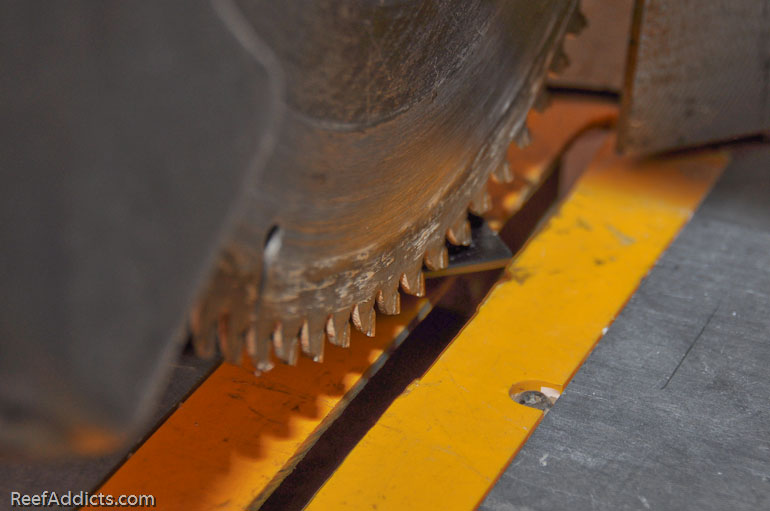
It cut through like butter. It wasn't difficult nor time consuming to cut the 12 pieces. Eye protection was used, and the compound miter saw has a collection bag affixed to catch the metal particles.
For the four tubes to make a square, the inner flange had to be trimmed at each corner. This is a miter cut, and I cut off a small triangle off each end of every tube. 24 tiny triangles were trimmed off in all.
The assembly is pretty straight forward. You need a heavy rubber mallet. I got a 16 oz black rubber mallet that felt soft to the touch. I didn't want to leave hammer marks on the frame, and of the choices at Home Depot, the one I bought seemed best. It was $15.
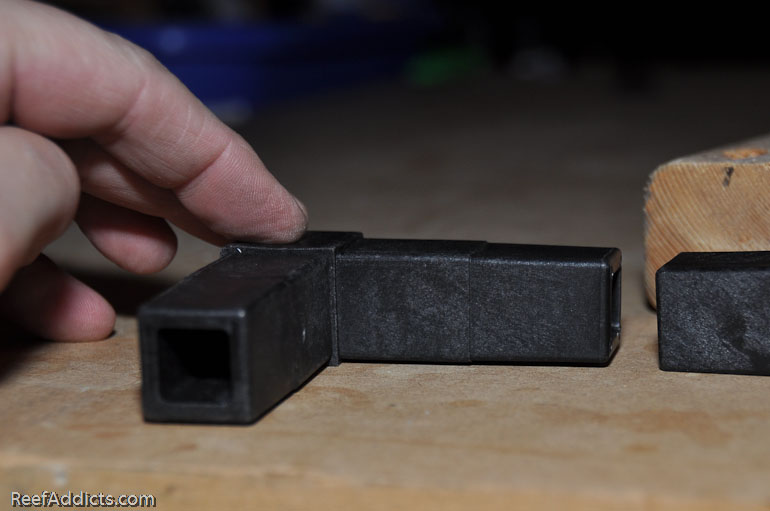
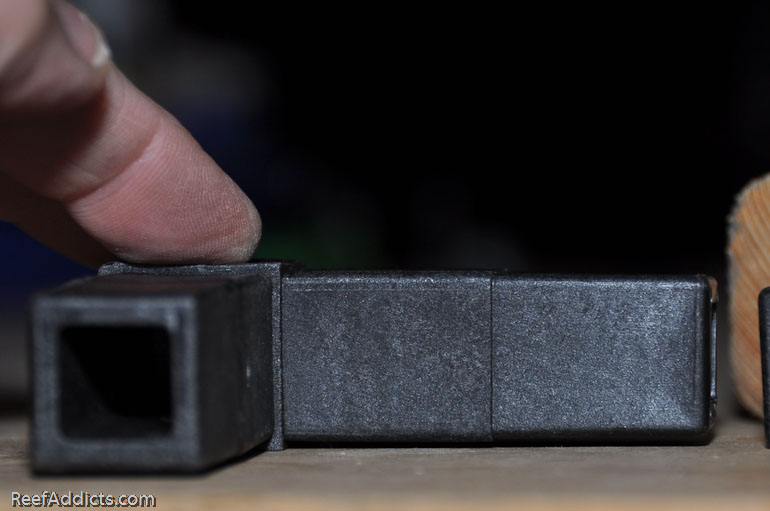
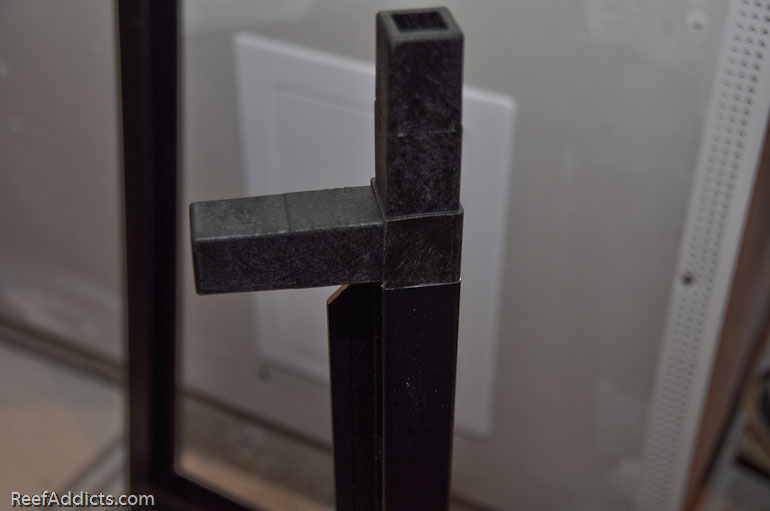
The elbow (90 degree) and tee fittings are used to tie all the pieces together. I noticed that each piece tapers to one direction. Barely. It's almost an optical illusion, but when one is in wrong, the frame bends to opposite direction so take your time and look closely at each piece to make sure all pieces are oriented facing up. Here are two pictures showing how it tapers. This first picture, you can see how the space between the fitting and the wood surface is very narrow.
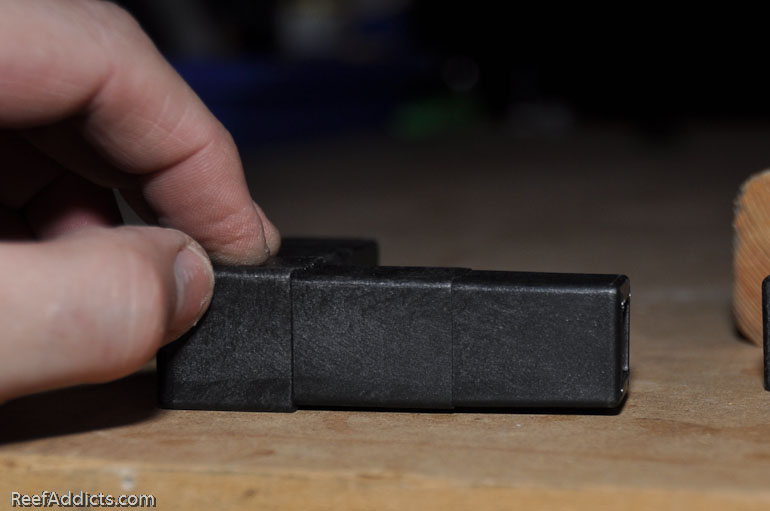
In this next picture, the distance is greater (the fitting was flipped over or upside down). Barely, but it's true.
At times, I thought I was seeing things, but you'll notice the same. Again, here's the fitting with the tiny gap, and the horizon of the right side is going downhill, right? This isn't necessarily critical, but it helps to make everything nice, even and flat if you take the time to get these figured out.
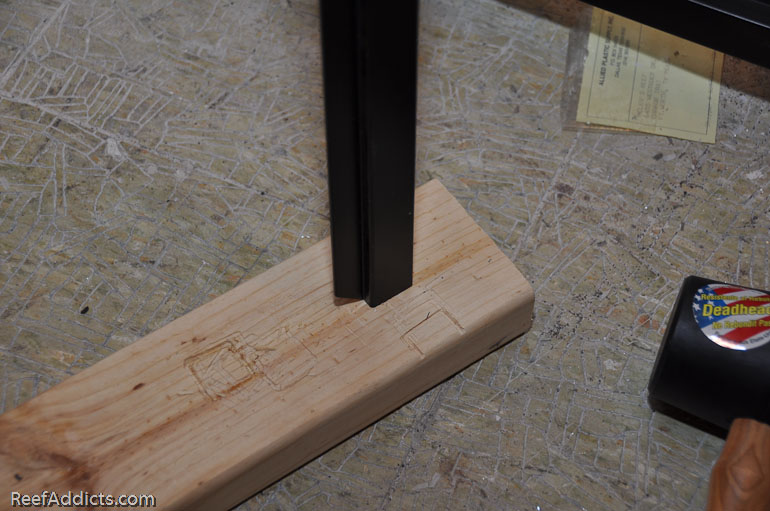
To avoid damage to the metal and the flooring, I used a block of wood underneath.
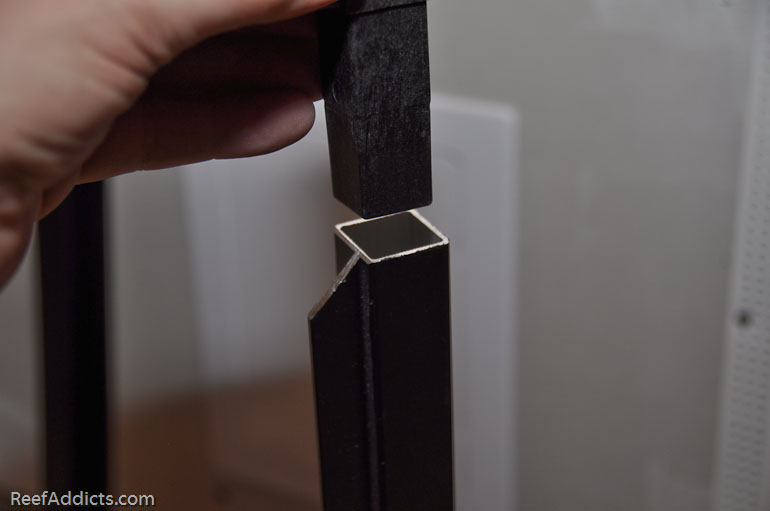
Insert the piece in the right orientation.
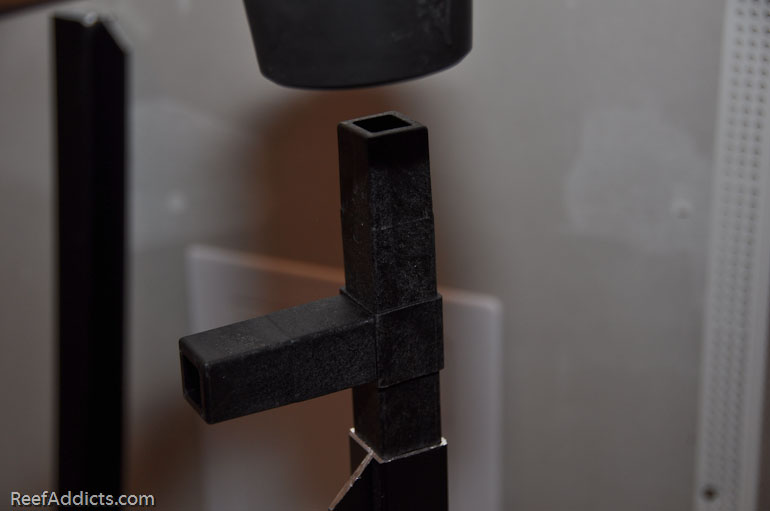
Using the rubber mallet, hammer it in fully.
Once in, it is meant to stay that way forever. It is possible to hammer a piece out if a mistake is made, but it'll be a task if you don't want to mar the tubing. These are one-time fittings. The more they are re-used, the less they'll hold.
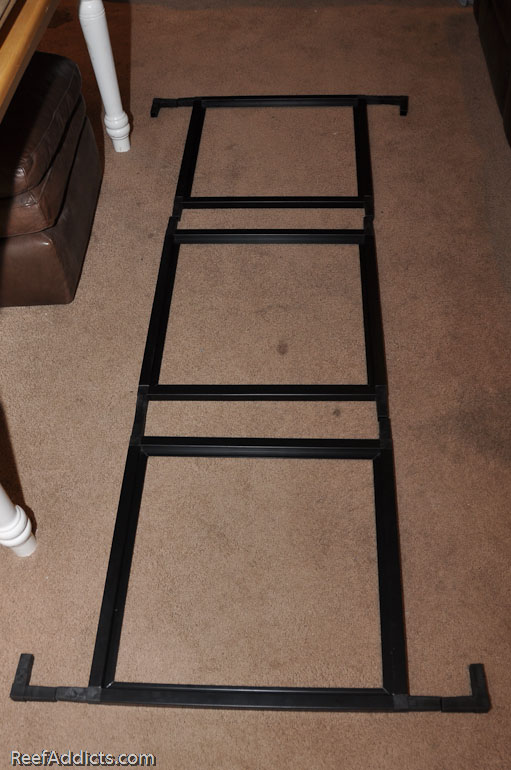
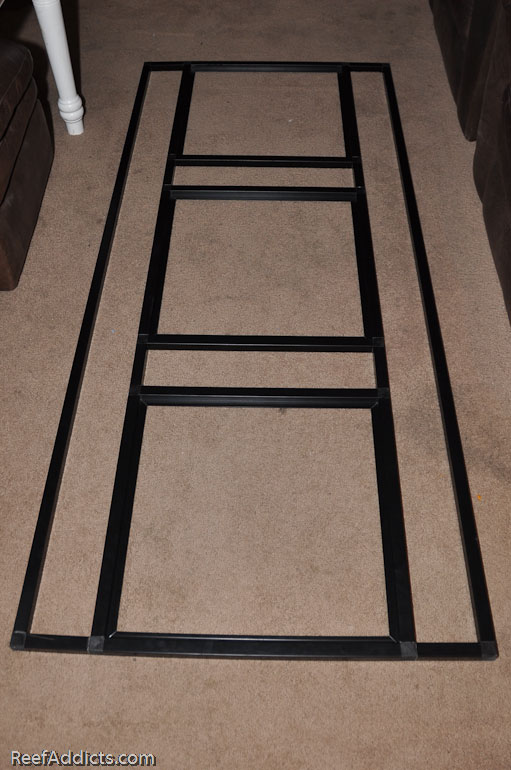
Once the three squares were assembled, I laid them in succession of how they needed to be.
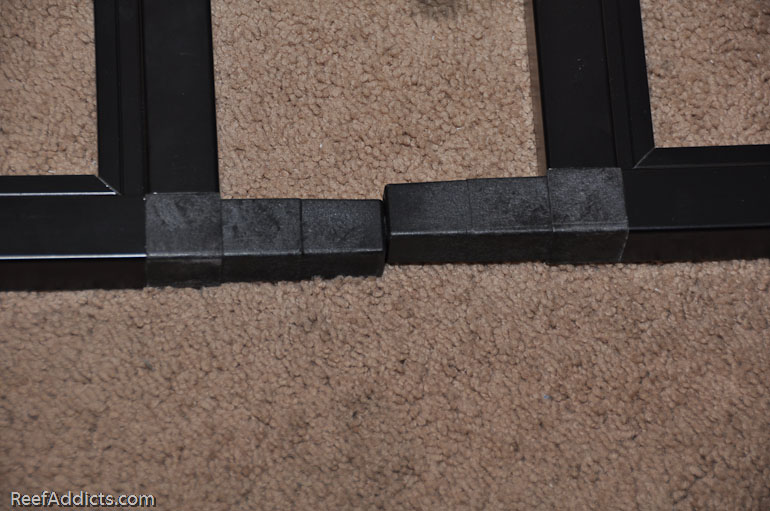
Where two pieces connect, I needed a small piece of tubing.
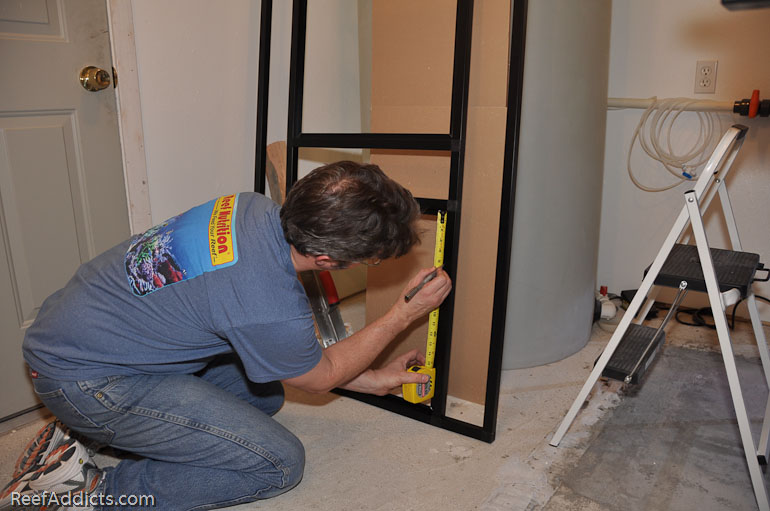
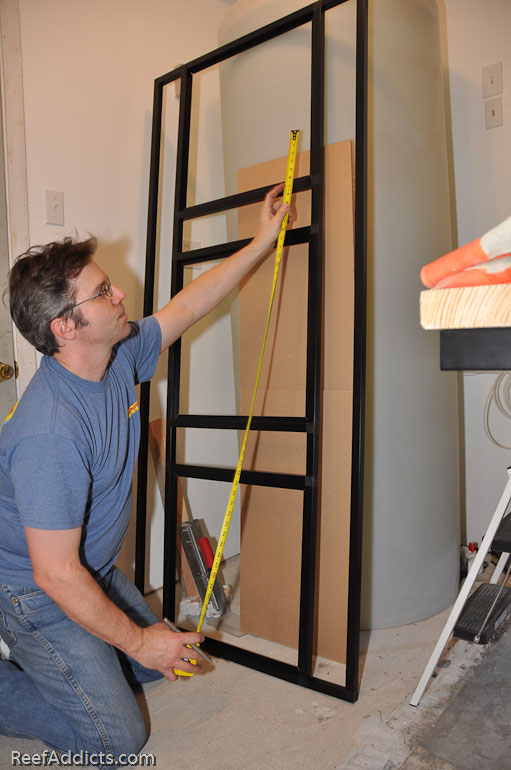
For this part, I used 1" square tubing made of steel. This too came from EzTube, and was obviously heavier than the aluminum. I cut it on the same saw, and sparks were flying. It wasn't as easy to cut, taking about 15 - 20 seconds per cut, and the cut edge was a mess. I had to deburr each end, and it took time with 8 pieces total. Each end had four sides, so by the 32 end I was more than ready to be done doing that task. This project needed eight pieces 4.25" long.
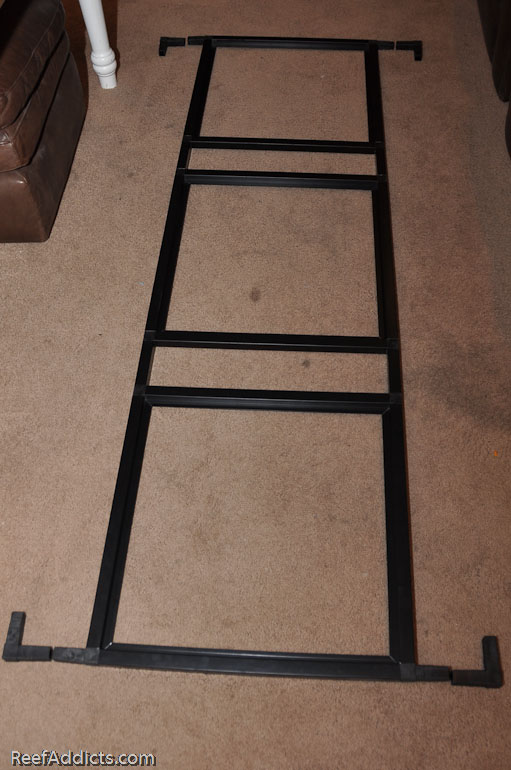
The squares are connected and next are the out-riggers.
The outer rails are both steel. I thought it would be stronger and give me a handle to tug or push on.
I didn't take pictures of the various stages of hammering each piece together. It's a little bit like a jigsaw puzzle in that you need to think ahead to determine which piece is best connected next. For example, I inserted and hammered the 90 degree fittings in the ends of the long rails, then I inserted the corner pieces into the two 4.25" pieces, hammering them in until tight. Finally, the outrigger was hammered on to the main frame.
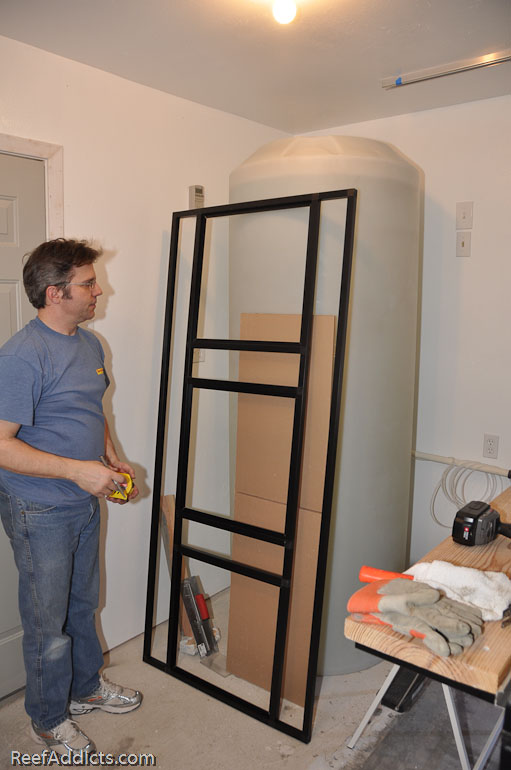
With the framework complete, it was time to put it over the tank and see how it fit. I took the three pendants off the holding vats to see how they'd fit. Putting some PVC pipe under the frame, I tried to see how much the rack bowed with 60 lbs of pendants in place, in an effort to determine where to install the suspension kit hangers.
Using the aluminum track, I looked for obvious gaps to indicate if the rack was uneven.
Once I knew where those points were needed, I measured the distance from the first set of hangers to the sheetrock, since the ceiling track had to be placed in the exact same position.
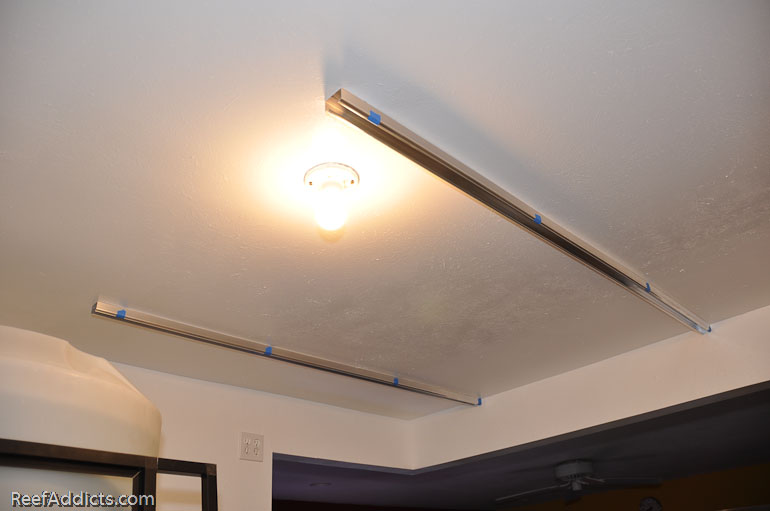
The ceiling tracks came from McMaster.com - Part # 1223A22 They were 8' long, but I cut these down to 6' long on the same compound miter saw.
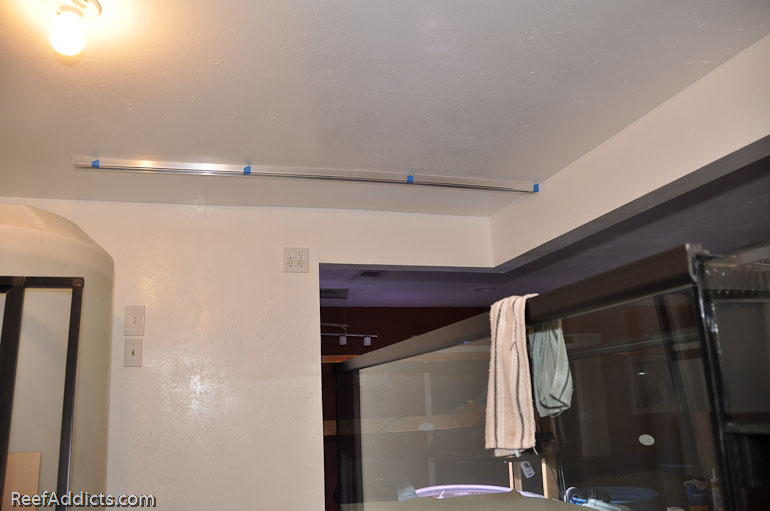
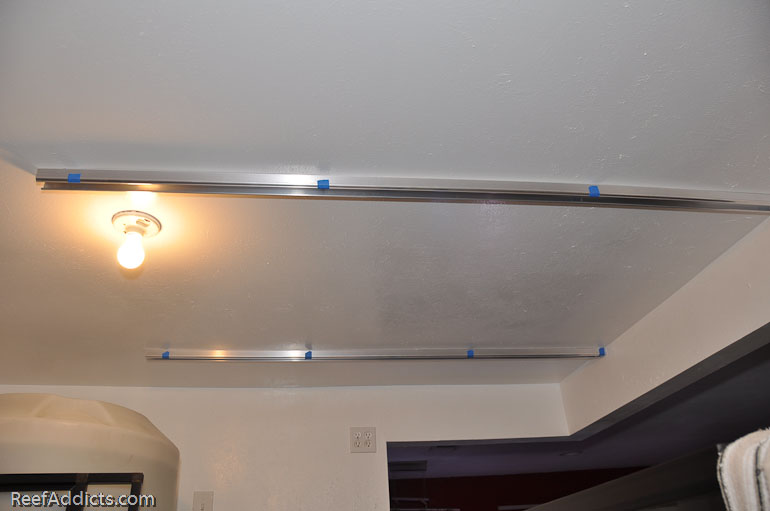
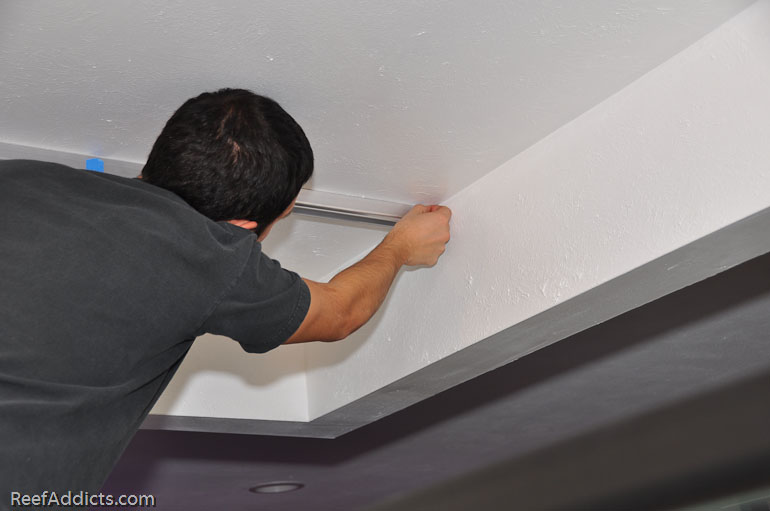
Before the new sheetrock was installed, I sketched where the ceiling joists were so I'd know where to screw the track to the ceiling. That made it easy. Four screws hold it in four joists (at 1", 23", 48" and 70"). The blue tape was affixed to each spot where a screw would hit a stud because these tracks come pre-drilled with a number of holes. To avoid confusion, I marked where it would need to be attached and drilled holes accordingly.
Once the first one was installed, I measured the light rack carefully to determine where the hangers would go, and marked the tubing.
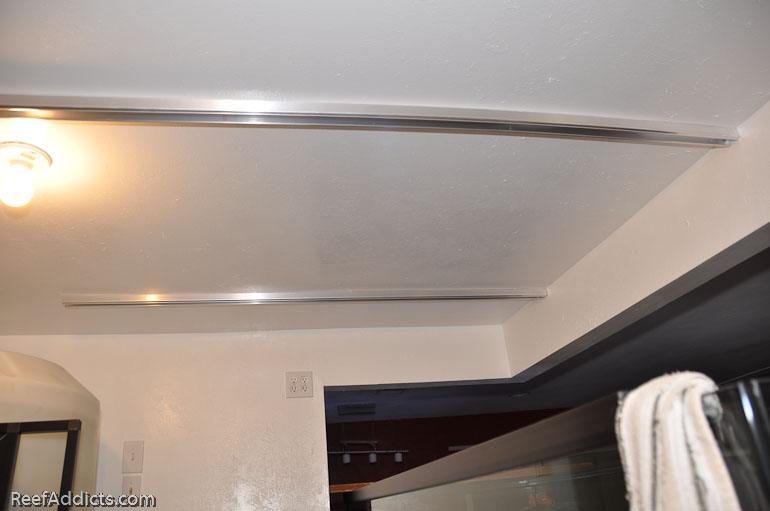
The distance between the two areas was 43.5".
Knowing that, I was able to hang the second track parallel to the first one.
My son peeled off the blue tape for me.
Ready for the light rack!
Well, almost. I ran up to Home Depot to purchase threaded rod to screw into the rollers. Each roller had a pin that was carefully unscrewed since it didn't suit my needs. At the hardware store, I found 5/16" threaded rod that was 12" long, with a coarse thread. I found 12 matching nuts.
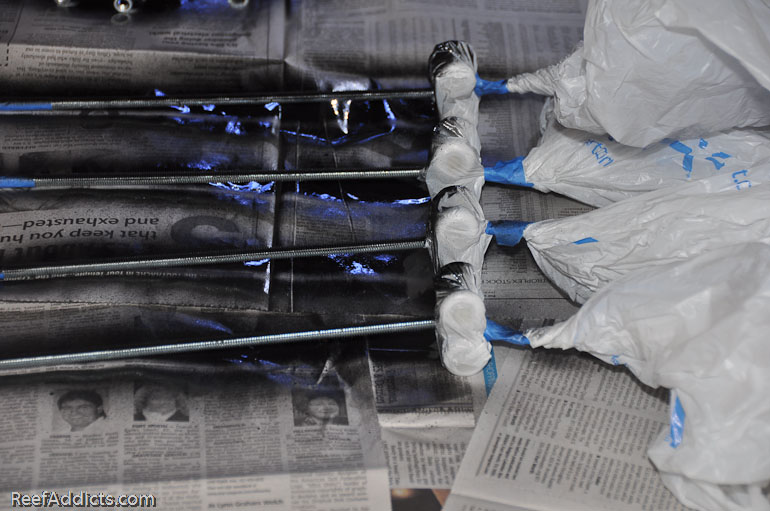
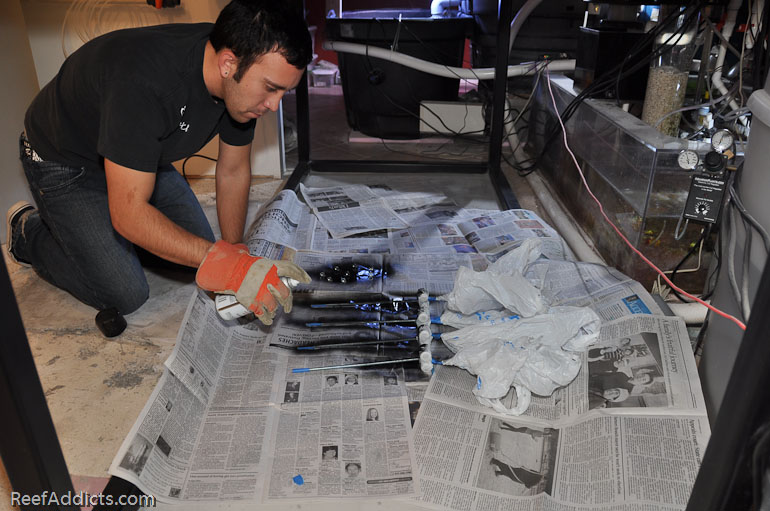
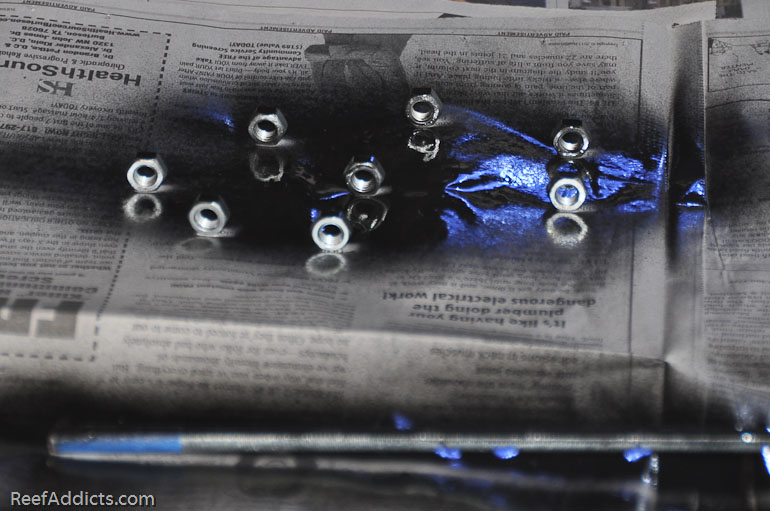
Talking to the paint department, they suggested I wash off the rods and nuts with Dawn dishwashing liquid to remove any oils, and spray paint it with Rustoleum-brand paint. This avoids the metal oxidizing over the tank, and I knew it would look better too. My son washed the parts, dried them well, and then he painted them for me.
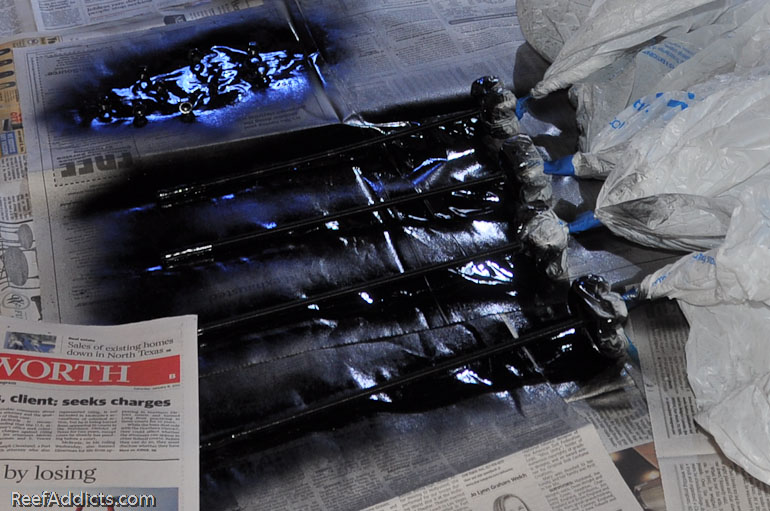
The roller section was bagged to keep it clear of overspray. I taped off the area near the end of the threaded rod where it would pass through the lightrack to allow threading on each nut easier.
Once everything was drowned in black paint, we let it dry.
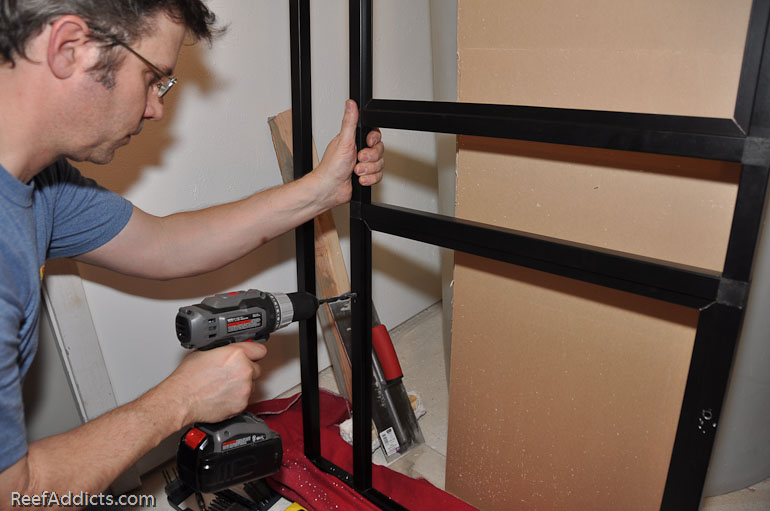
Time to drill the rack for each of the four hangers.
I chose a spot 5" in from the outer pendants. This seemed the most likely spot to keep the frame straight over time.
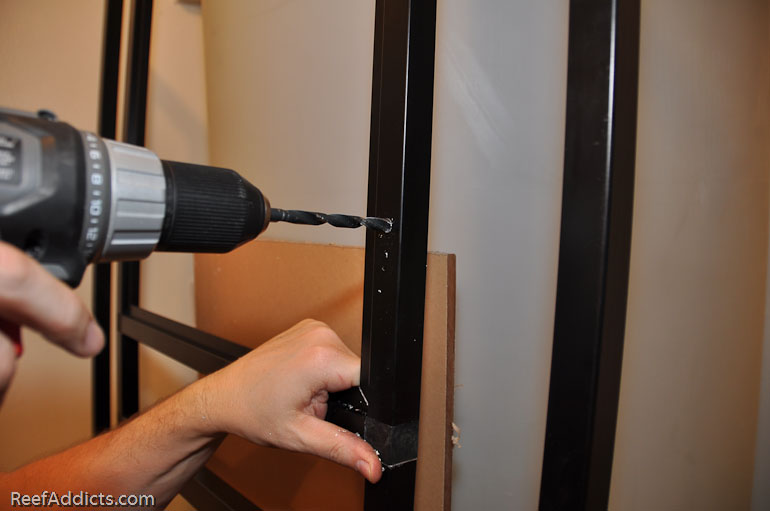
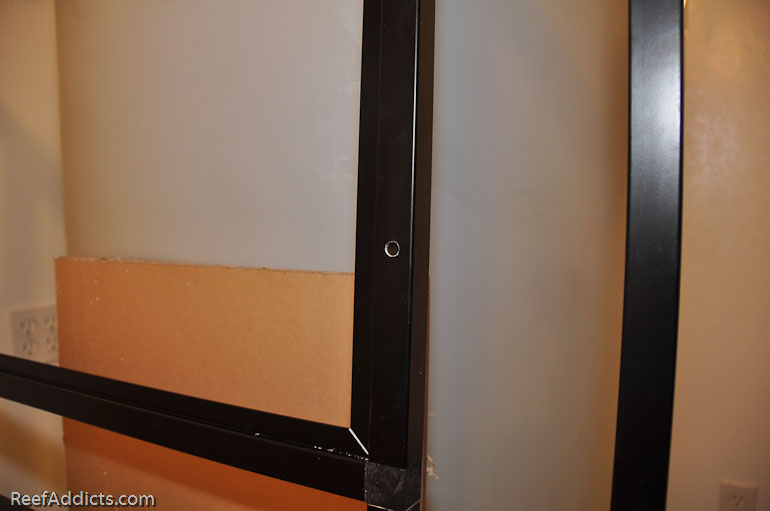
The drill bit was a 5/16" bit, the same as the threaded rod. Each spot was drilled with a pilot hole (tiny drill bit) and then with the larger bit, from each side. This helps avoid angling the hole through the tubing and causing the kit to hang off center.
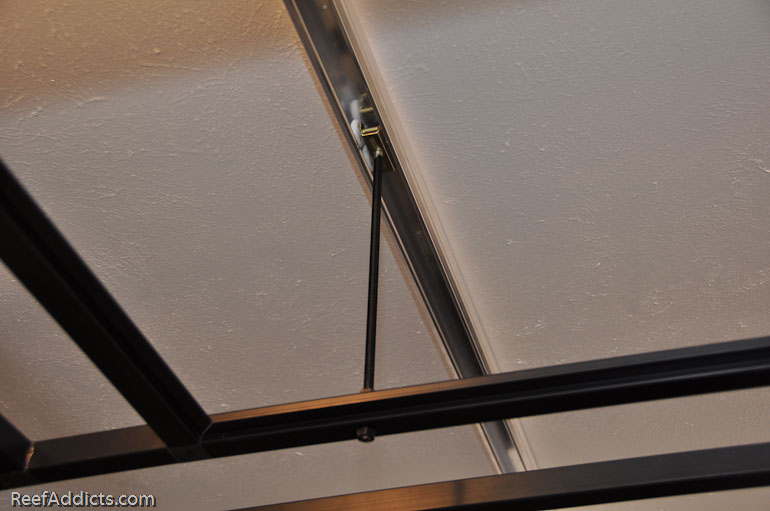
With the hangers dry, they were inserted into the end of the track.
A nut was screwed up the rod about 1.5" from the base. We lifted the rack into place, and screwed the bottom nut on. With a nut secured above and below the tubing, it wouldn't bob about and surprise me if I bumped it while working in the tank.
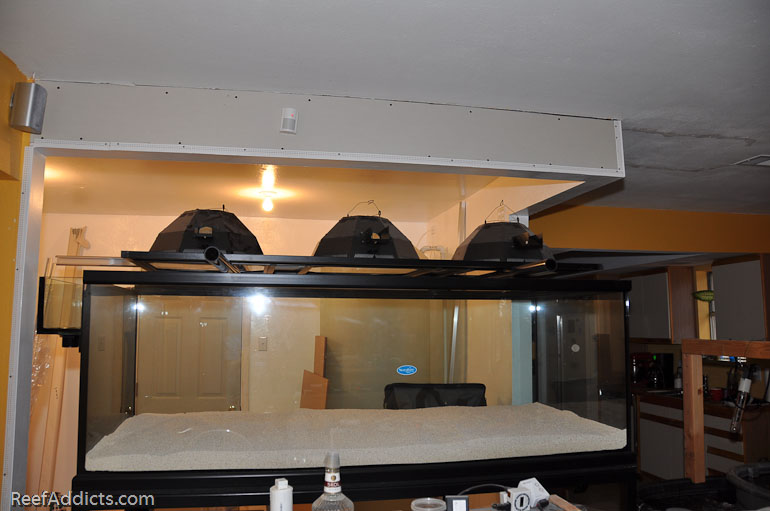
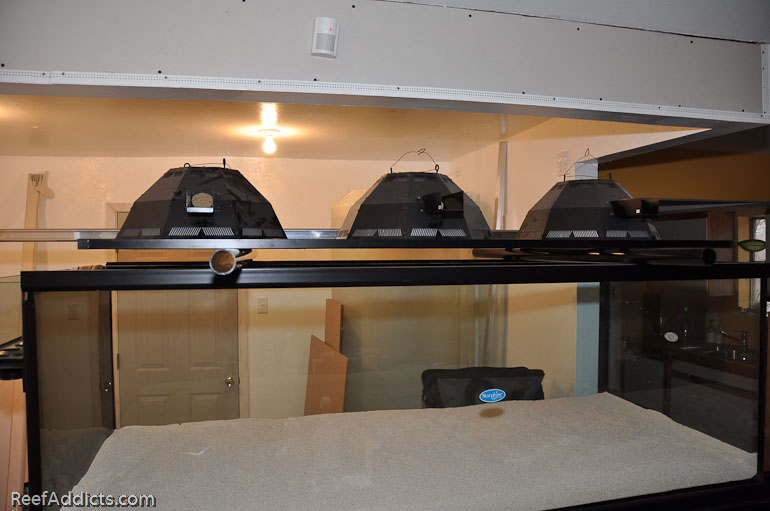
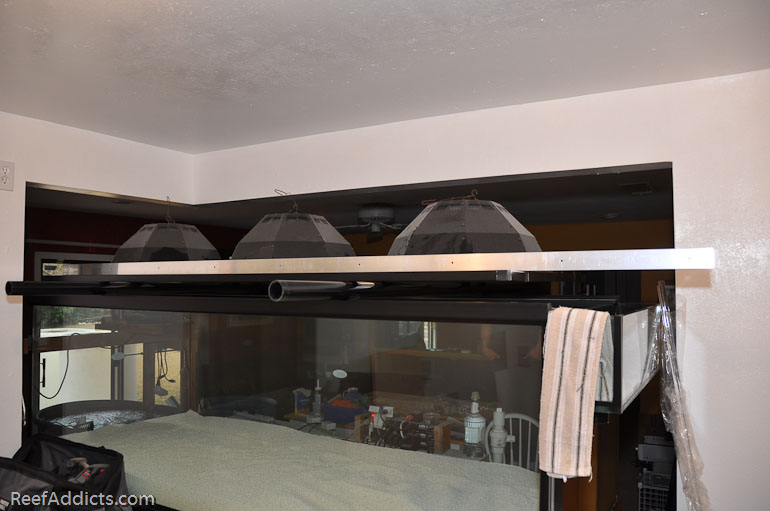
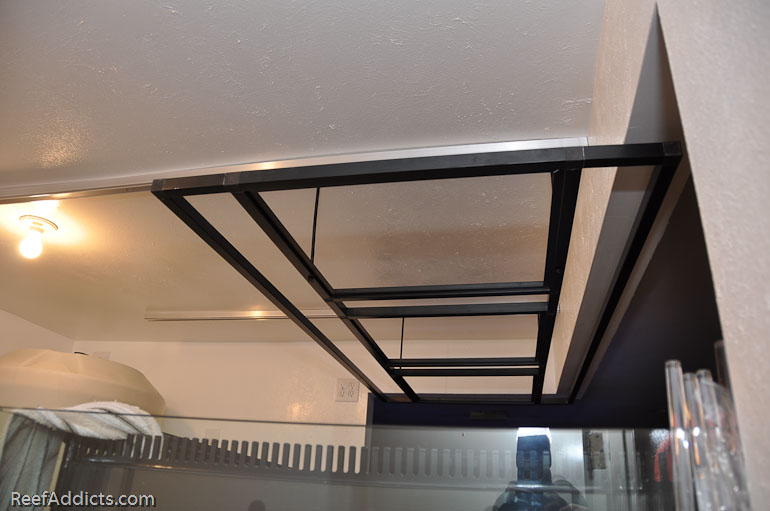
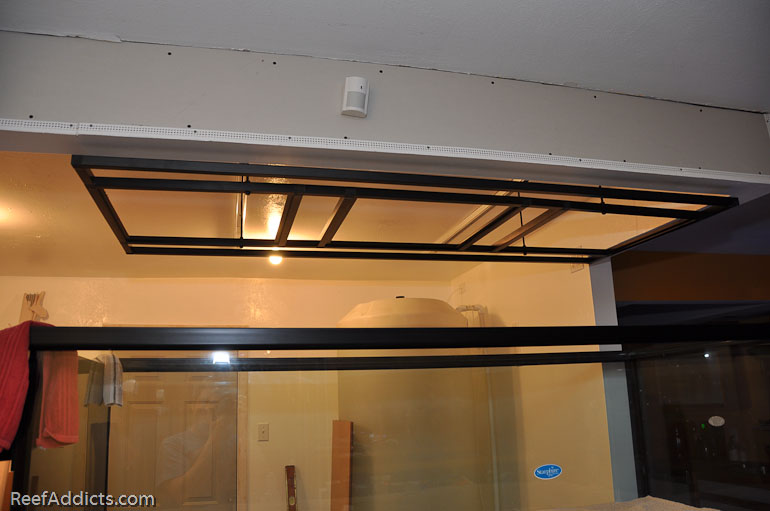
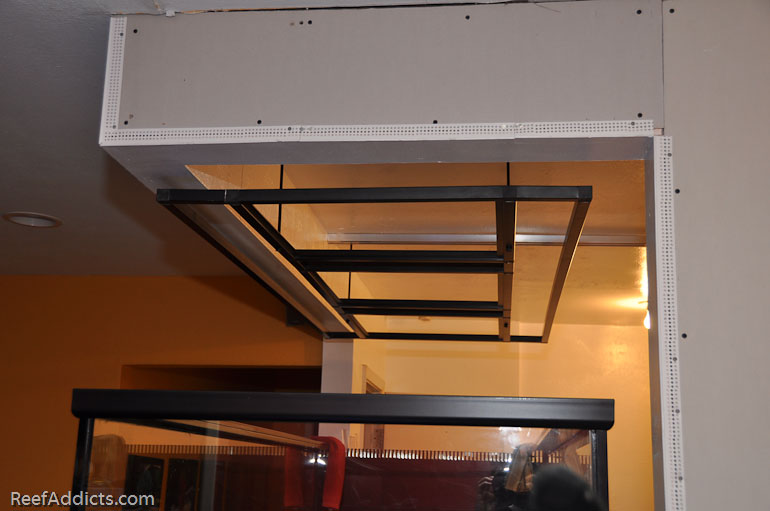
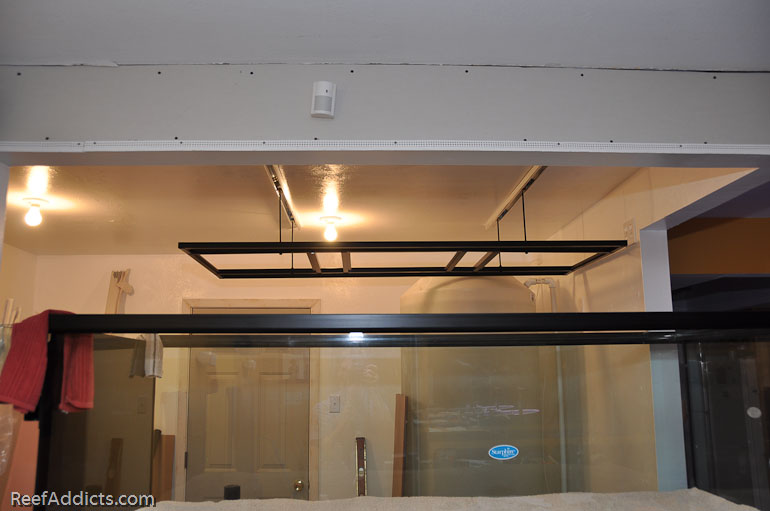
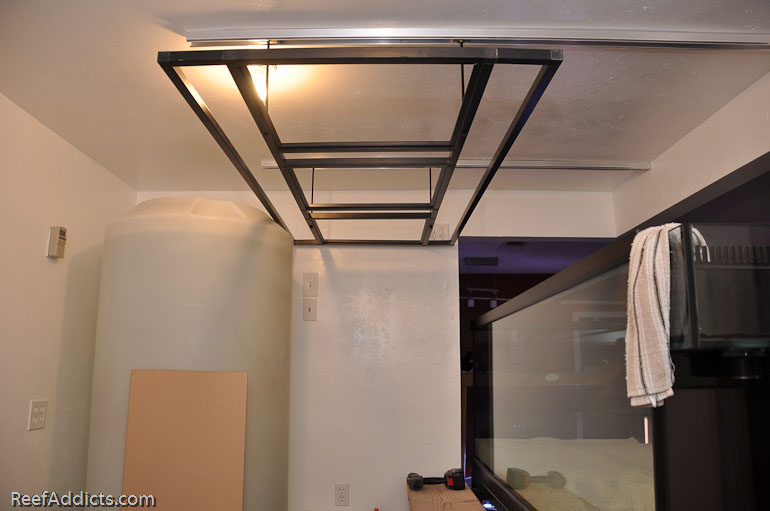
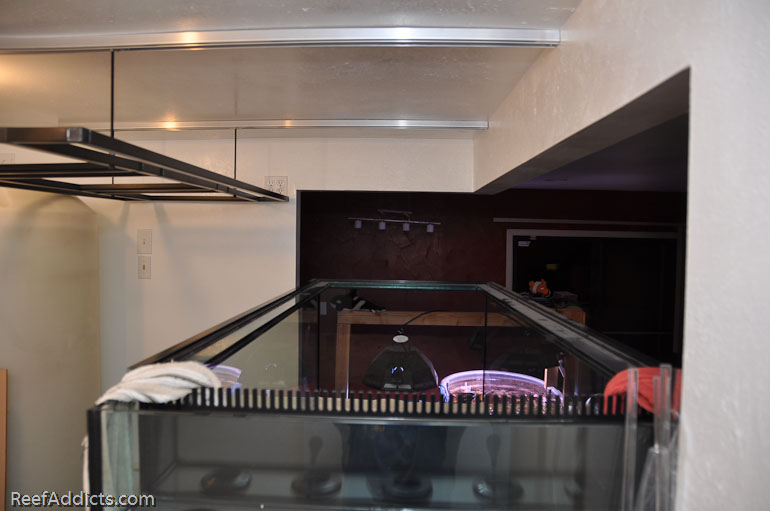
Here's the rack, suspended over the tank. It puts the distance from the base of the pendant to the surface of the water at 17". That means the bulbs will be 20" to 21" from the water. It's a little higher that I had them over my 280g, but the distance from the surface to the sand is 22" - I'll be measuring the PAR to see how it works out.
When I roll it back, it goes all the way to the water container. Note the outlets on the right end. I left enough room to plug in a DC-4 for power. And would you believe the light bulb isn't going to be in the way? The ballasts will be in that spot, so no issue there either.
It's a squeeze, but I can work in the tank with the rack behind me.
The pendants were reinstalled over the livestock vats for now, and will move over when the livestock transfers to the display tank. The pendants are just over 20" in diameter, and 9" tall without the eyelets screwed in. I have enough room to place them into the rack and still remove them from time to time for cleaning.
The plan for the lighting is to put each Lumenbright Pendant in its recessed area. Two 6' Super Actinic VHO bulbs will be installed underneath, running just next to the pendants. The Icecap Moonlights will be installed along the front edge for late night viewing.
The ballasts will be installed on the light rack. The hanging kit is designed to support 150 lbs and I'm estimating the total weight will be about 95 - 100 lbs. The rack weighs about 20 lbs, and each pendant is 20 lbs. Three ballasts will make up the last 20 lbs, if that.
I'll be getting new VHO endcaps from the LFS tomorrow, and will install those next.
I'm very pleased how this all worked out so well. I did a lot of planning, but you know how that can go. In this case, everything worked out perfectly.


