melev
Planing lumber and a new better furr-down
by
, 11-24-2010 at 02:47 AM (10782 Views)
Today, I had to deal with a strangely warped pair of studs the altered the structure of the kitchen wall. It wasn't apparent until I installed the new studs, and even then I was left scratching my head because it just didn't seem possible. These studs were so rounded that I figured they had to be rejects or over-sized. However, the tape measure indicated they were 3.5" wide at various points, and the board was curved significantly. More than 1" actually.
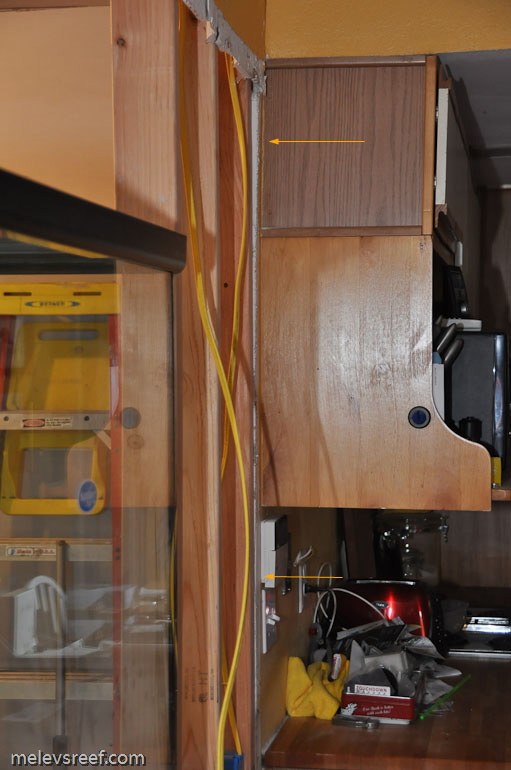
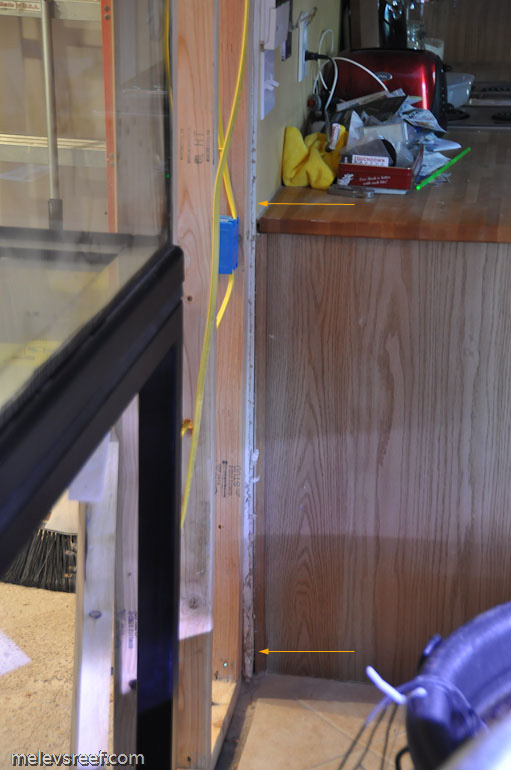
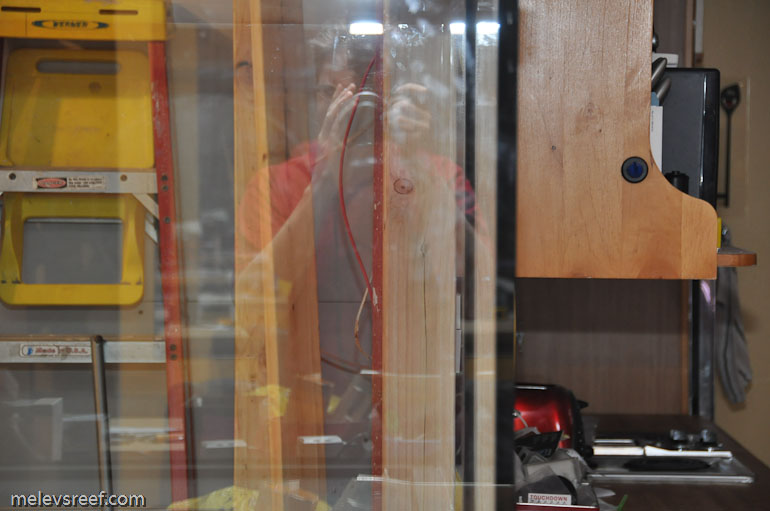
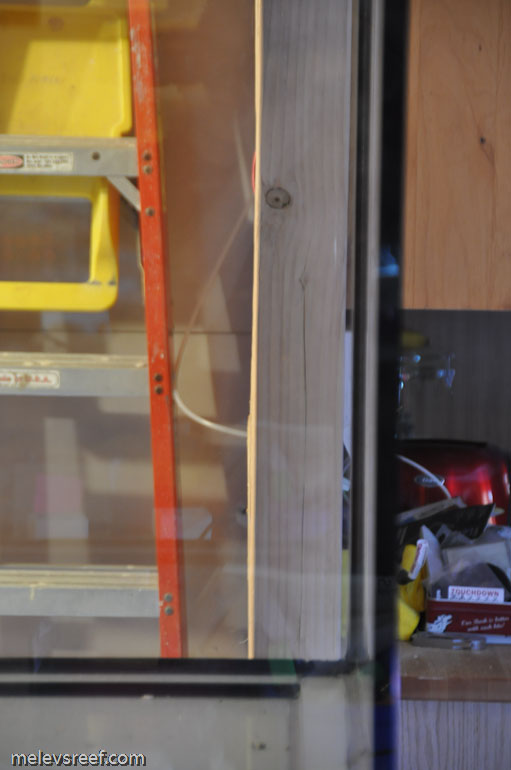
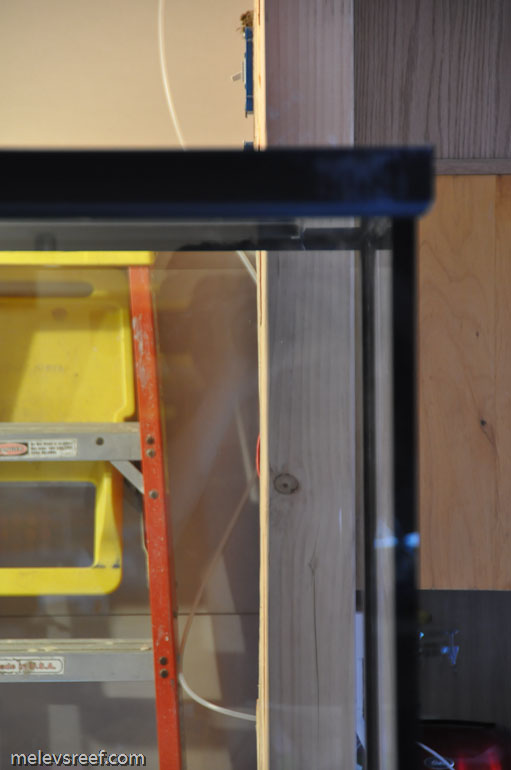
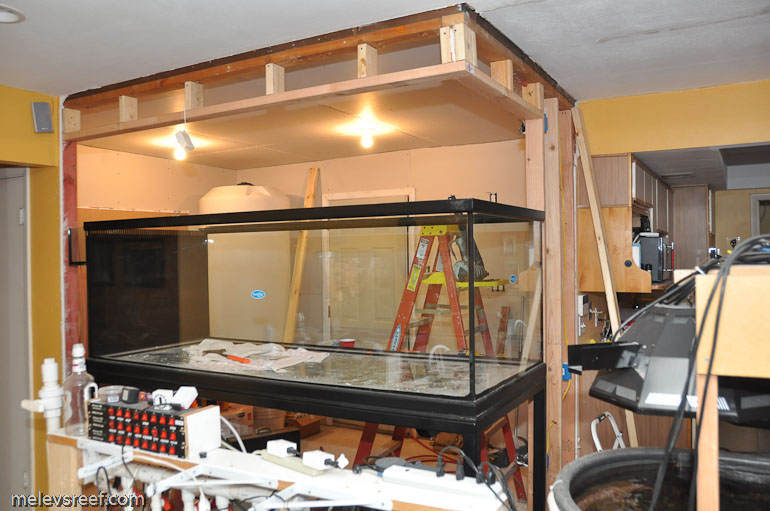
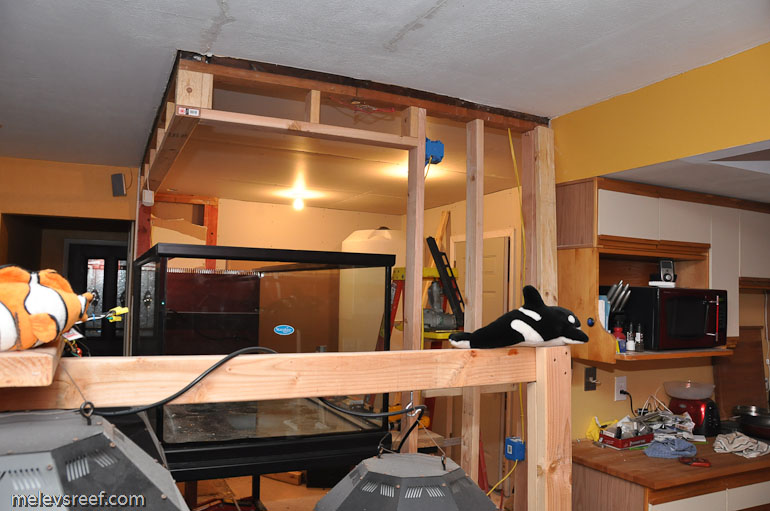
You can see how the wall's curvature affected how the sheetrock hangs behind my cabinets in these next two pictures. The sheetrock sits on top of the stud at the top and the bottom, but the center is sucked in enough that it's going to be a pain to make this area match up to the new sheetrock I'm going to place next to it.
Crazy, right? I thought about ripping out those two studs and replacing them, but since they are holding up part of the cabinets, some electrical, and who knows what else, I decided to leave it be. Well, sort of. From the fishroom side of things, those studs were still problematic.
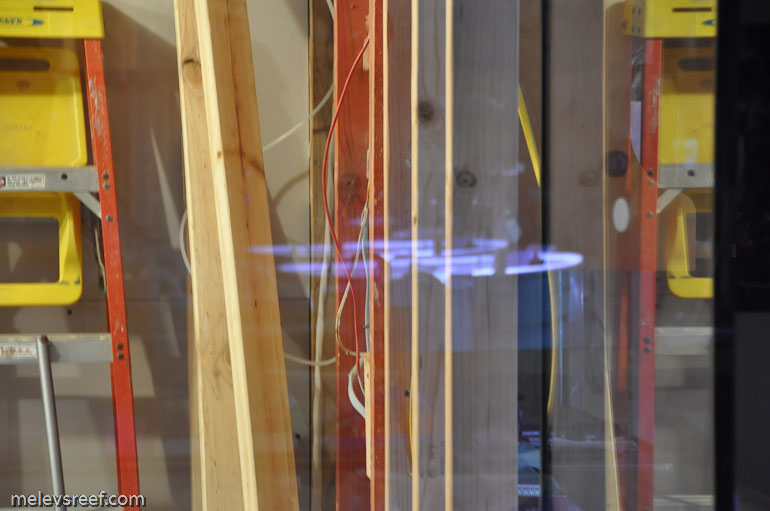
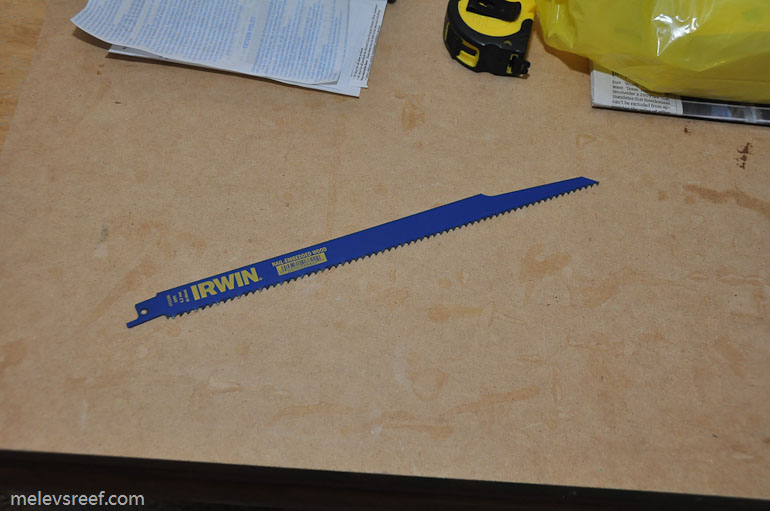
I really didn't want a vertical hump in that wall, so I ran up to Lowes and bought a new blade for my reciprocating saw. $3 later, I was ready for action.
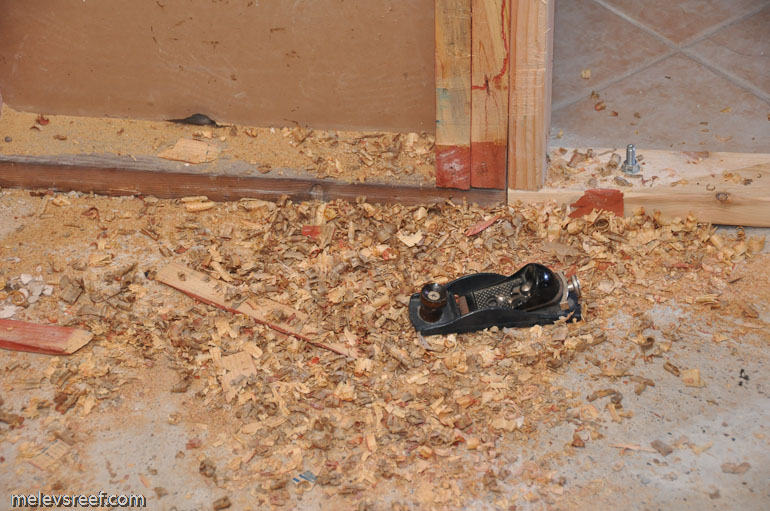
It took about 20 minutes or so to slice off the bulk of the problem. Then I pulled out my old planer and shaved off more wood to smooth out what was a pretty rough cut.
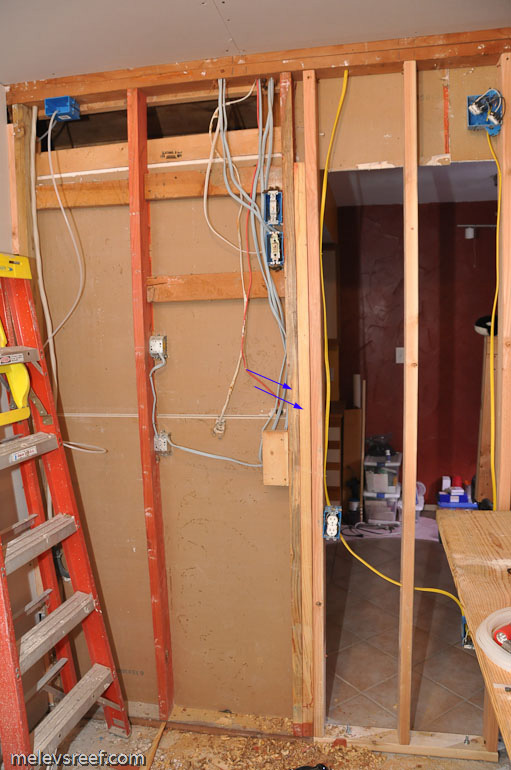
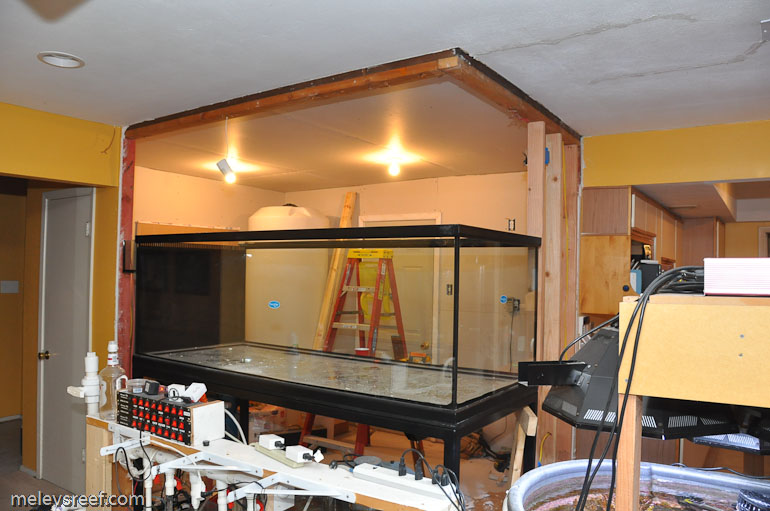
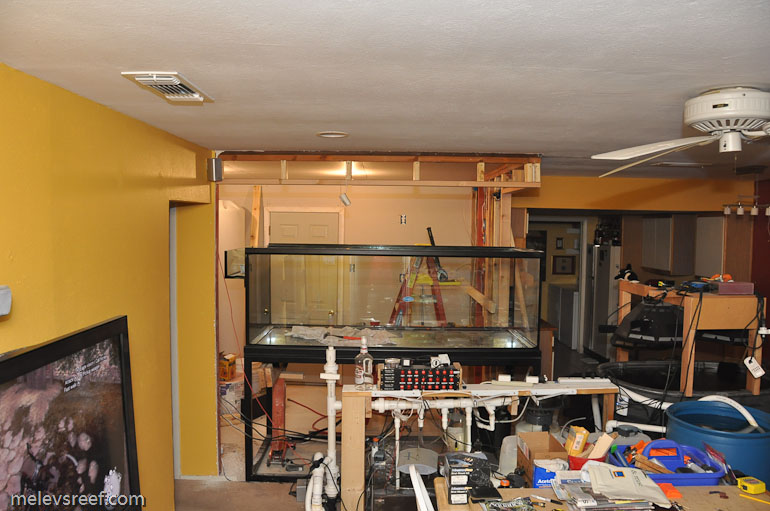
Those two red studs aren't so red any more. The sheetrock will still bow slightly, but it's acceptable at this point.
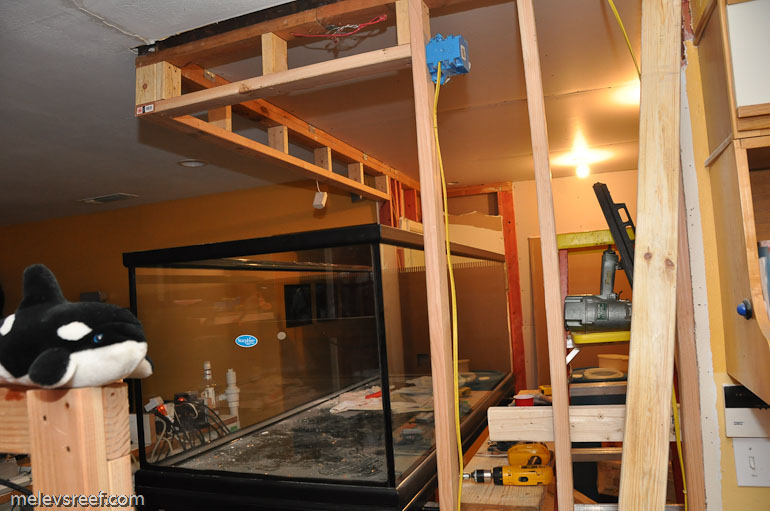
I was ready to hang some sheetrock on that area, but the drill's battery was dead; instead I did a little tear out of the old sheetrock over the aquarium to make room for the new.
To keep the scale of the tank aesthetically pleasing, I decided that some sheetrock was going to be necessary over the tank. Currently, the look is 42" of stand, 27" of glass, and 20" of upper cabinetry, with 8" of visible sheetrock above it. The little furr down wasn't tough to install, although I had to be very careful around the aquarium with my heavy framing gun. I didn't want to bump or scratch the tank, nor drop anything on or in it!