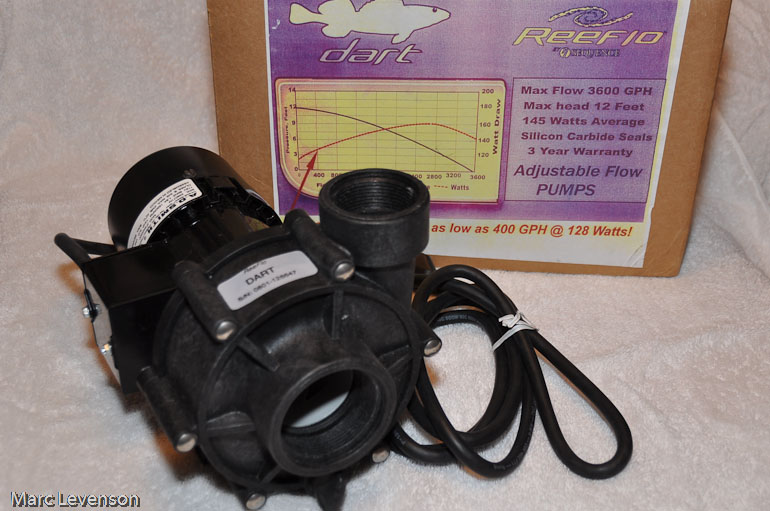
In the past six weeks, the noise level had only gotten worse and worse. Buying a new pump was the obvious solution, but this one was only used for 8 months, and my funds were spent elsewhere. My friend Bobby told me we could replace the bearings and correct the problem. He had me order bearings found on Ebay. I found a package of 10 for $11.50 with free shipping, sold for skateboarders.

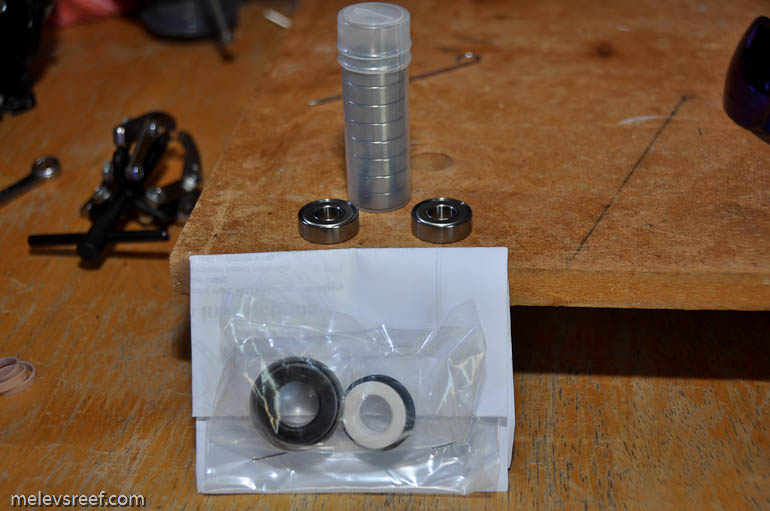
Within a week, the bearings arrived. I also had a new seal at the ready.
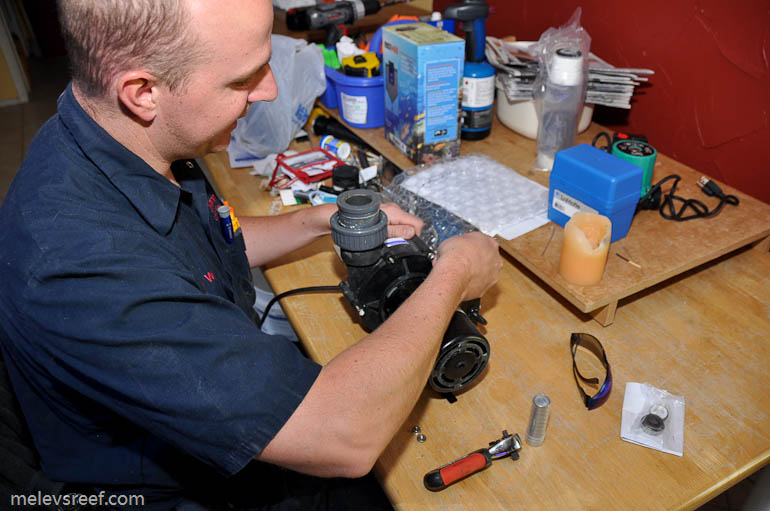
The pump was easily removed from the plumbing by unscrewing the union valves.
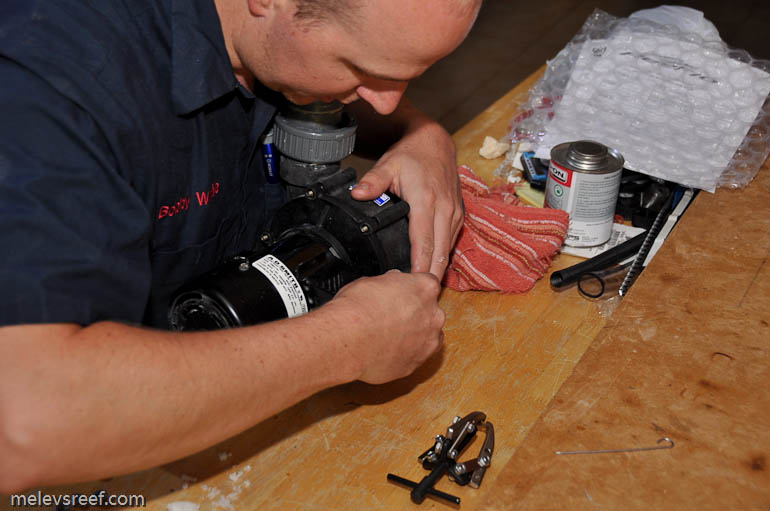
The first thing to remove is the impeller housing. There are six nuts that need to be removed to pull off the cover.
With the cover out of the way, the impeller is visible.
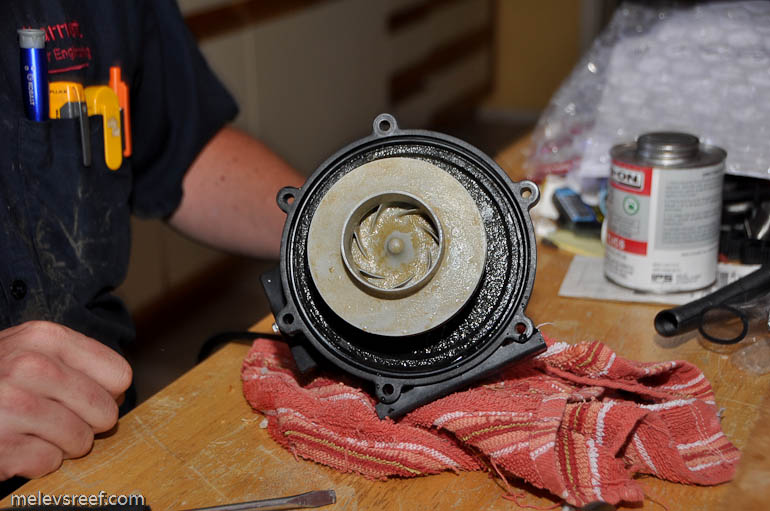
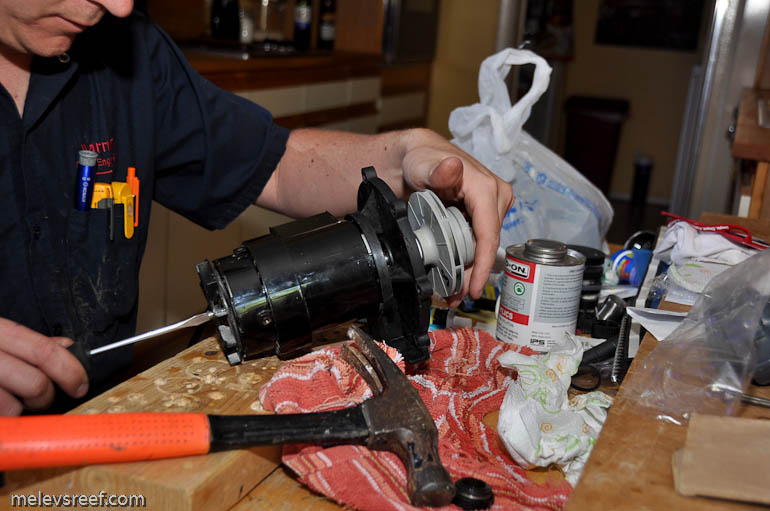
Not pictured is how the cooling fan cover at the end of the pump was removed. Next, a flat-head screwdriver was then inserted into the slot of the drive shaft to lock it in place, allowing the impeller to be unscrewed and set aside.
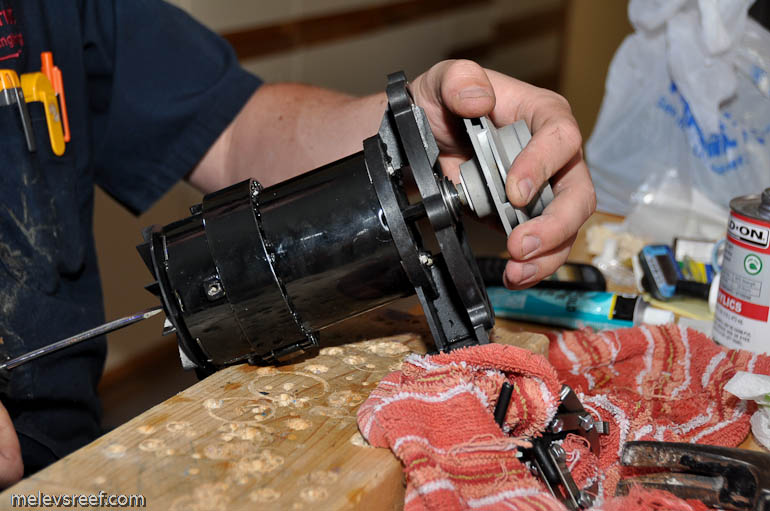
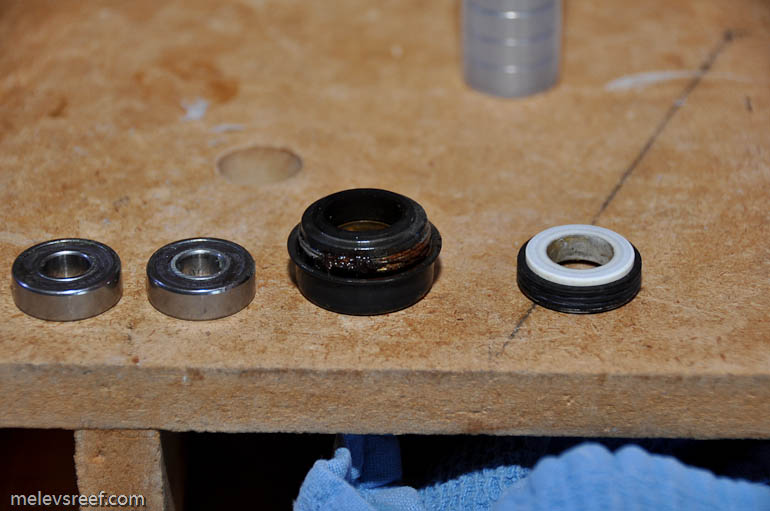
The other half of the impeller housing is held onto the motor with four screws. Note the four keyhole slots in the picture below. Once the screws have been carefully loosened, the black section can be twisted slightly and separated from the pump's motor section. Note how the seal has begun to display signs of rust and damage. It was leaking slightly.
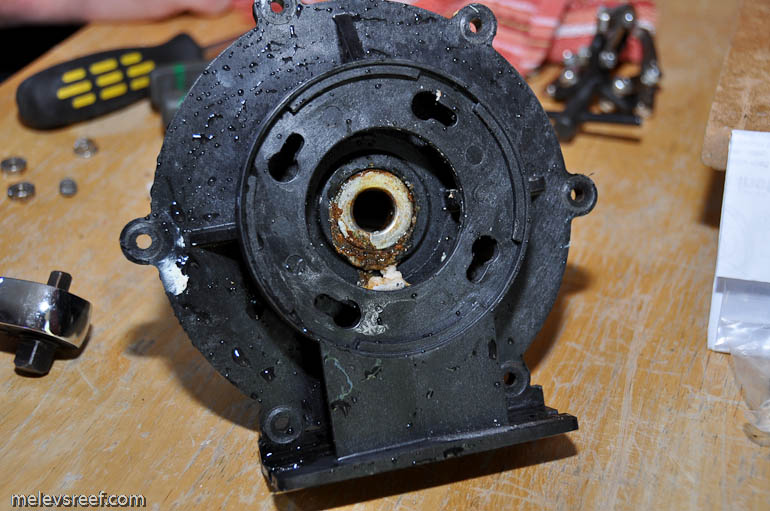
The motor's threaded driveshaft needed to be cleaned up slightly. You can see three of the four screws that held the black shroud in place, and the grey impeller in the background.
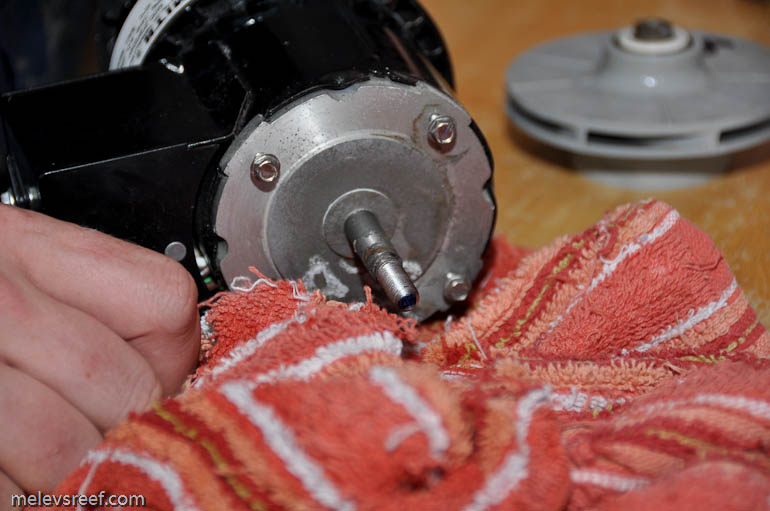
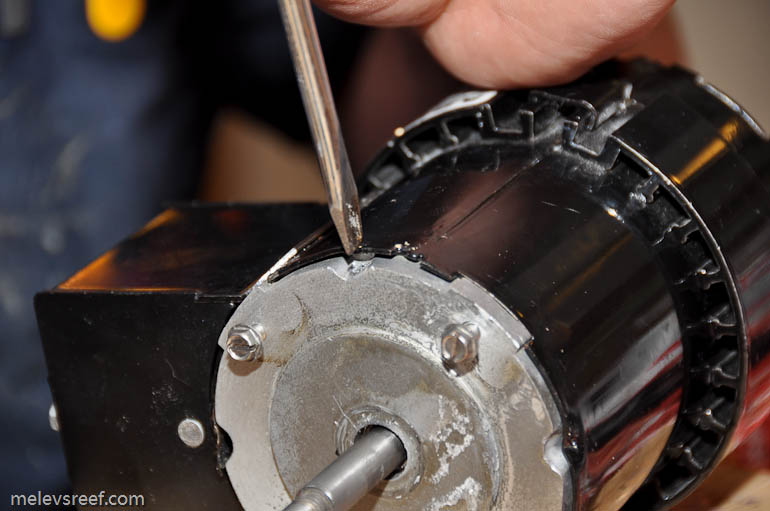
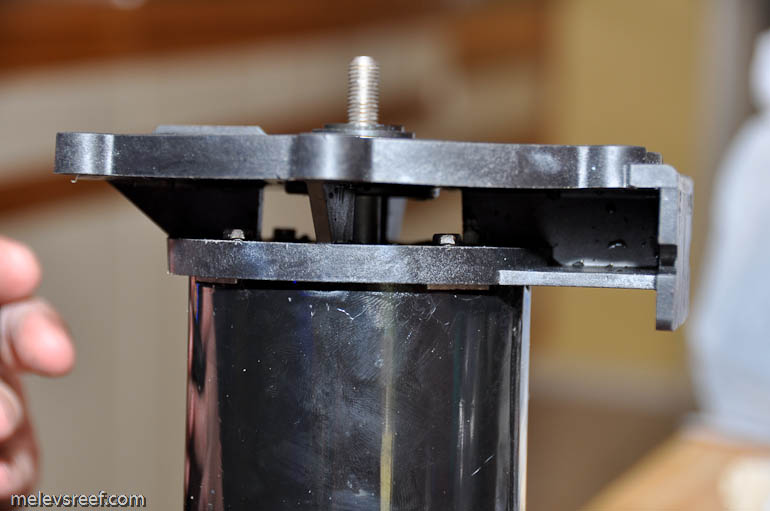
The next part that has to be removed is the cast metal section. It is held by three points where the metal has been dimpled inward. Using a screwdriver, Bobby pried the metal outward enough to release its hold. One spot is already done right above his thumb in the next picture. The next one is facing me in this picture.
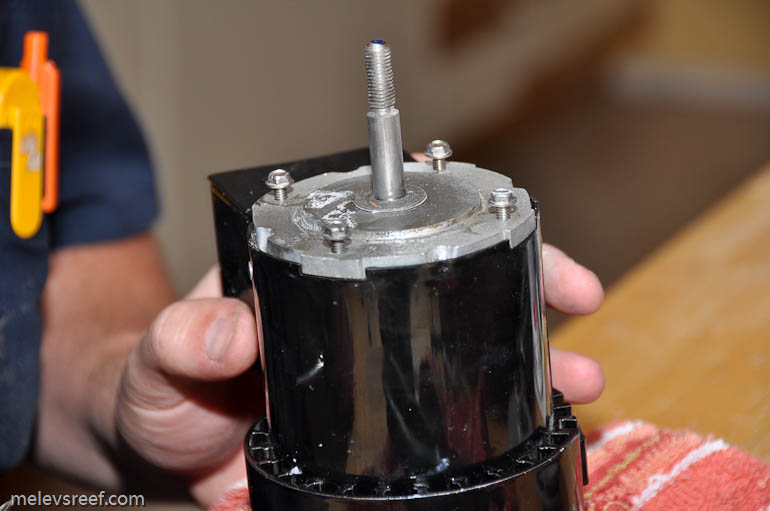
With the metal piece carefully pulled out and set aside, this core driveshaft was pulled out. The bearings are what are about to be replaced.
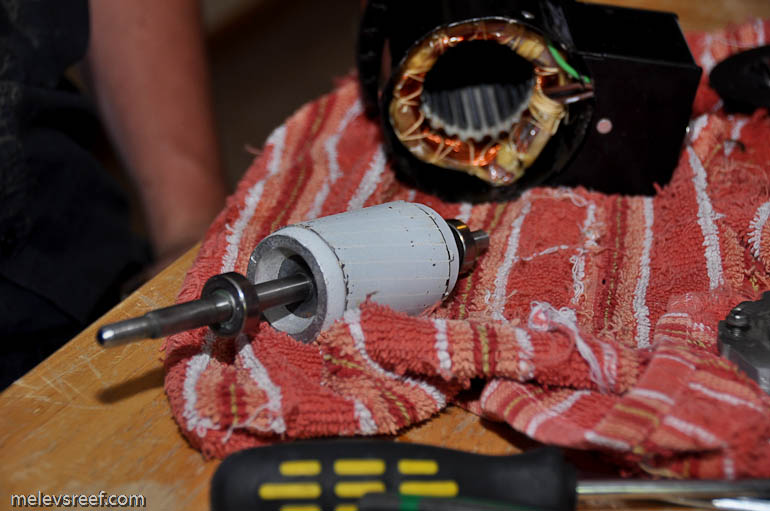
Using the bearing-pulling tool, it was easy to remove the first one. This tool can be purchased cheaply at Harbor Freight, as the bearing isn't nearly as secure as it might be in other applications. It just pulls it off gradually as you turn the handle.
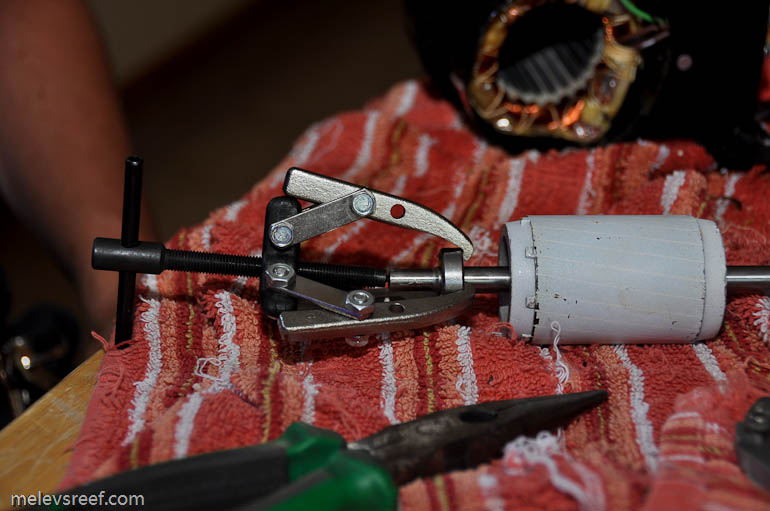
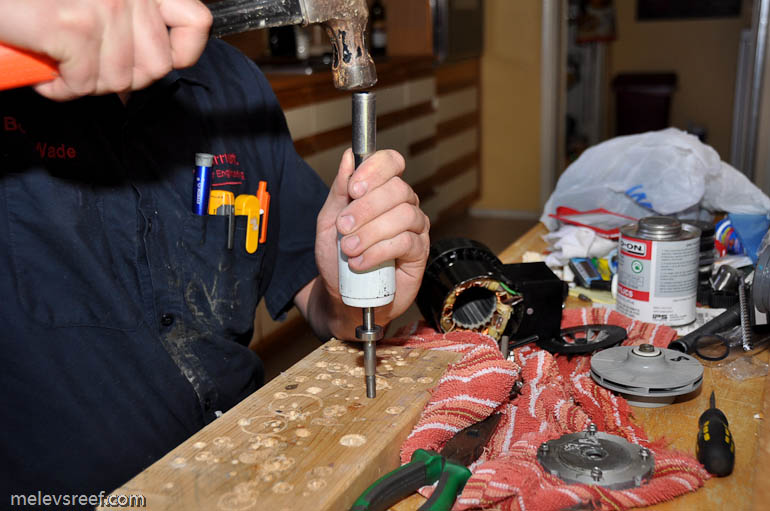
The new bearing was slid down the shaft and a deep socket was used to press the bearing downwards with each tap of the hammer.
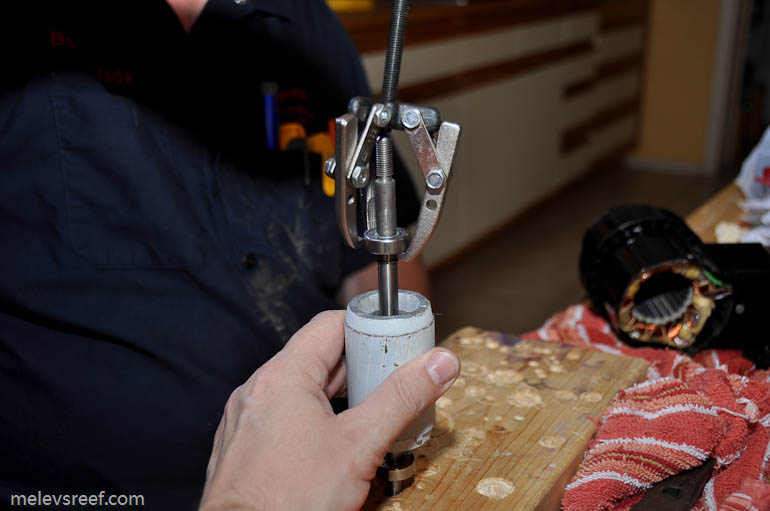
The other bearing was a little difficult to reach with this tool, but even with only two hooks of the three grasping it, the old part was removed.
This little retaining ring/clip is what the near bearing has to slide up against.
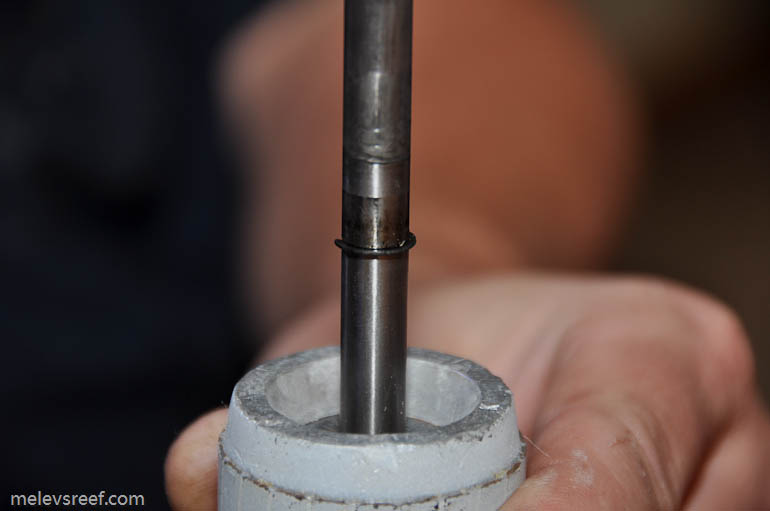
The new bearing is installed.
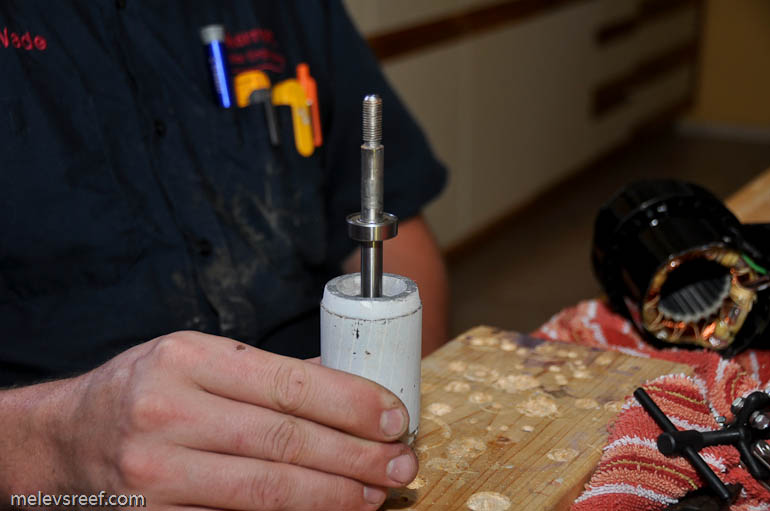
The drive shaft assembly was installed in the same orientation it came out. Please remember to install the two spring clips at each end prior to installing the cover plate. It helps keep the drive shaft centered within the housing.
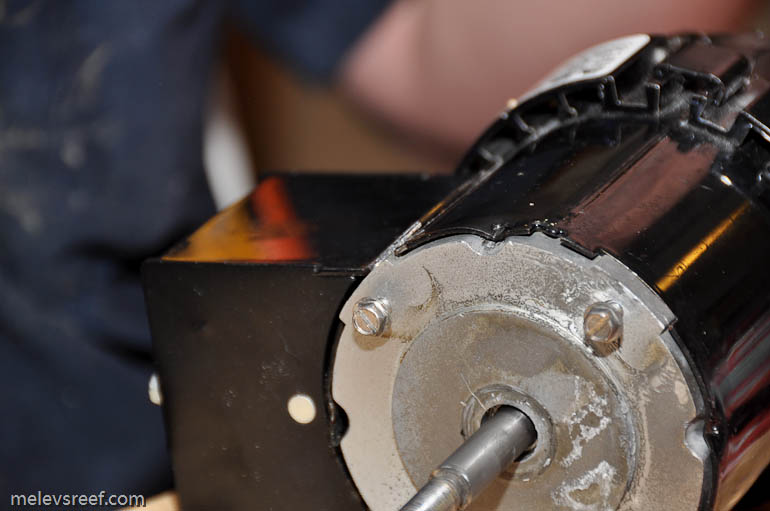
Using a screwdriver and hammer, the three dimples were hammered back down to snugly hold the metal place in place as before. This picture shows it prior to being bent, and the next image as it should be.
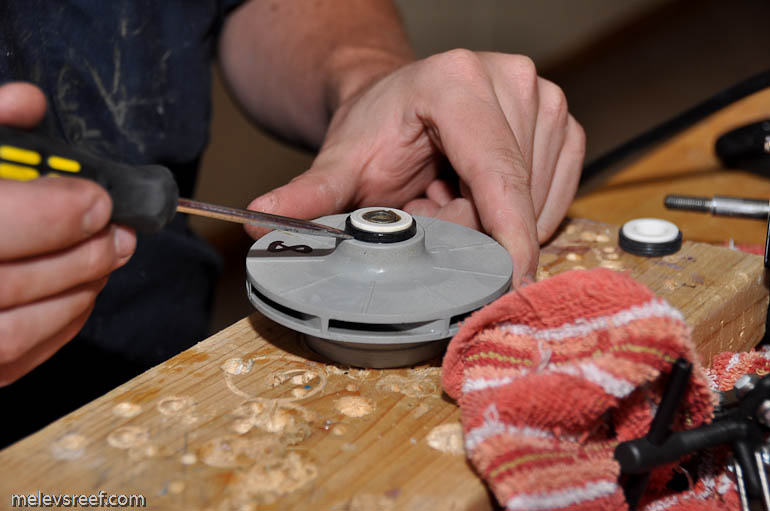
Now that the motor was repaired, we changed out the seals. The seal came out easily with a screwdriver, pressing against the rubber liner and prying upward.
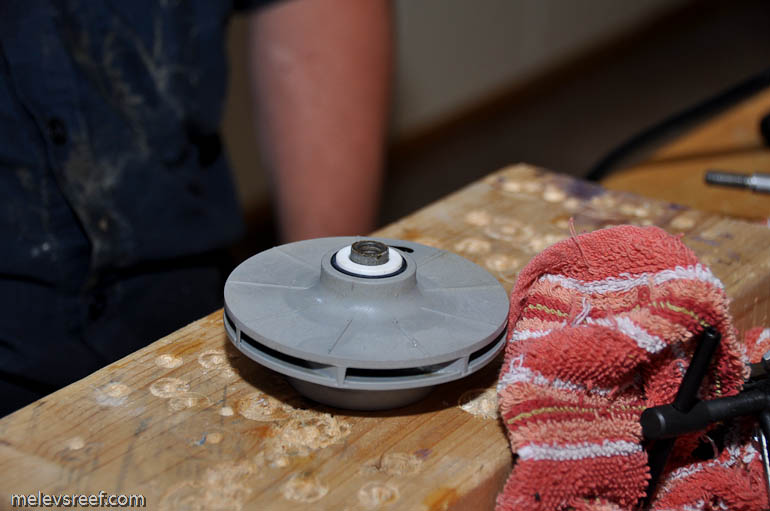
The new one was pressed in by hand.
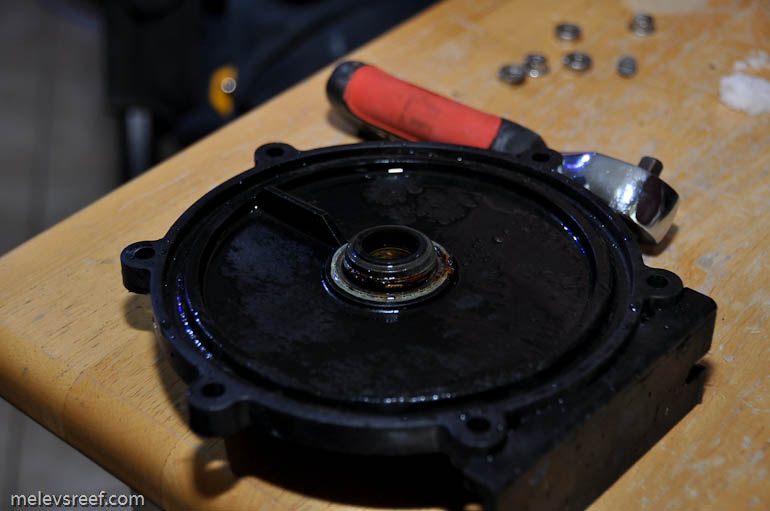
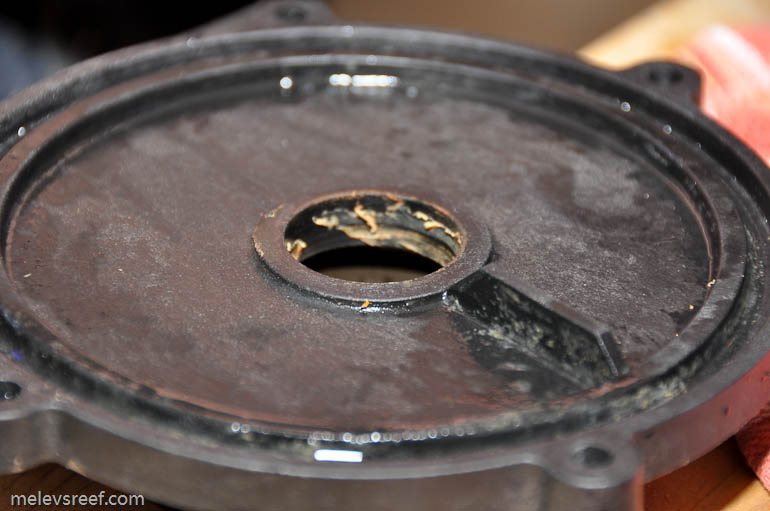
The other half was depicted near the top of this article. Here's the housing with it removed. Some of the gasket sealer material was still present, but not anything to be concerned about. I wiped it away with a paper towel.
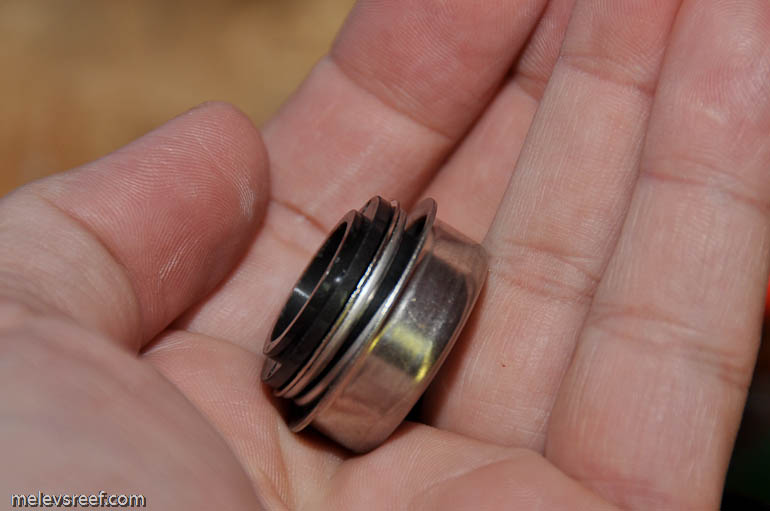
Using some aquarium-safe silicone, it was applied to the metal perimeter of the seal. This silicone is sold at Home Depot near the tape and glue section.
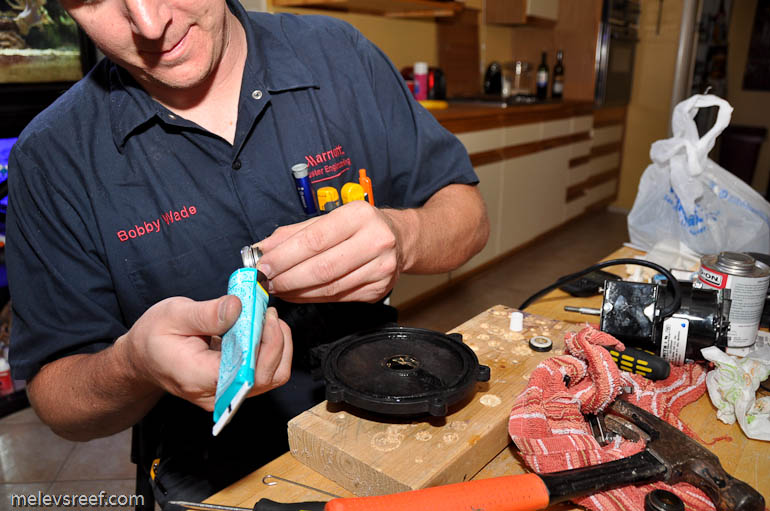
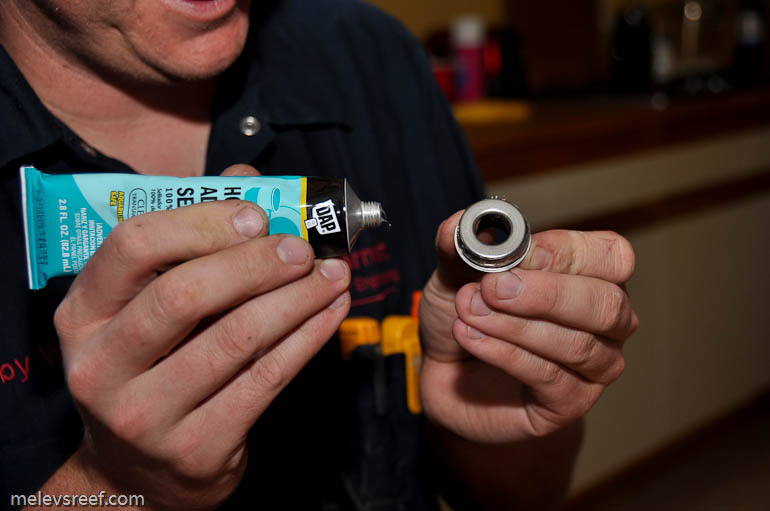
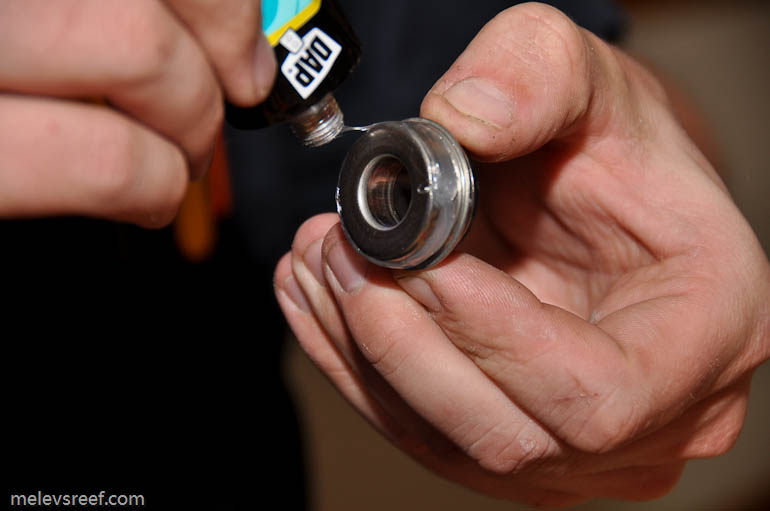
And was pressed into the black housing by hand.
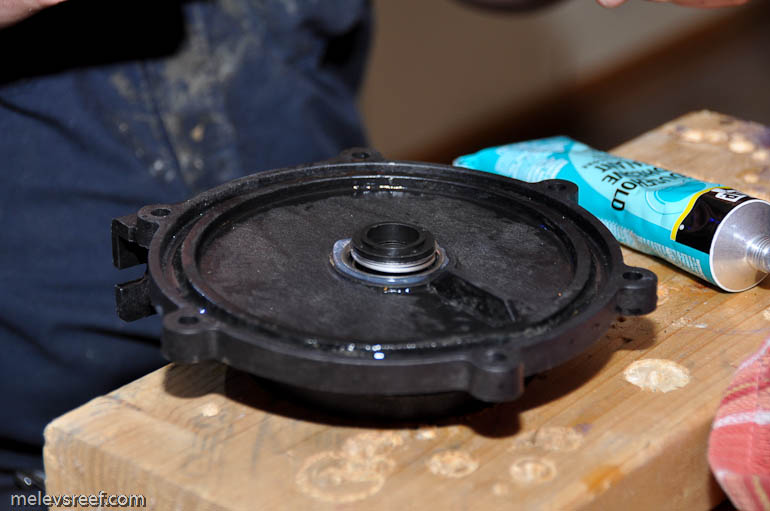
With this task done, the impellar housing's back plate was aligned with the motor's four screws. These were inserted into the four keyhole slots, and the black section was then twisted to lock it in place.
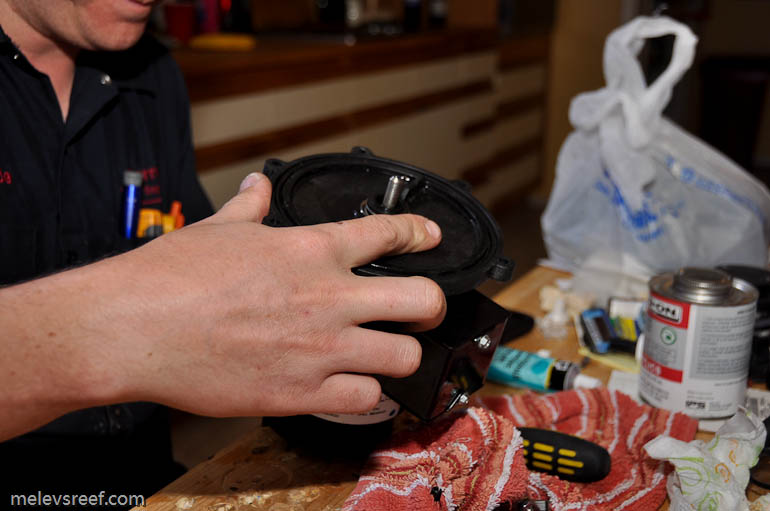
Using pliers, the four screws were snugged down to hold the plate in place. It doesn't have to be tightened excessively.
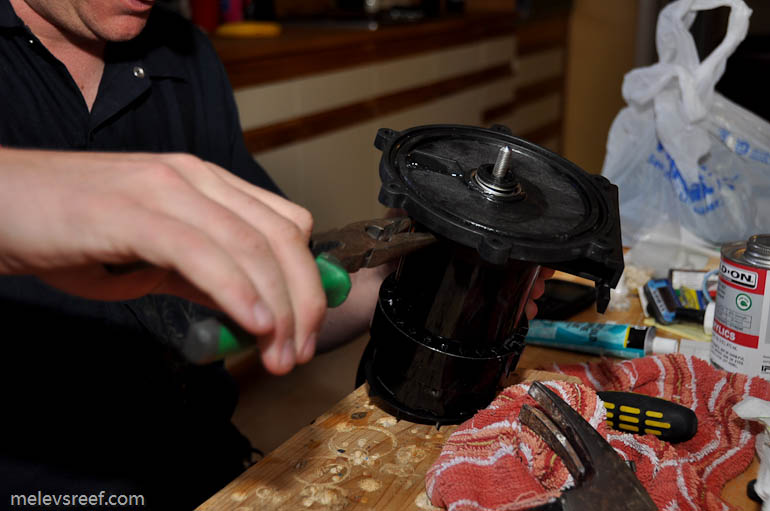
Done.
The impeller was screwed back onto the threaded end while a screwdriver at the opposite end prevented the drive shaft from spinning.

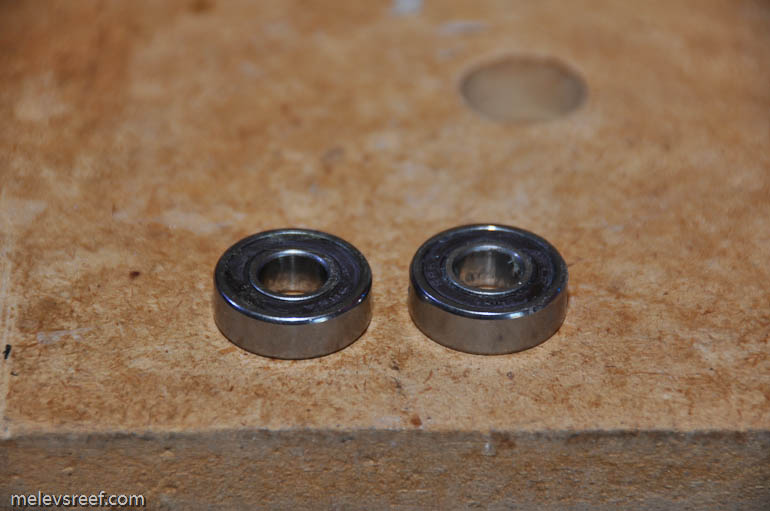
The old bearings and seals.
The large O-ring inside the cover was positioned in place, smearing the silicone grease over it evenly and the cover plate was then reattached. The bolts and nuts were inserted and tightened down. Done.
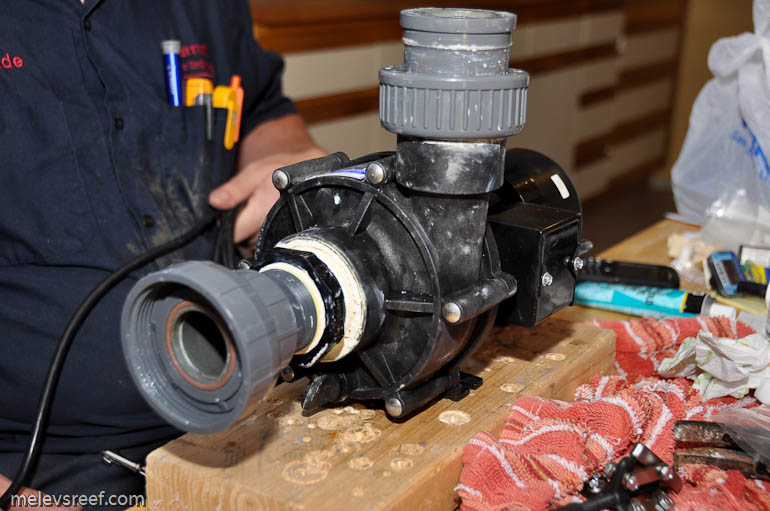
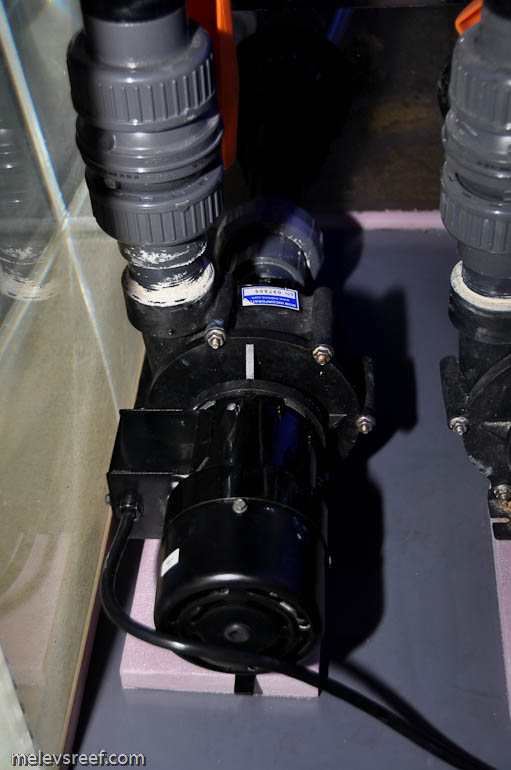
The pump was installed, the valves opened up and then turned on. It is much more quiet, nearly perfect. The question remains if these bearings designed for skateboarding are going to be good enough quality for long term use or if a different source will be needed.
I hope this article helps. I can't omit the fact that the people at Reeflo Pumps offer excellent customer support and can help resolve issues. If you are a handy person and want to tackle this yourself, now you know more. If you don't want to commit to this level of repair, contact Reeflo directly. I still plan to buy one more pump to have at the ready for when one fails, but being able to fix one locally and not have to wait for it to be shipped, repaired and shipped back is why I proceeded accordingly. Plus Bobby said it was easy.

Additional links:
How to replace the seals on a Dart Pump: http://www.melevsreef.com/dart_seals.html
Reeflo Pumps: http://www.reeflopumps.com/


 Menu
Menu


Reef Addicts Message