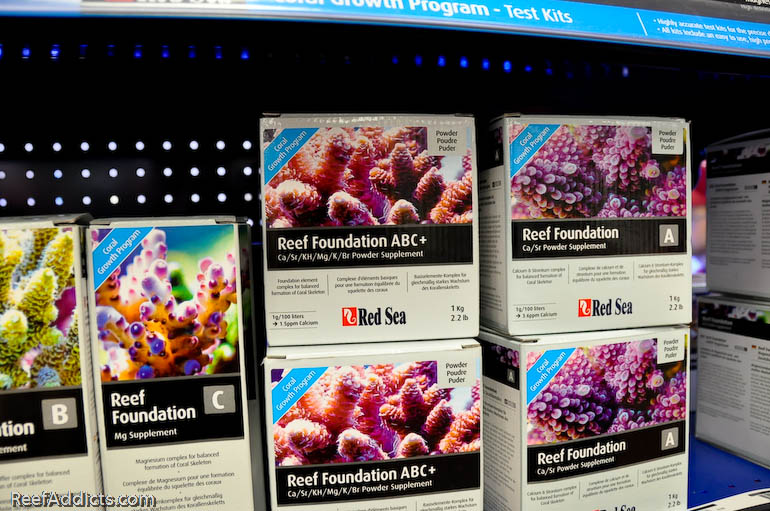
When my friend Wes first told me about the kit, he was very excited to explain why. The kit covers the three elements we reef keepers need to test regularly: alkalinity (KH), calcium (CA), and magnesium (Mg). He really liked that it was a one-handed test. When I flew to Connecticut, I found myself in a LFS that had them in stock, and on sale. However, I was bound and determined to not spend any more money on my reef until I had a new set of tires on my vehicle, and came home with my resolution intact.
As luck would have it, the Red Sea representative had been to the store near my house and left a kit for the owner to try out. The shop owner lent the Reef Foundation test kit to me for 24 hours.
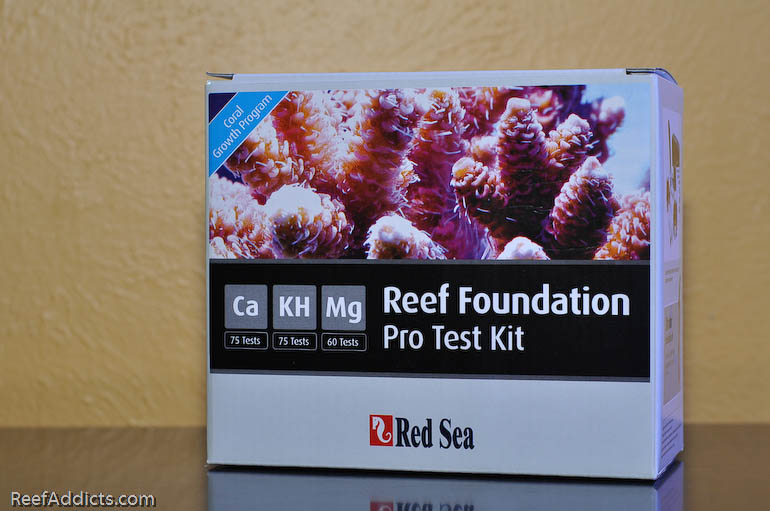
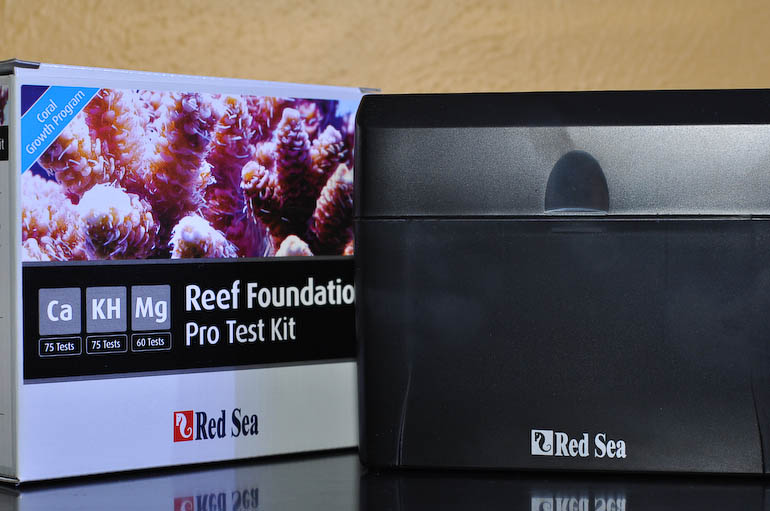
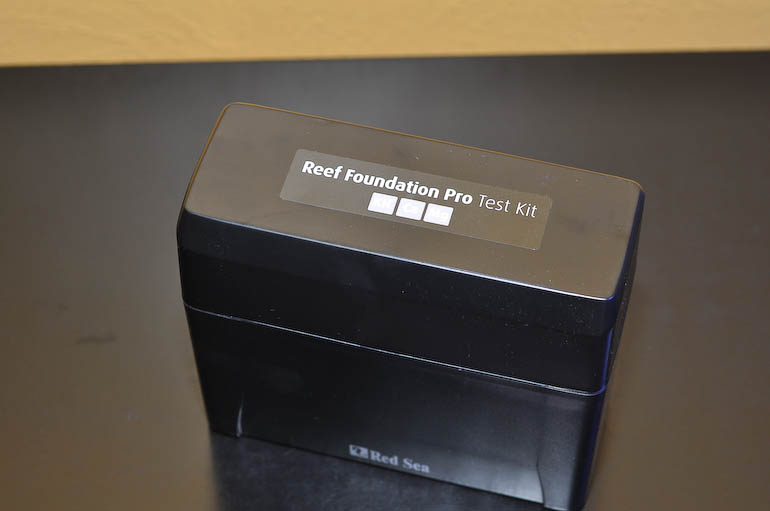
The hard plastic case is a nice way to keep everything tidy. But take note of how it was packed because you may find it challenging to refill it and seal the lid otherwise.
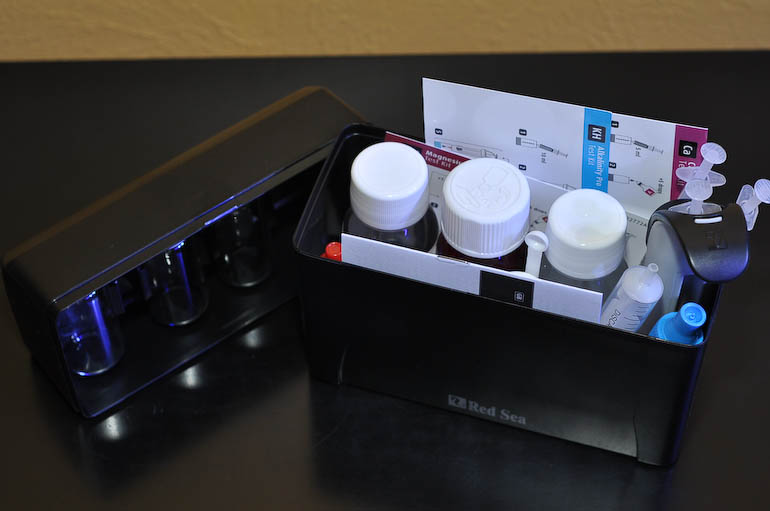
The test vials snap into the case's lid.
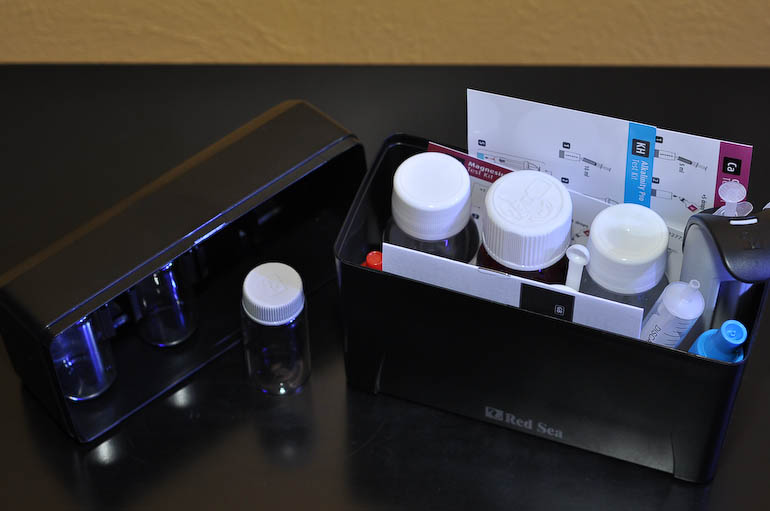
The contents of the kit are clearly marked for each test. A booklet explains why we test for each of these elements and what the target range should be. Included are suggestions to make corrections. Also, a glossy card for each kit shows a quick visual of how to perform the test, with a chart on the back to determine the results.
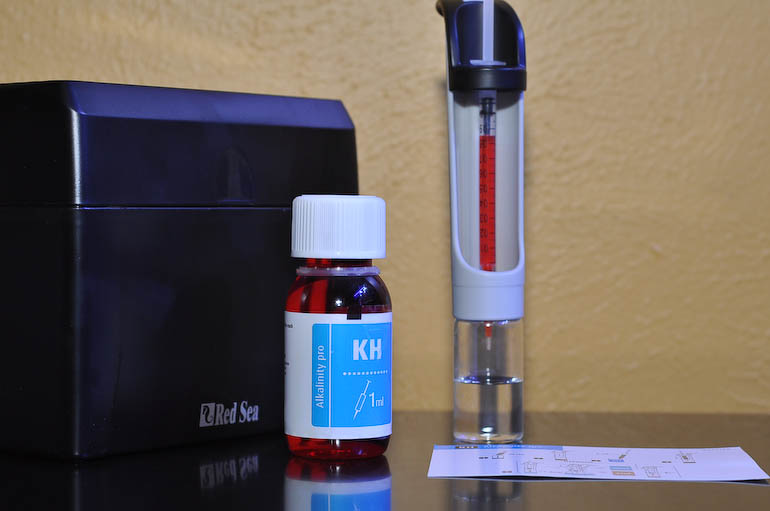
The Red Sea Reef Foundation Pro Test Kit always measures what was used, not what is left in the syringe. Don't let this point escape your notice.
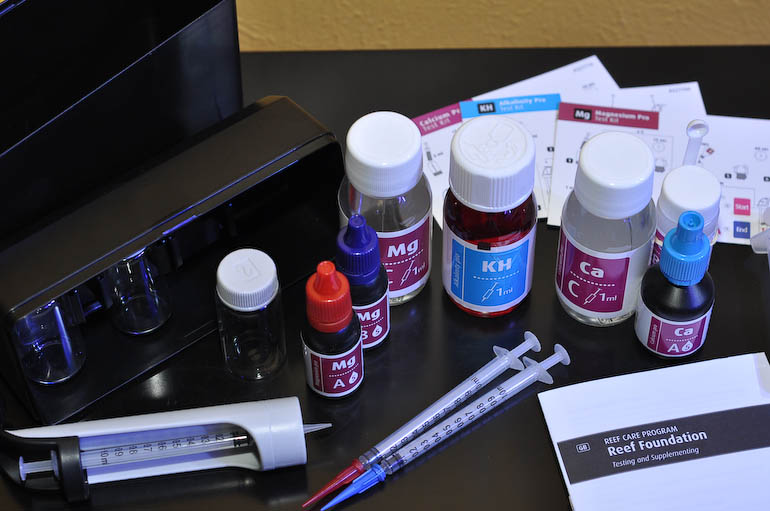
Alkalinity - 75 tests
Following the instructions, 10 ml of tank water was added with the large syringe to a rinsed vial. The gray holder is then screwed onto the vial, sealing it from spilling any on the work area.
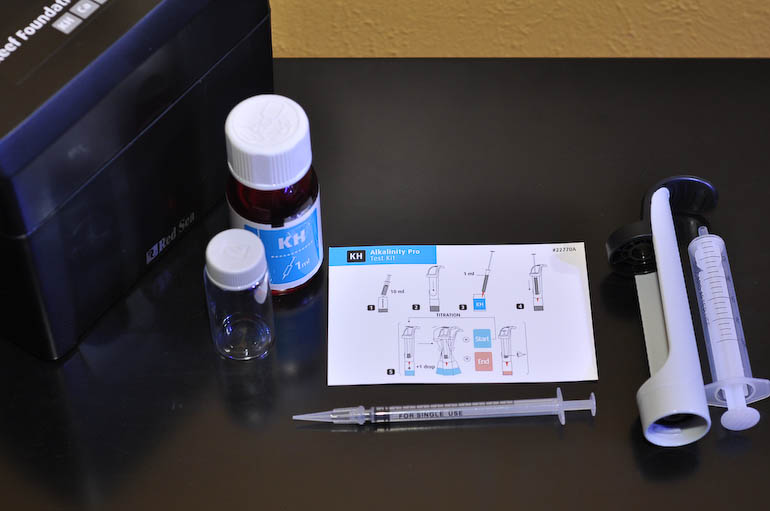
The titrant syringe was filled up to 1ml (the rubber stopper is right above the 1ml mark), and inserted into the gray holder.
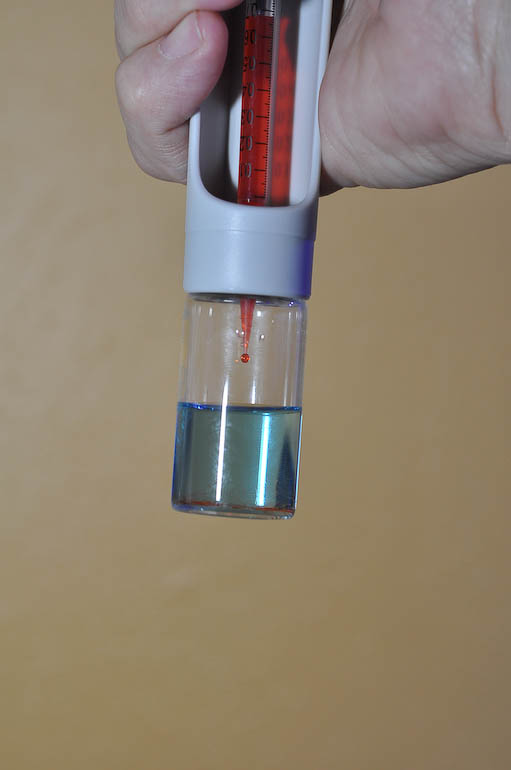
Using one hand, depress the syringe with your thumb to add a drop at a time to the vial, shaking it after each drop for a second. Initially this is pretty tough to do because your thumb has to reach way up, but as it is used and the plunger is driven down, it becomes easier.
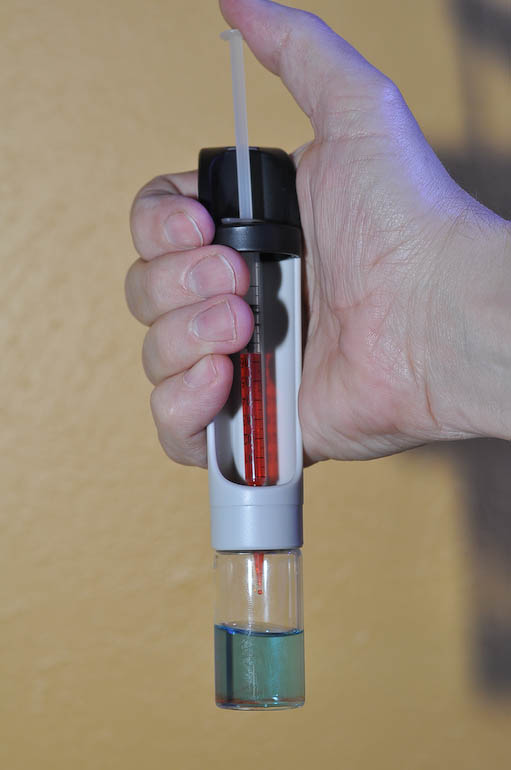
When the color changes in the vial, determine how much titrant was used by subtracting what remained in the syringe.
Find the corresponding number on the chart, and see the results in Meq/l or dKH.
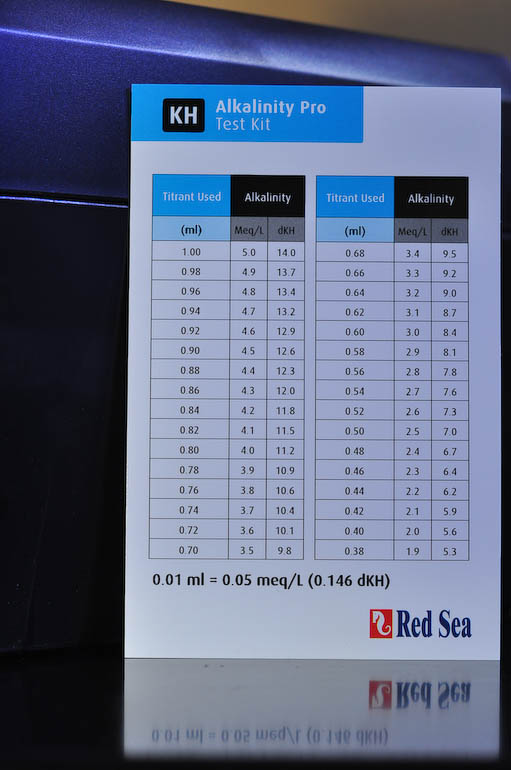
The measurement I ended up with was 7.6 dKH. The Elos kit I compared it to was 7.5 dKH
This test was easy to perform, and the results were accurate to the point I would be happy to use it.
I found this helpful video on YouTube: http://youtu.be/bb4NnYOFneA
Calcium - 75 tests
The calcium test is a little more involved since it uses three components to reach the results.
5 ml of tank was is added to the rinsed vial. 5 drops of Part A is added, and shaken into solution. 1 scoop of Part B is added, and then shaken 20 seconds to make sure it is fully mixed.
The gray handle is secured to the vial, and the filled titrant syringe is locked into position. After each drop, it needs to be shaken for a second, repeating until a visual color change occurs. It will convert from pink to blue (and stay blue for 20 seconds).
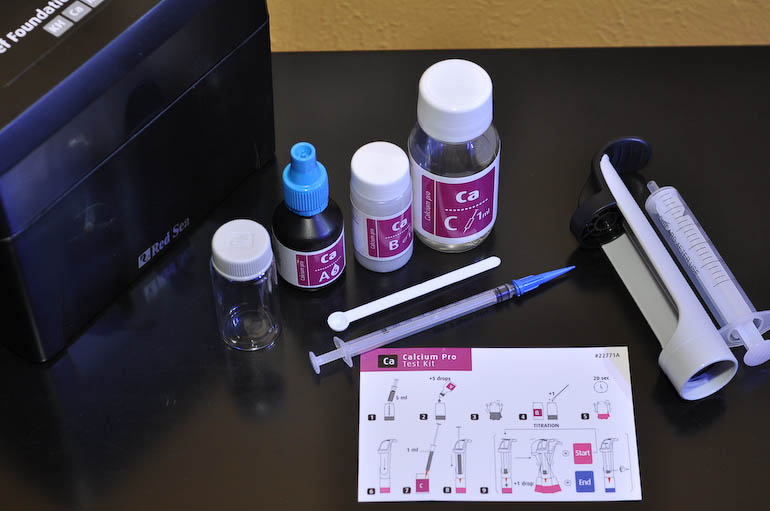
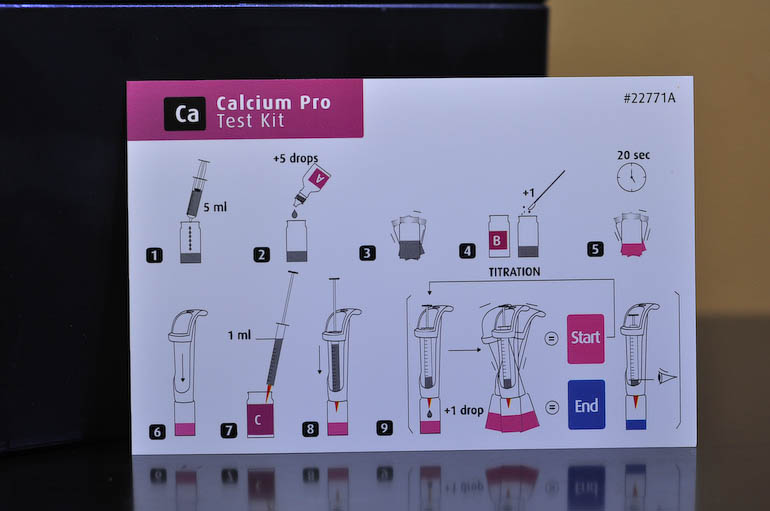
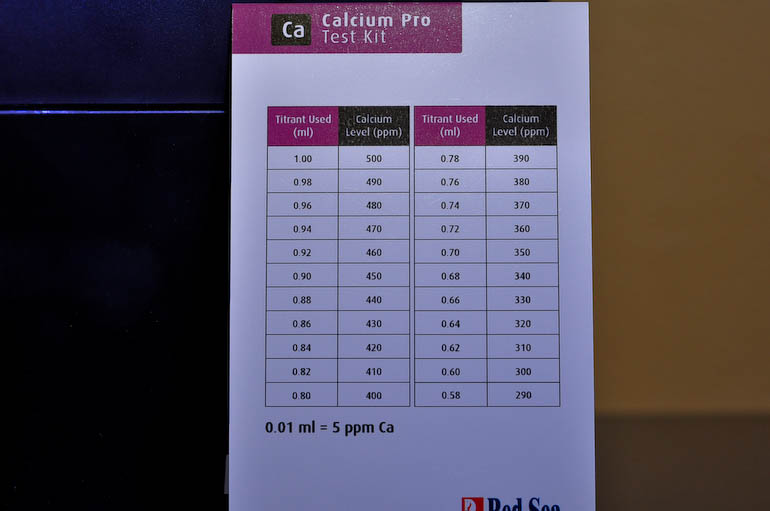
The end result is measuring how much titrant was used by subtracting what still remained in the syringe. Referring to the chart on the back of the Calcium test kit card, the Calcium level of my reef's water was 450 ppm. Compared against my Salifert kit that measured 460 ppm.
I'd be happy to use this test kit to measure my tank's calcium levels.
I found this helpful video on YouTube: http://youtu.be/VT9tEHp828w
Magnesium - 60 tests
The Magnesium test is the most complicated one of the three tests. Again, it uses three components like the calcium version, but this one is more precise in how it is mixed up.
2 ml of tank water is added to the rinsed vial. 1 drop of Part A is added, and mixed for 15 seconds. You have to do this a total of 5 times. Having a clock with a second hand nearby is key, as this part will take you about 1.5 minutes to accomplish and you have to make sure not to lose count of which drop you are on.
5 drops of Part B are added next, and shaken for a few seconds to mix it thoroughly. Fill up the syringe with Part C titrant, and fit it into the handle.
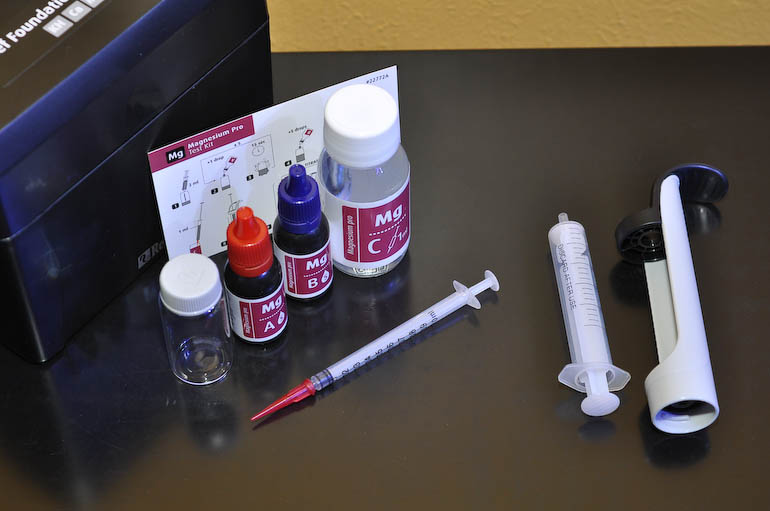
After 60 seconds, screw on the vial and add about 4ml of the titrant at once to begin the initial mixture, shaking it well.
After each drop, shake the holder & vial to watch for a color change. You want it to change from red to blue. As soon as it changes to blue, the test is done even if the color shifts back toward purple.
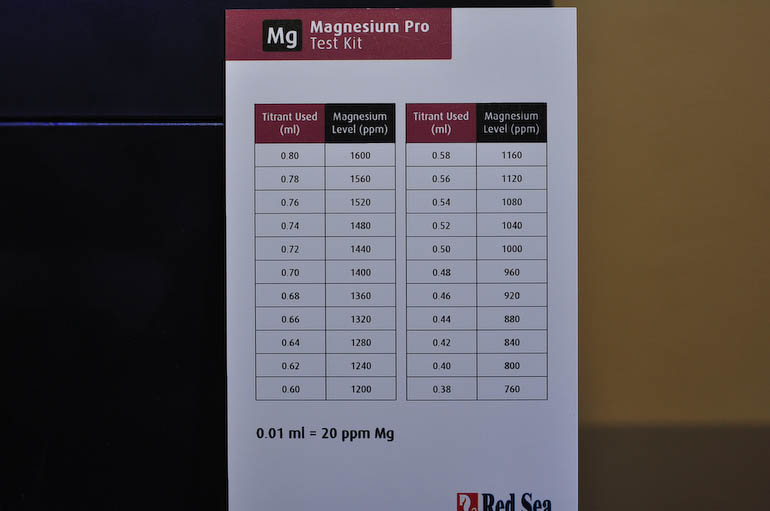
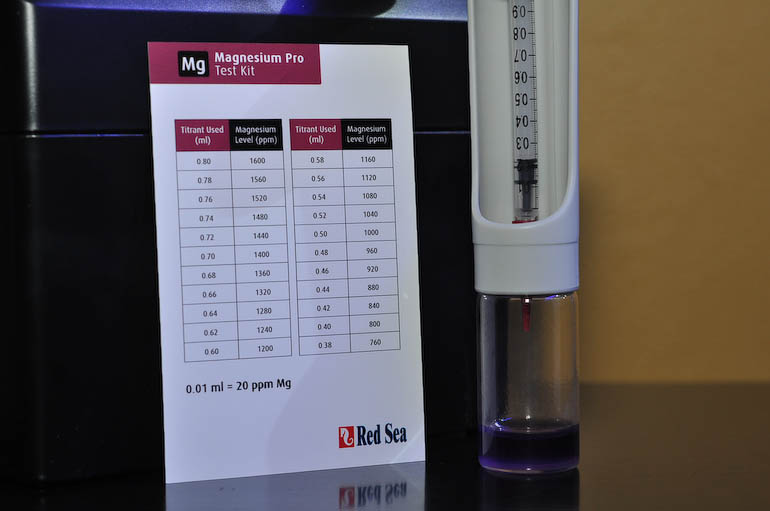
I performed this test four times. Twice using my reef's water, once using aged mixed Sybon saltwater, and once using mixed Instant Ocean saltwater. All samples were measured with a refractometer at 1.026 sg / 35 ppt. Unfortunately, every test resulted in numbers of 1680 - 1760 ppm. By comparison, Salifert's test showed the level at a believable 1420 ppm.
Instant Ocean isn't known to have high magnesium levels, so I have to believe that this kit didn't measure correctly. I read and re-read the instructions several times to see if the error was on my part, but I believe I followed the directions correctly.
I'd be happy to retest this element if Red Sea wants to supply me with another kit, or if the rep wanted to test a sample of my water in front of me.
I found this helpful video on YouTube: http://youtu.be/MofaqM-I6uM
At this time, I can not recommend the Magnesium test kit.
I do like the idea of being able to purchase these three kits in a bundle pack, and the packaging is clearly marked. The cards are glossy to resist water damage, which is always a plus. The vials are big, made of glass, and easy to clean. The holder is handy for one-handed testing, and if you are working over open water, you'll be less likely to spill anything into your system accidentally. I wish the Mg kit had worked out for a perfect review, but it did not. Hopefully this is simply a glitch with a single kit, and not widespread to others.
The kit retails $80 in stores, and about $50 online. Refills are available at some e-tailers, costing $12 - $13 based on the type.


 Menu
Menu


Reef Addicts Message