The plan was to cut out the old silicone and apply new sealant, then let it cure for a day or two. Using a small piece of mirrored acrylic, I inspected the area to determine what had to be mended. However, as I cut out the old silicone, I watched bubbles moving up and down within the seam in the area beneath. I cut down further, but the bubbles traveled south. When I reached down to the base of the temporary dry area and watched the bubbles travel even further below where the water was, it was clear to me that the seam was unsalvageable and the tank would have to be broken down. I could press on the seam with my fingertip and watch the bubbles force their way up and out, but when I released the pressure the bubbles returned in greater volume. Fighting back a wave of panic, I knew there was nothing that could be applied inside or outside the tank to hold it together long-term. The other clamp had to be used, and the only way to do that was to bore a hole through the sheetrock. Moments later, the second clamp was in place, holding the front panel as well.
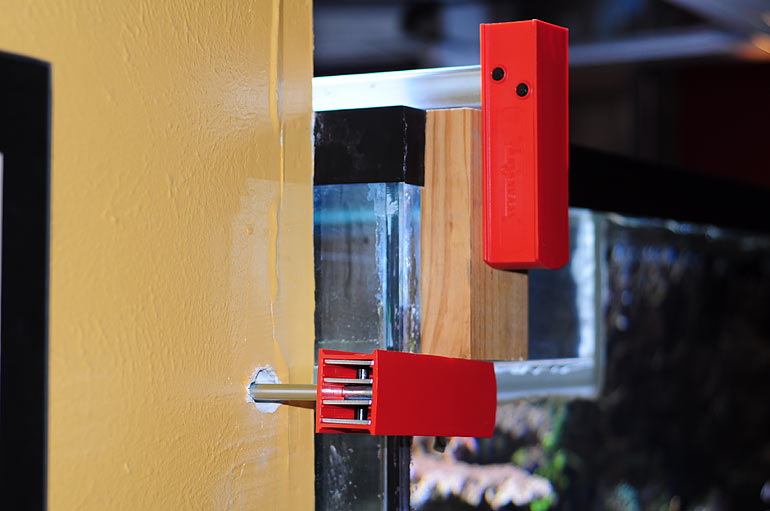
New silicone was applied to the area that I’d cut away only as a stop-gap measure; it clearly wouldn’t have the strength to hold the tank’s walls together. Sharing the news within the social networks, offers of assistance quickly came in. We discussed various ideas, and made arrangements to breakdown the tank on Sunday, the 4th of July.
Some time back, I’d acquired two 200-gallon containers in anticipation of such an eventuality, but I never considered how I would get them inside the house. They were ten inches wider than the largest entry point. Whoops. Fortunately a week before, I’d purchased a 100-gallon Rubbermaid trough from a club member. Another friend offered to loan me a matching trough. I decided I’d plumb these two vats over to the sump in the fishroom to maintain filtration. By Sunday afternoon, we had the vats in the kitchen, and the basic needs ascertained to make a quick trip to Home Depot. I purchased some concrete blocks to elevate one vat higher than the other, and 30’ of SpaFlex tubing. I had a bunch of Uniseals at the ready, recently given to me by another club member – I figured they’d come in handy. How fortuitous all these transactions fell into place at the perfect time. The kitchen table was placed in front of the tank as a makeshift scaffold instead of working off chairs or a ladder. The upper vat was supported with foam, then a concrete block, then a concrete pad, then a sheet of plywood. The foam protected the ceramic tile floor and allowed for any variance of the flooring. The lower vat was placed on a sheet of foam as well.
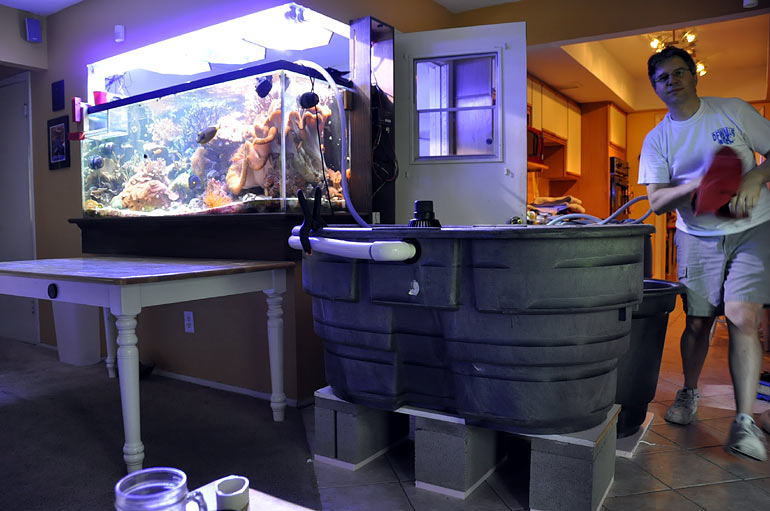
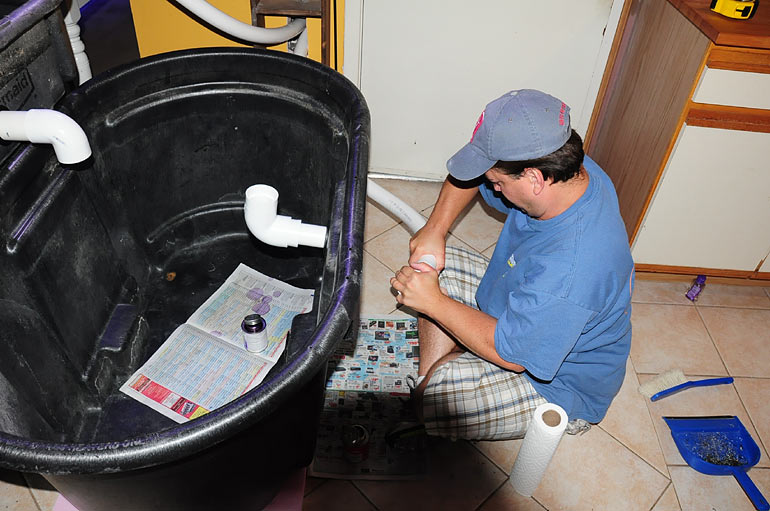
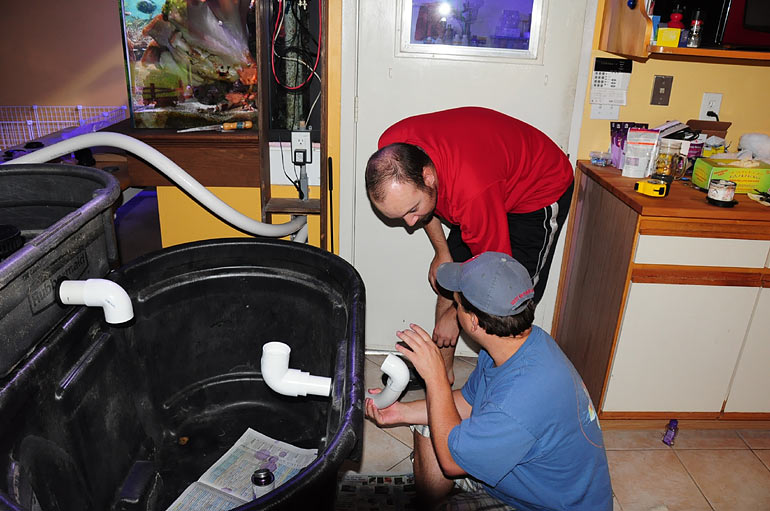
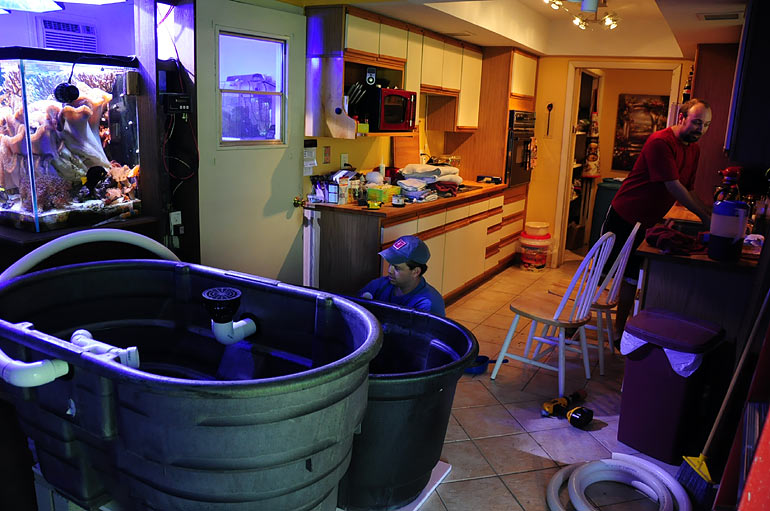
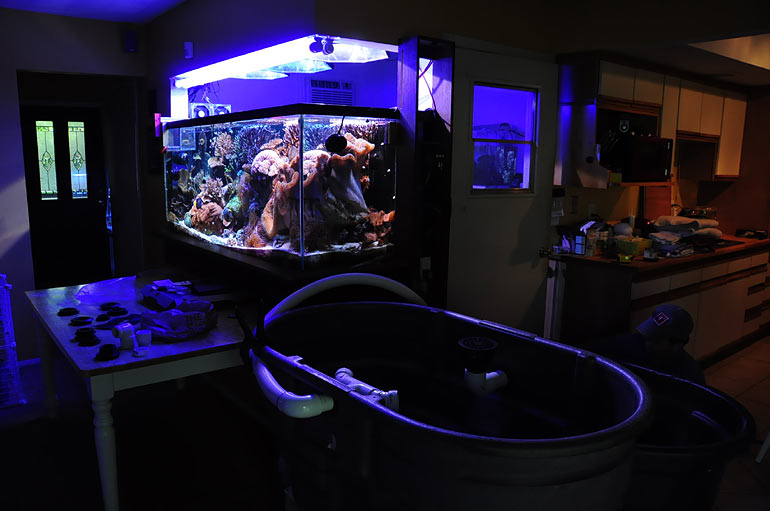
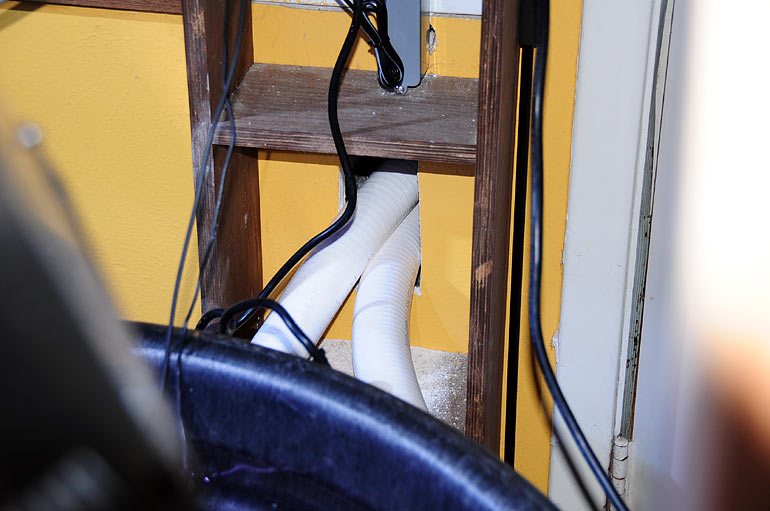
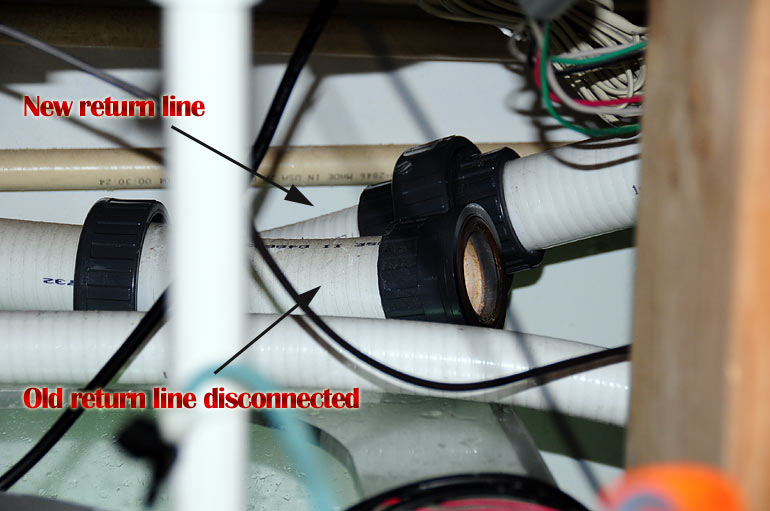
We drilled the vats for the new plumbing, and glued the sections leading to the sump. New return plumbing was run from the Dart return pump to the upper vat, which completed a circular loop with the temporary holding vats. This did require that I either remove the door to the fishroom for the SpaFlex tubing, or I’d have to cut a hole in the sheetrock. The latter idea was the better one, so I quickly cut out what was in the way to route the new tubing through the wall into the fishroom.


 Menu
Menu


Reef Addicts Message