View RSS Feed

melev

Tuesday evening update

Rating: 3 votes, 3.67 average.
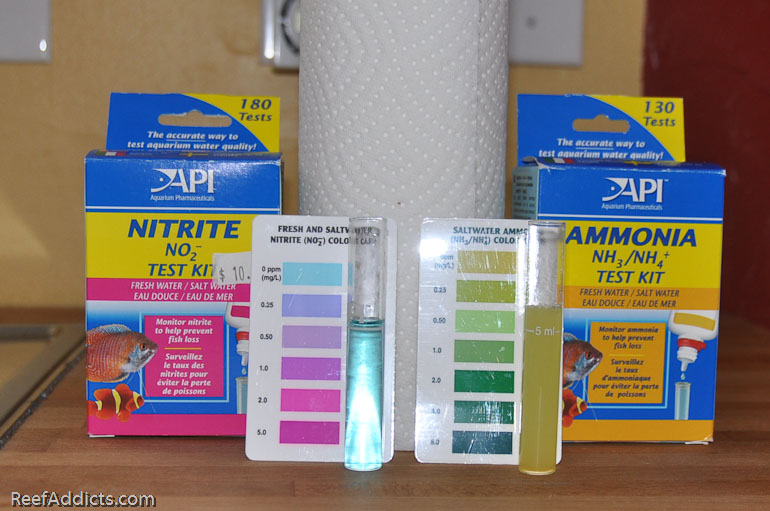
As you can imagine, I'm itching to move the livestock into the tank and get my living room devoid of old tank stuff. I want the sump out of the way, as well as the crusty Dart pump sticking out in the way. I want the two 100g troughs out of the way, and the Lumenbright pendants up on the light rack. I want the livestock in the tank so I can see my fish and the corals that are still hanging in there. I did a couple of water tests today. First I checked the 400g for Nitrite and Ammonia. Both came back zero.


And I checked the main system for Nitrate. Less than 5ppm for sure.


Alkalinity had dropped in the troughs because the Calcium Reactor has been installed in the new system. Using the Tropic Marin Alkalinity kit, it was measuring 7 dKH, too low. For a few hours, I had the reactor drip its effluent via a spare length of tubing into the old sump to help bring up the Alk level.

Both Wes and Drew both told me today that I should connect both systems together, basically combining about 700g of total water volume. Drew was adamant that I mix them very gradually over the next two days. I don't want to wait two more days to start to think about moving over my livestock.

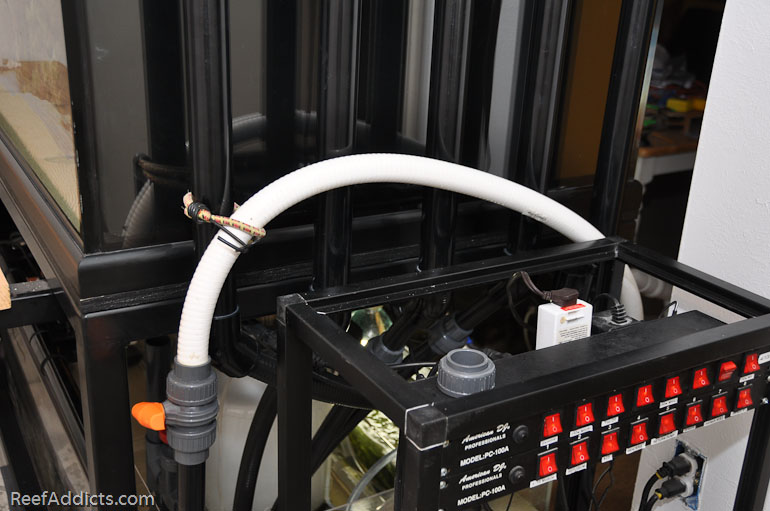
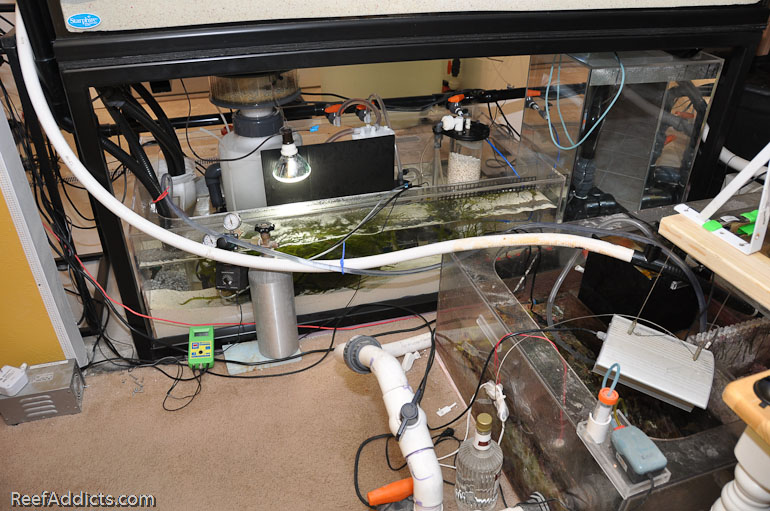
However, they are giving me good advice so I started looking at what I have on hand to work with. Both sumps are at floor level, so I can't use gravity to match them up. Using spare parts, I plumbed the two together. It isn't pretty, and it isn't something I would advise anyone else to do ever, but it'll work for a brief duration as long as I watch it like a hawk.

I connected my feed tube to the valve that will feed the frag tank, and secured it to one of the drain lines to avoid stressing the vertical plumbing.


The tube runs over to the old sump.


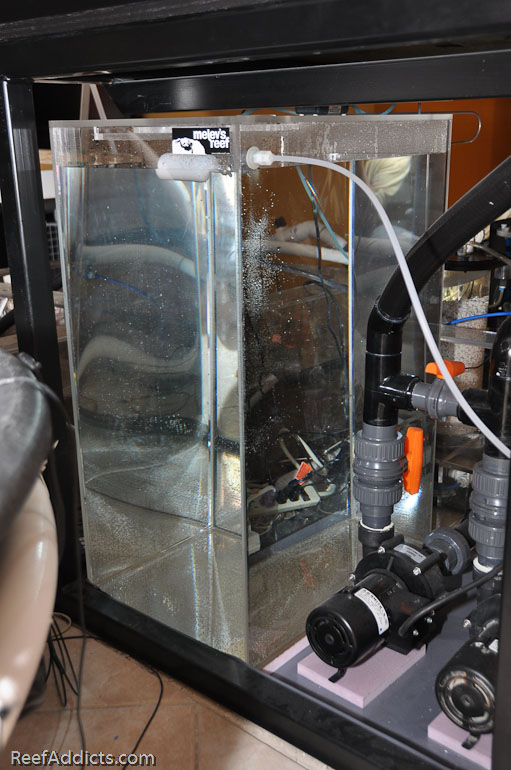
I didn't even have a single 1" coupling to use, but I did have this Tee. So I used it to bridge to some left over black SpaFlex that used to be the drainline to the Angled Tank. Note the water rippling at the top half of this next image. That's water flowing into the old skimmer section.


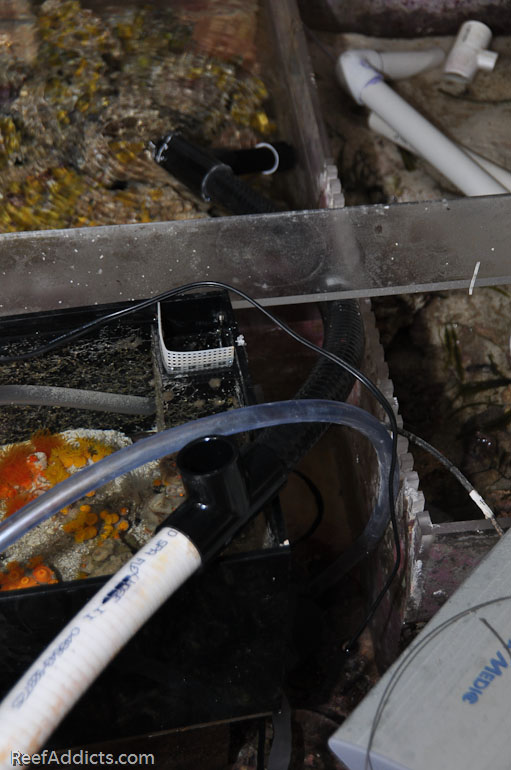
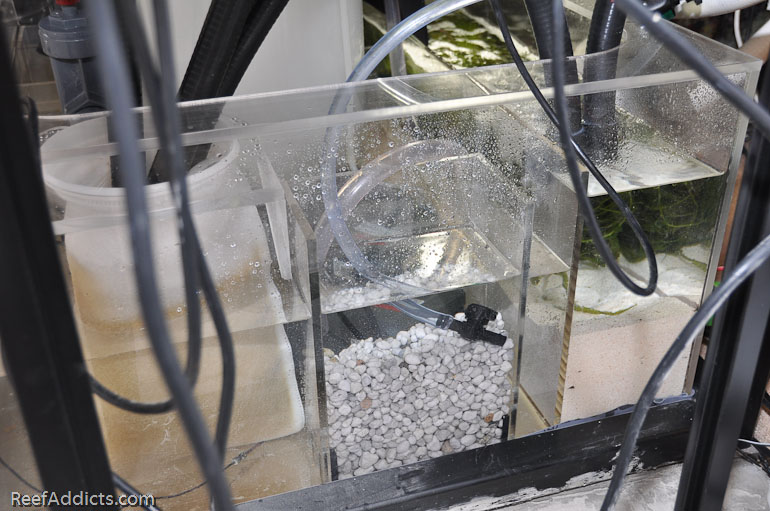
I found an old Maxijet 500 (yes, ancient by that model number) to feed water from the return section to the intake section of the new sump, using clear 3/8" tubing. Same picture, this time look at the tubing coming up from behind the suncoral tank.


It feeds into the Matrix-filled bubble tower. I used a spare valve that came with a TLF Phosban Reactor to reduce the flow rate.


I'm trying to balance out the flow of water between the two systems, which is super dumb and highly known for failure. It only has to last a couple of days, allowing the water to mix from both systems until I can take the old system offline forever. Let's hope that it works out with minimal headache.


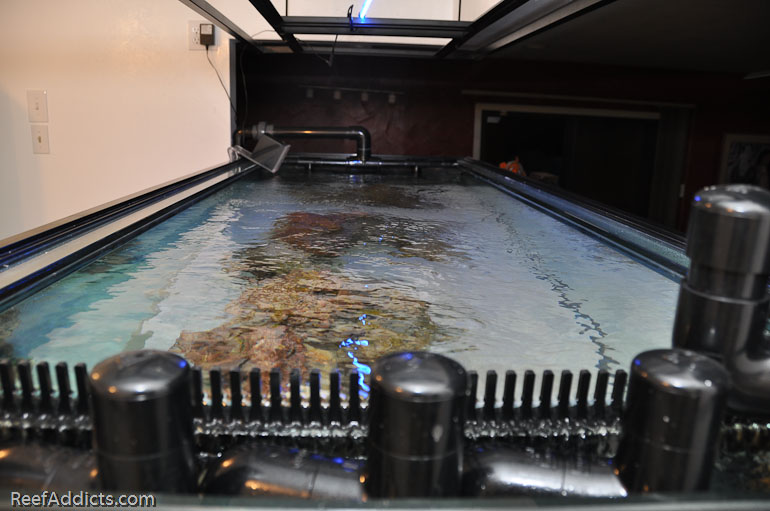
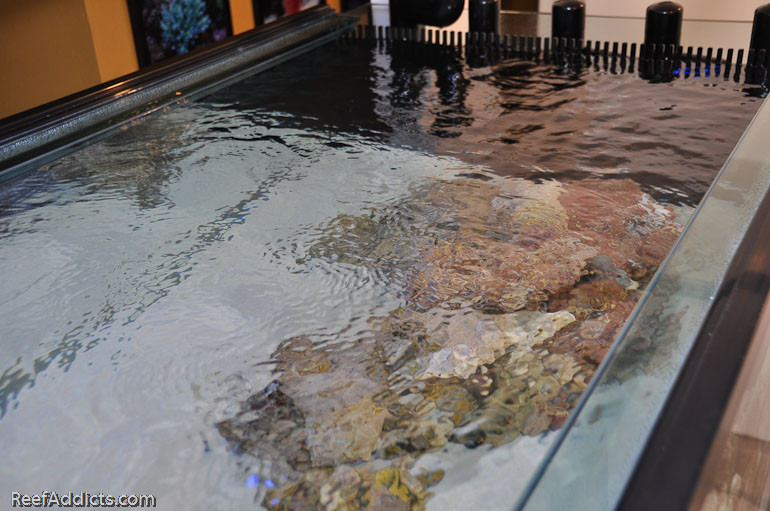
In other news, the flow in the display with the penductors is really impressive. I love the way the surface moves.


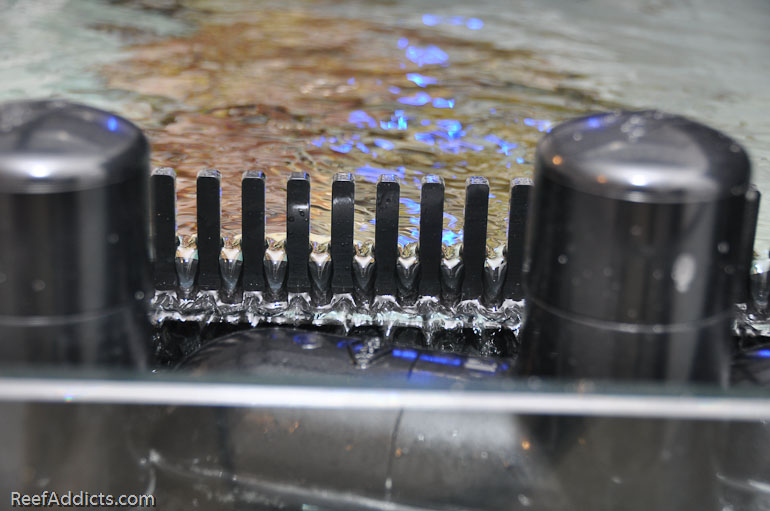
And the flow through the teeth is very quiet. Just perfect.


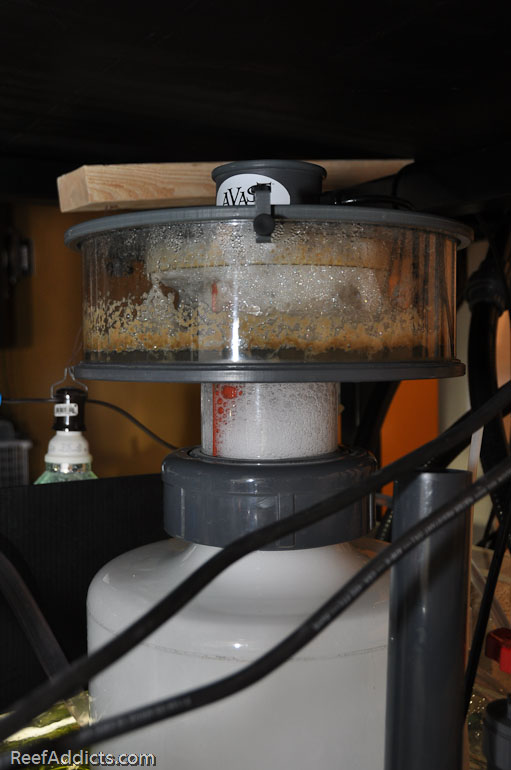
The skimmer is pulling out some grunge.


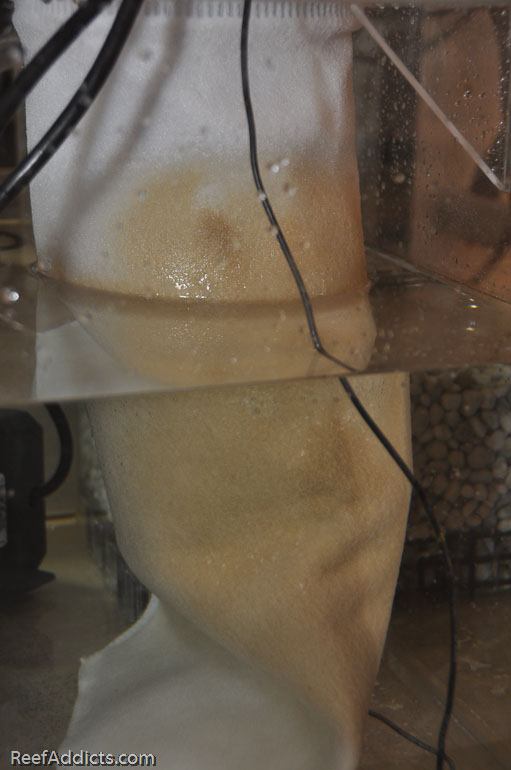
As is the filter sock. With it being icy cold outside, I'm in no hurry to rinse it out. Tomorrow's forecast is 16F for the high.


Both the 265g Poly tank and the 45g ATO reservoir are full. I started filling them up Sunday morning at 7 a.m. and was done collecting almost 300g worth of water Tuesday night around 10 p.m. (63 hours)


This is how the ATO replenishes top off water. I didn't get a good picture of this previously and it still needs a little bit of work, but this works for the time being.


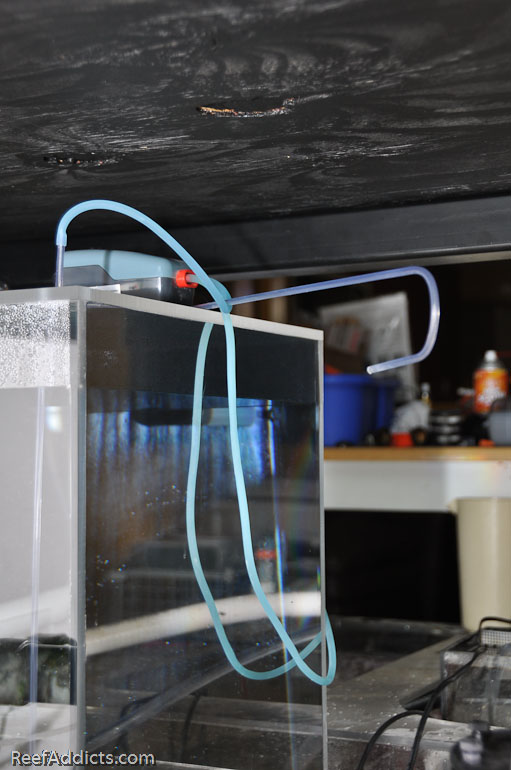
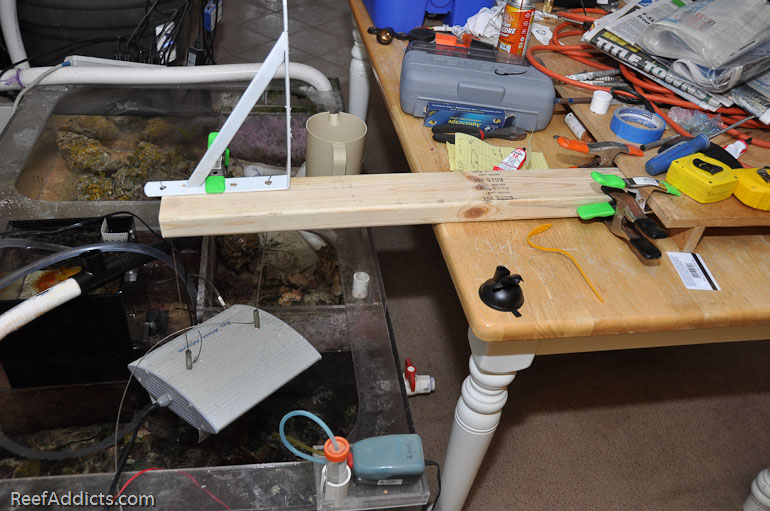
Speaking of "for the time being," I had to put some light over the Rose BTAs and other assorted corals in the sump, so I rigged another death trap:


Basically, don't do any of this yourself. It is super temporary and I want it all gone as soon as possible.


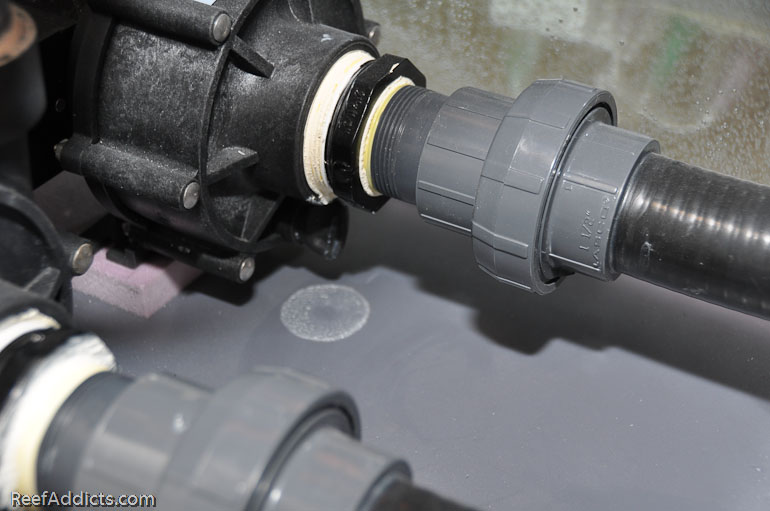
The small drip under the Dart has virtually taken care of itself.


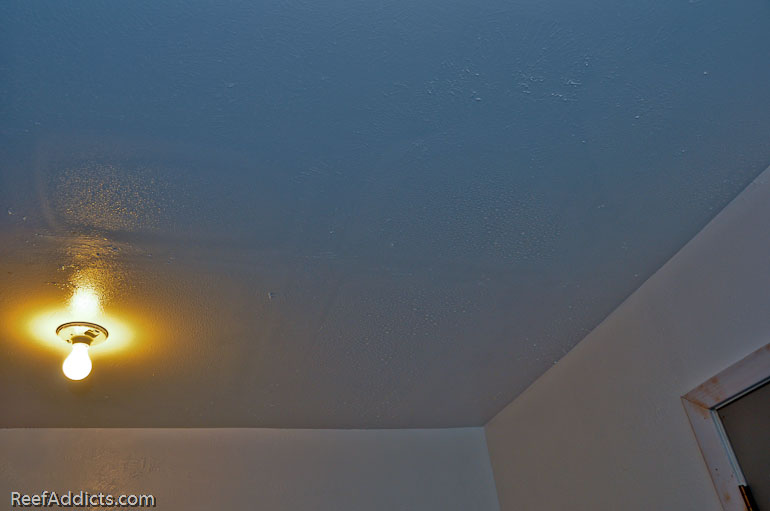
And this was an eye opener. The ceiling of the fishroom is soaking wet where no insulation was replaced. Part of the ceiling above lacks decking, which would allow me to walk around more easily when necessary. I wiped away all the water droplets; there were a lot. The 73F of my home vs the 15F of the cold attic plus the 700g of water is creating some serious condensation. I have got to get the vent fan installed in the fishroom very soon.


What else is next? Wes has kindly offered to come back over on Saturday to help me create the acrylic peg support system I originally wanted under my rockwork. It really would be nice to get this done, even though I know it will be a beating.

And more importantly, I'm going to have to pick up another 20 ton jack. Looking at the tank full of water, it (like its predecessor) is down the left side about 1/8". I want to use two jacks and 4x4 posts to lift the tank up high enough to insert an 1/8" shim on both end corners (front and back) to get it completely level. When we filled it up last Sunday, we both immediately saw how it wasn't quite right, and I was extremely annoyed to see the same occurrence as the last tank even after all my painstaking work to make sure this one was 100% level. I have two 200g poly tanks on the back patio, so the water can be pumped out for the lifting stage, then we can do the rock structure support system, and refill the tank again.

With that done, the livestock can be moved into the tank and I can get everything out of the living space and enjoy the tank the way it was meant to be viewed.

Lighting, vent fan, new sink... all that can be done thereafter.

Submit "Tuesday evening update" to Digg Submit "Tuesday evening update" to del.icio.us Submit "Tuesday evening update" to StumbleUpon Submit "Tuesday evening update" to Google

Categories
Tank Entry

Comments

Page 1 of 2 12 LastLast
  1. Alaska_Phil's Avatar
    Marc
    1. remember that only bad things happen fast. Take your time. Your livestock has been in it
    it's temp quarters for a while now, another week won't hurt.
    2. Looks awesome so far. for god's sake don't rush and crash thing now! (see #1)
    3. get it level and right now, you know how much harder it is to make changes once you add the livestock. Your original 14 day build was impressive, but get it right before adding the livestock, you know it's worth it (see 1 and 2).
    4. I bow before your knowledge, you are the inspiration behind my 150 build.
    5. Thanks again for sharing the good and bad, and the lessons learned along the way.

    Phil
  2. canyousee's Avatar
    Wow reads better than a novel. It helps so many of us to see even the master having so many set backs, I don't feel like such a loser. Thanks for sharing the good the bad and...
  3. melev's Avatar
    I hate sharing bad news, but it's better to tell it as it is and help others avoid similar circumstances or at the very least I hope to convey the thought process that I go through so that hobbyists will do similar when they are looking at a situation.

    For example, with the water pumping between the two sumps, I opted to sleep in the living room last night. That way whenever something acted up, the gurgling would get my attention and I could fix it instead of slumbering for 8 hours to wake up and find out what transpired. Needless to say, I had to get up often to make minor adjustments and didn't get much rest. Then today at 9 a.m. the power went out to the entire home. I've not drilled the anti-siphon holes in the new return section, and with the combined water of two systems I had a feeling it was about to get interesting...

    The two 100g troughs drained like normal, filling up the old sump. The refugium section has been drained since Sunday, essentially rotting since it was sand and some left over macro with no flow and no heat. The sump filled up to the point that I watched good clean water pour over into that zone, losing about 10g or more that wouldn't be usable when the power resumed. Even if the water was good, there was no method in place to get the water out of the refugium back into the system without my doing something.

    The 400g continued to drain into the new sump, but instead of just watching that happen I quickly climbed up to the return assembly and unscrewed the 1.5" union to breathe air into the pipe and stop the draining. I half-expected the power to restart as I did this and hoped to avoid getting drenched.

    Then I wondered how long until the power would be restored, including how would I heat my home today with 12F weather. If I ran the generator, where would be the best place to put it, and how would I run the wires into the house to keep the cold air out where a door had to be left open (even just a gap) for those wires. Fortunately, 30 minutes later power was restored.

    Because of the excess water in the new sump, the skimmer was sitting in extra water and the cup started to fill up quickly. I turned the valve to stop wasting water. I watched the old sump's water level drop due to the trapped water in the old refugium, and when everything was sorted out, the new sump's water level was low enough that air was being sucked into the return pump and being injected into the display area. I turned off the skimmer entirely to let the body drain a few gallons into the sump, to stop the air injection and get the water level up in the return section.

    Then I cleaned out the skimmer's cup of the gallon of skimmate it has amassed. I need to mix up new saltwater today. And hopefully the power won't go out again.
  4. Jnarowe's Avatar
    Brutal timing. Even with "proper" ventilation, you will have a battle with condensation due to the amount of water you are housing. I also put a couple of marine dehumidifiers in my tank room to help out. Love the flow. That is looking really nice!
  5. DJ in WV's Avatar
    Yea phils right take your time speed breeds regrets. We would all hate to see you have after the fact problems with your new nano tank :P been this long few more days wont kill ya
  6. dahenley's Avatar
    I wouldn't drill an anti siphon with penductors.

    What I would do, is put a tee in the tallest part of your plumbing and place a swing valve/check valve sideways. This way when your pump is going, its closed. When shut off, it allows air in the system and prevents and back siphoning.

    If you drill a hole, it will act like a water gun with the back pressure and spray. Water everywhere and or make some serious saltcreep... (trust me.)

    With the swing valve, you can glue a 90 pointing down just in case there is a squirt of water before it seals, it will be directed back in the tank and not at the wall. (Just make sure there is a air gap so it will suck air and not water when shut off)
    Hope that makes since....
  7. dahenley's Avatar

    hope this helps explain what i was talking about.
  8. Alaska_Phil's Avatar
    What is a penductor?
  9. melev's Avatar
    This thing right here:


  10. melev's Avatar
    dahenley - I see what you mean. So you are using the check valve upside down basically. I may have a spot to insert one with a couple of 90s.

  11. dahenley's Avatar
    you just want to make sure that the flap is hanging down. this way, when the dart cranks up, it only has to move a fraction of an inch to close.
    when the pump is turned off, it will create a vacuum and instead of back siphoning water, it will suck air and open the flap.

    on your setup, i would replace the 90 where the water points down in the "spray bar" and put a tee in there. because all your fittings are glued tight and butt to butt, its kind of hard to put it there.
    but you can put it between the union and 90. that would work good.
    (it prevents any "real Modifications" and will let you keep everything as it is.)
  12. dahenley's Avatar
    you dont "have to" buy a valve with unions. you can just buy the one that is threaded. that way if any modifications or change down the road, you wont have to cut and trash it. just unscrew it.
    (also, this way, there is no water to grow algae and slim on the seal and it will always be clean and seal good. (unlike those that have water flowing across them)
  13. Alaska_Phil's Avatar
    Quote Originally Posted by melev
    This thing right here:


    OK, what is their purpose?
  14. melev's Avatar
    I was thinking about inserting a Tee facing upwards in a blank spot where the 1" pipe is now. Put the check valve upside down above it, and a couple of elbows to redirect any flow downward. I actually have that check valve in a drawer here, new and unused. I have the black Tee and elbows, but I'd need a fitting with threads on both ends of the union.

    Something like that, anyway.
  15. melev's Avatar
    It is a flow accelerator. As water shoots through the center, it draws in more water around the openings like a venturi. With a system that uses one on every return, the back pressure is correct and you get four times as much flow from each one. Let's say each one moved 500gph. Now each one would produce 2000gph.

    The caveat is you have to look at it, and it has to be 2.5" beneath the water's surface to avoid vortexing air into them. One person had a snail crawl into the opening and sent a jet stream out of the tank, so he modded them with some fishing line to keep snails out.
  16. dahenley's Avatar
    Marc
    if you put the check valve to where the flap sitting in the closed position, then it will work. that way it doesnt require actual water flow across it to force it to close it, the actual air/water pressure produced when the pump is turned on will close it, then thats perfect.

    Alaska_phil
    The penductor acts like the enductors.
    if your familiar with oldschool "carberators" the inside of that fitting on the end of the locline necks down from 1" to about 1/4 of an inch and increases the velocity of the water. (like putting your thumb on the water hose) then the open area between it and the funky shaped tip allows water to be sucked in with the supercharged water which increases the flow by 4X

    Chevrolet took this idea and used it on the new Duramax trucks. if you look at the exhaust, when the smoke comes out, it is mixed with fresh air and thus disperses the smoke and looks better. (it was their way around the new NO SMOKE laws.)
    ford did the same thing under the truck and again with that funky double tip as well.
  17. David W's Avatar
    I agree with Dahenley I have a siphon hole and it makes my overflow noisy and sprays water everywhere. Not fun.
  18. melev's Avatar
    My anti-siphon holes are always submerged. I was going to drill one in the base of the Tee that touches the water, but I've never had penductors before and wasn't sure what would happen. Pete had them on his last tank and didn't have a problem though.
  19. DJ in WV's Avatar
    keep posting because i just ordered 4 today and have never used them before either
  20. DJ in WV's Avatar
    are those 1/2 or 3/4 Marc
Page 1 of 2 12 LastLast